1. Вовед
This manual provides essential information for the safe and efficient operation of your Anern 4200W Hybrid Solar Inverter. Please read this manual thoroughly before installation and use. Keep it for future reference.
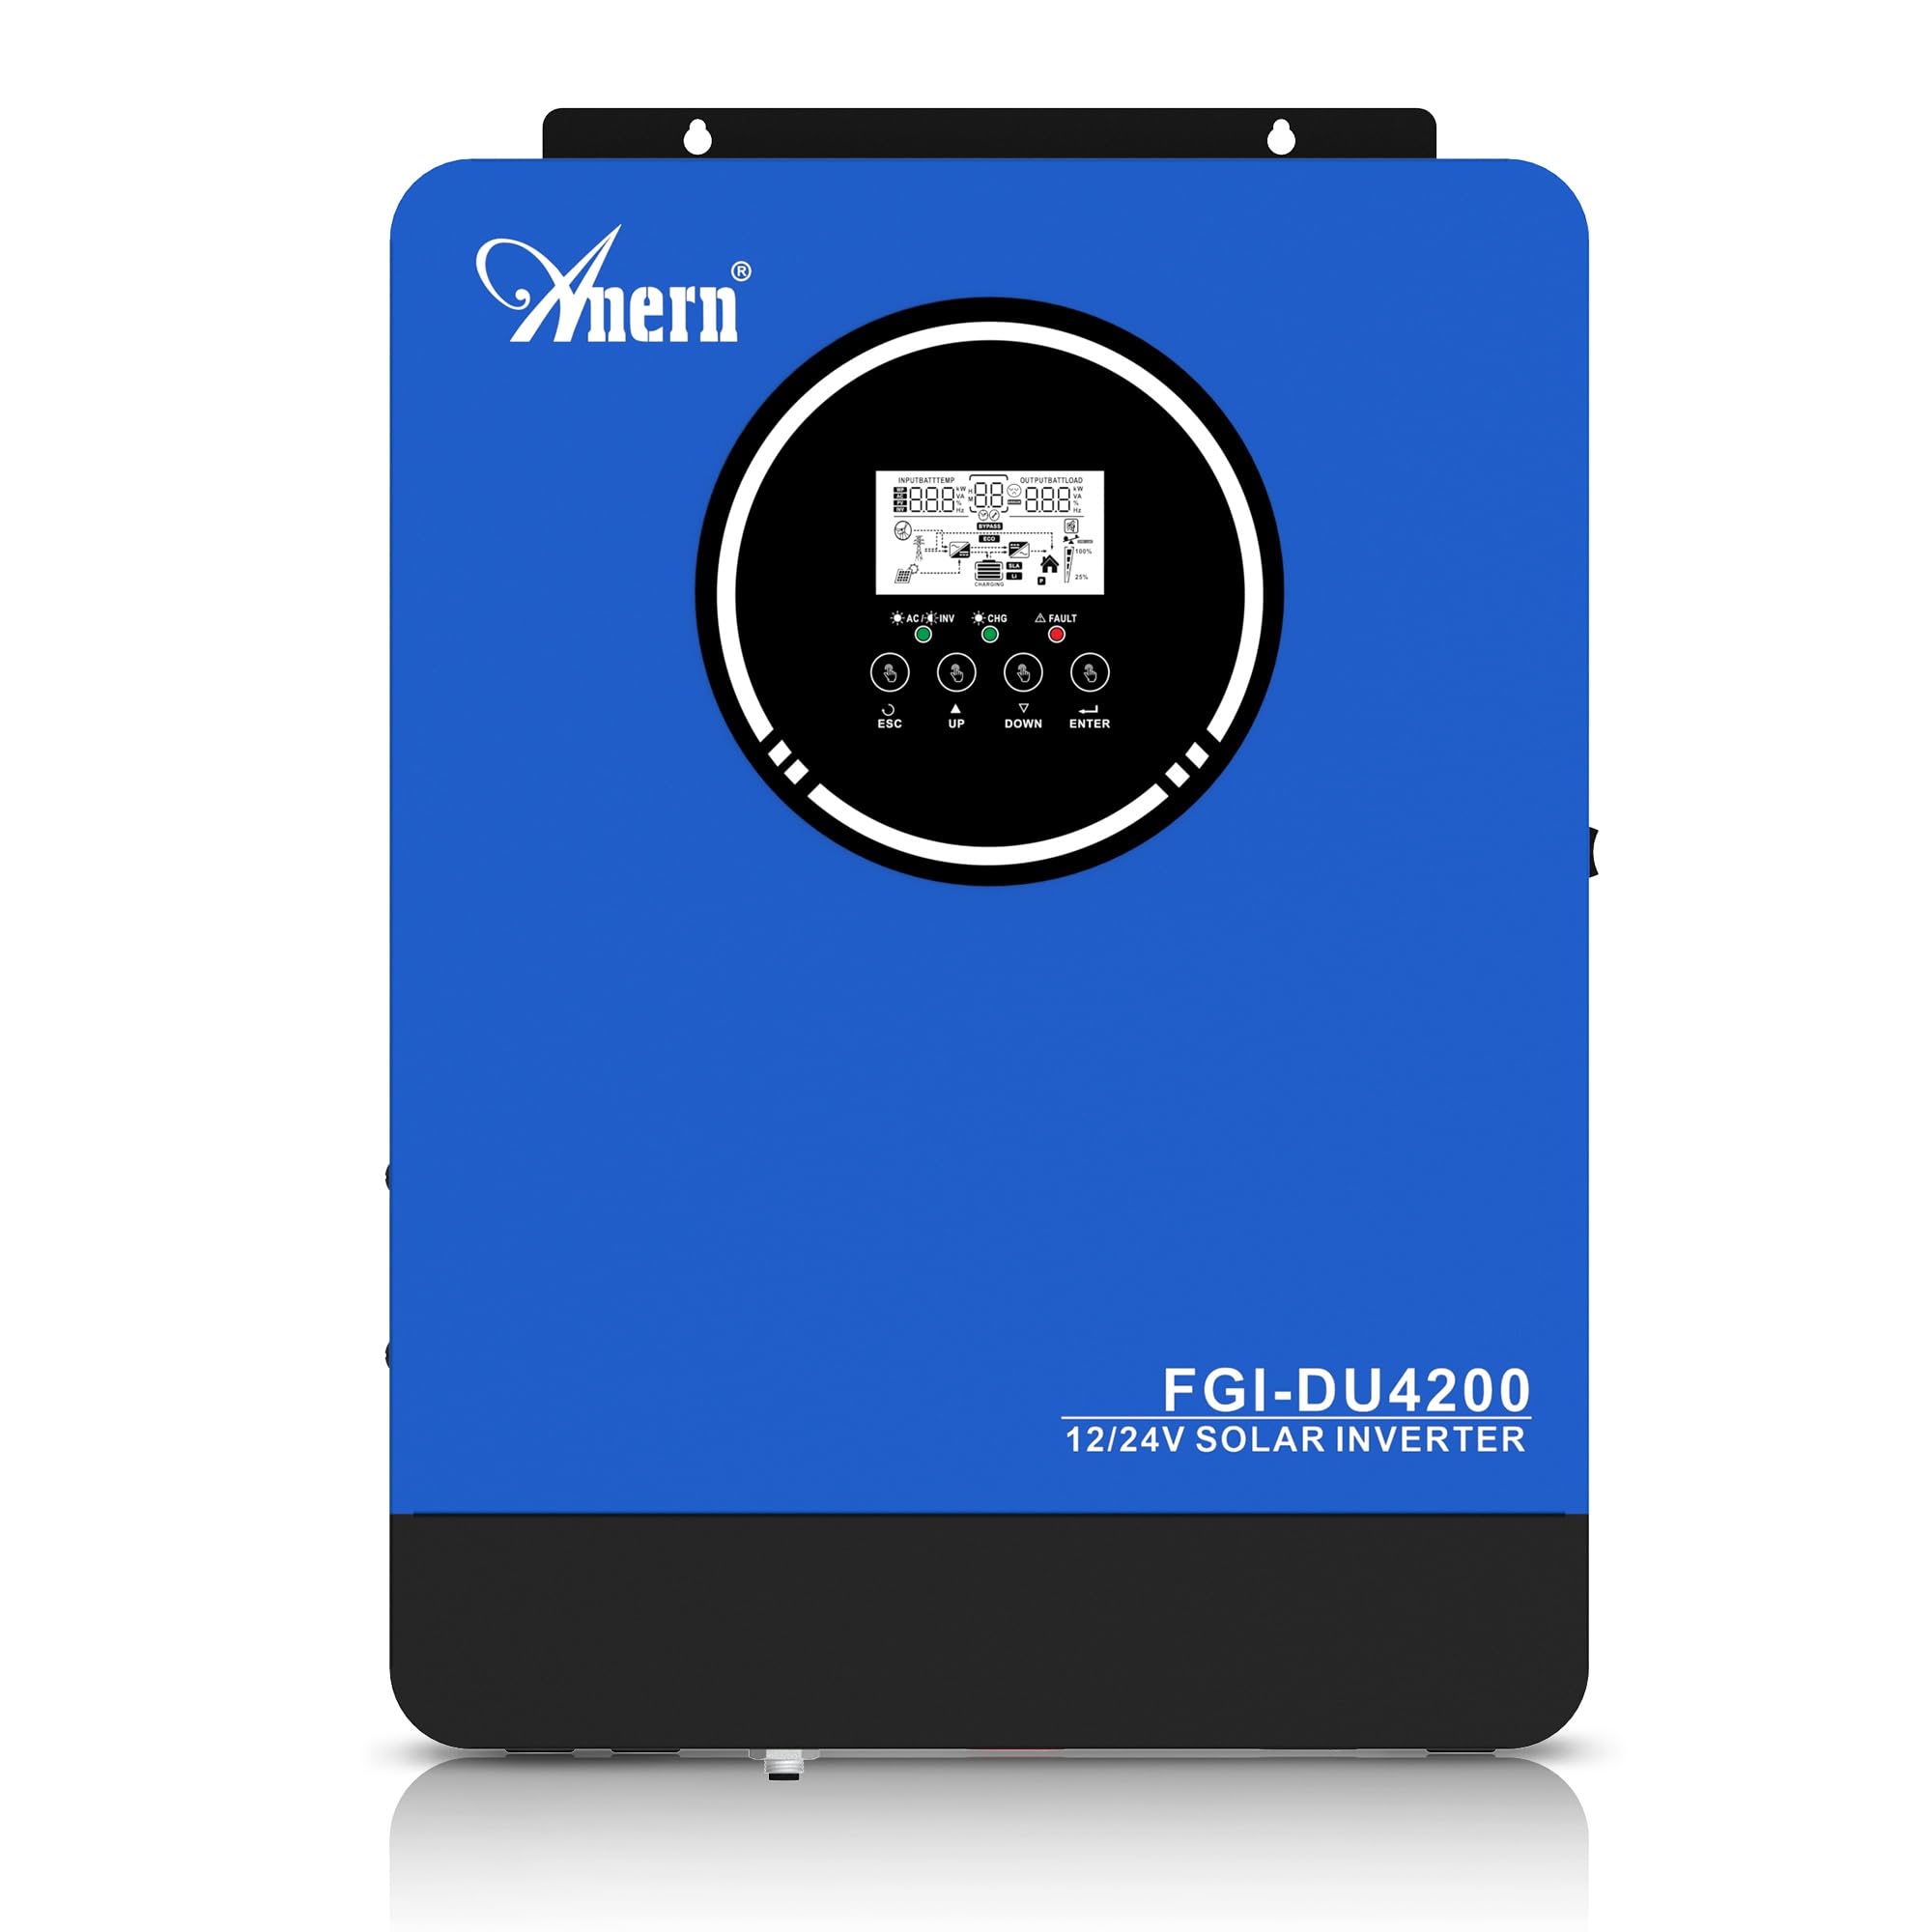
Figure 1: Anern 4200W Hybrid Solar Inverter. This image displays the main unit of the inverter, highlighting its key specifications such as 100A AC charging current, 4200W rated output power, and 500 VDC maximum PV array voltage.
2. Инструкции за безбедност
Секогаш почитувајте ги следниве безбедносни мерки на претпазливост за да го намалите ризикот од електричен удар, пожар или повреда:
- Инсталирањето мора да го изврши квалификуван персонал.
- Ensure all wiring is correctly connected and equipped with appropriate protective switches.
- Не го расклопувајте инверторот. Внатре нема делови што може да ги сервисира корисникот.
- Avoid exposing the inverter to rain, snow, spray, or any liquids.
- Обезбедете соодветна вентилација околу инверторот за да спречите прегревање.
- Disconnect all power sources (PV, battery, utility) before performing any maintenance or wiring.
3. Производот завршиview
The Anern 4200W Hybrid Solar Inverter is designed to convert DC power from solar panels and batteries into AC power for household use. It features an integrated 100A MPPT solar charge controller and supports both 12V and 24V battery systems with automatic detection.
Клучни карактеристики:
- 4200W излезна моќност од чист синусен бран: Provides stable and clean power for sensitive electronics.
- 100A MPPT Solar Charge Controller: Го максимизира собирањето на енергија од соларни панели.
- 12V/24V Battery Auto-Detection: Automatically adjusts output based on connected battery voltage.
- BMS Interface: Supports communication with lithium batteries for enhanced monitoring and protection.
- Real-time LED Display: Shows system status, operating data, and error codes.
- Configurable Charging & Output Modes: Offers flexibility for various application needs.
- Optional WiFi/GPRS Monitoring: Remote monitoring capability (module sold separately).

Figure 2: Inverter Display and Controls. This image illustrates the inverter's LCD display, function buttons for configuration, and the optional WiFi module for remote monitoring.
4. Поставување и инсталација
4.1 Дијаграм за поврзување
Refer to the electrical schematic for proper system wiring. Ensure all connections are secure and correctly polarized.

Figure 3: Electrical Schematic. This diagram shows the complete wiring for a solar inverter system, including solar panels, combiner box, DC/AC breakers, inverter, utility grid connection, and loads.
4.2 Поврзување на батеријата
The inverter supports 12V and 24V battery configurations. It automatically detects the battery voltage and adjusts its output accordingly (2300W for 12V, 4200W for 24V). For 24V systems, connect two 12V batteries in series. For 12V systems, connect batteries in parallel if increasinг капацитет.

Figure 4: Battery Connection Options. This image illustrates how to connect batteries for 12V (parallel connection for 2300W output) and 24V (series connection for 4200W output) systems.
The inverter also supports lithium batteries and includes a BMS (Battery Management System) interface for monitoring and protection. Ensure the BMS is properly connected if using lithium batteries.

Figure 5: Communication Interfaces. This image highlights the dual communication interfaces for BMS (Battery Management System) and optional WiFi module, enabling remote monitoring and battery communication.
4.3 Startup and Shutdown Sequence
Редоследот на стартување:
- Поврзете ја батеријата.
- Вклучете го инвертерот.
- Activate the protective switches for PV, Utility, and Loads.
Секвенца на исклучување:
- Deactivate the protective switches for Loads, Utility, and PV.
- Исклучете го инверторот.
- Исклучете ја батеријата.
Important Note: Inductive loads (e.g., motors, refrigerators) may require up to 3 times their rated power for startup. Ensure the inverter's capacity is sufficient to handle these surge loads. Exceeding the inverter's surge capacity can cause damage.
5. Операција
5.1 LCD екран и поставки
The inverter features an LED display that provides real-time system data and operating status. Use the function buttons below the display to navigate menus and configure settings. Settings include battery charging current, AC/solar charging priority, and charging current priority.
5.2 режими на полнење
The inverter offers four configurable charging modes:
- Соларен приоритет: Solar power is prioritized for charging.
- Само соларни: Only solar power is used for charging.
- Приоритет на комунални услуги: Utility grid power is prioritized for charging.
- Solar + Utility Hybrid: Combines solar and utility power for charging.
5.3 Излезни режими
Three output modes are available to adapt to various application needs:
- Соларен приоритет (SUB): Solar power is prioritized for loads.
- Приоритет на комунални услуги (USB): Utility grid power is prioritized for loads.
- SBU: Solar, Battery, Utility priority.

Figure 6: Charging and Output Modes. This diagram visually explains the four available charging modes (Solar Charge, Utility Priority, Solar Priority, Hybrid Charge) and three load output modes (PV Priority, Utility Priority, SBU Priority).
5.4 Далечинско следење
The inverter supports remote monitoring via an optional WiFi/GPRS module (sold separately). This allows users to monitor system performance and status from a distance.
6. Одржување
Редовното одржување обезбедува оптимални перформанси и долготрајност на вашиот инвертер:
- Keep the inverter clean and free from dust. Use a dry cloth for cleaning.
- Погрижете се отворите за вентилација да не се блокирани.
- Периодично проверувајте ги сите жичени врски за затегнатост и знаци на корозија.
- Monitor the battery status, especially if using lithium batteries with the BMS interface, to prevent overcharge or deep discharge.
- Inspect solar panels for dirt or damage that could reduce efficiency.
7 Смена на проблеми
The LED display will show error codes if issues arise. Refer to the inverter's display for specific error codes to diagnose and resolve problems. Common issues and their potential solutions include:
- Нема излезна енергија: Check battery connections, DC/AC breakers, and inverter power switch.
- Слаба батерија Voltage: Ensure batteries are adequately charged. Check charging sources (solar, utility).
- Предупредување за преоптоварување: Reduce the connected load. Inductive loads may cause temporary overloads during startup.
- Прегревање: Ensure proper ventilation. Clean any dust from the inverter's vents.
- PV Input Error: Check solar panel connections and voltage. Ensure PV array voltage е во наведениот опсег (55-500V DC).
For persistent issues or error codes not listed, contact customer support.
8. Технички спецификации
| Карактеристика | Спецификација |
|---|---|
| Бренд | Анерн |
| Број на модел | AN-FGI-DU 4200 |
| Електрична енергија | 4200 вати |
| Излезна моќност | 4500 вати |
| Max. Output Power (Watts) | 4200 |
| Излезна бранова форма | Чист синусен бран |
| Извор на енергија | Напојува со соларна енергија, напојува со батерии |
| Препорачана употреба на производот | Дома |
| Вклучени компоненти | Упатство за употреба |
| Усогласеност | CE |
| Димензии на производот | 30 x 10 x 40 cm; 8.86 кг |
9. Гаранција и поддршка
For warranty information and technical support, please refer to the documentation provided with your purchase or contact Anern customer service. Keep your purchase receipt as proof of purchase.