
1. Вовед
This manual provides essential information for the safe and efficient use of your URAO 14-inch Android 15 Tablet, model G140L. Please read this manual thoroughly before operating the device to ensure proper setup and functionality. Keep this manual for future reference.
2. Содржина на пакетот
Проверете дали сите артикли се присутни во пакувањето:
- URAO 14-inch Android 15 Tablet (G140L)
- Bluetooth тастатура
- Bluetooth Mouse (Note: Batteries not included)
- Пенкало со игла
- Заштитна футрола
- Слушалки
- Кабел за полнење USB Type-C
- Адаптер за напојување (полнач)

Image: A visual representation of the URAO G140L tablet, highlighting its ports and buttons, alongside all standard accessories provided in the retail package.
3. Поставување
3.1 Почетно вклучување
- Press and hold the Power ON/OFF button located on the side of the tablet until the screen illuminates.
- Следете ги упатствата на екранот за да го изберете вашиот јазик, да се поврзете на Wi-Fi мрежа и да ја поставите вашата сметка на Google.
3.2 Полнење на таблетот
Before first use, fully charge the tablet. Use the provided USB Type-C charging cable and power adapter.
- Поврзете го USB Type-C кабелот со приклучокот за полнење на таблетот.
- Приклучете го адаптерот за напојување во ѕиден штекер.
- The battery indicator on the screen will show charging status. A full charge typically takes approximately 2.5 hours with the 30W fast charging capability.
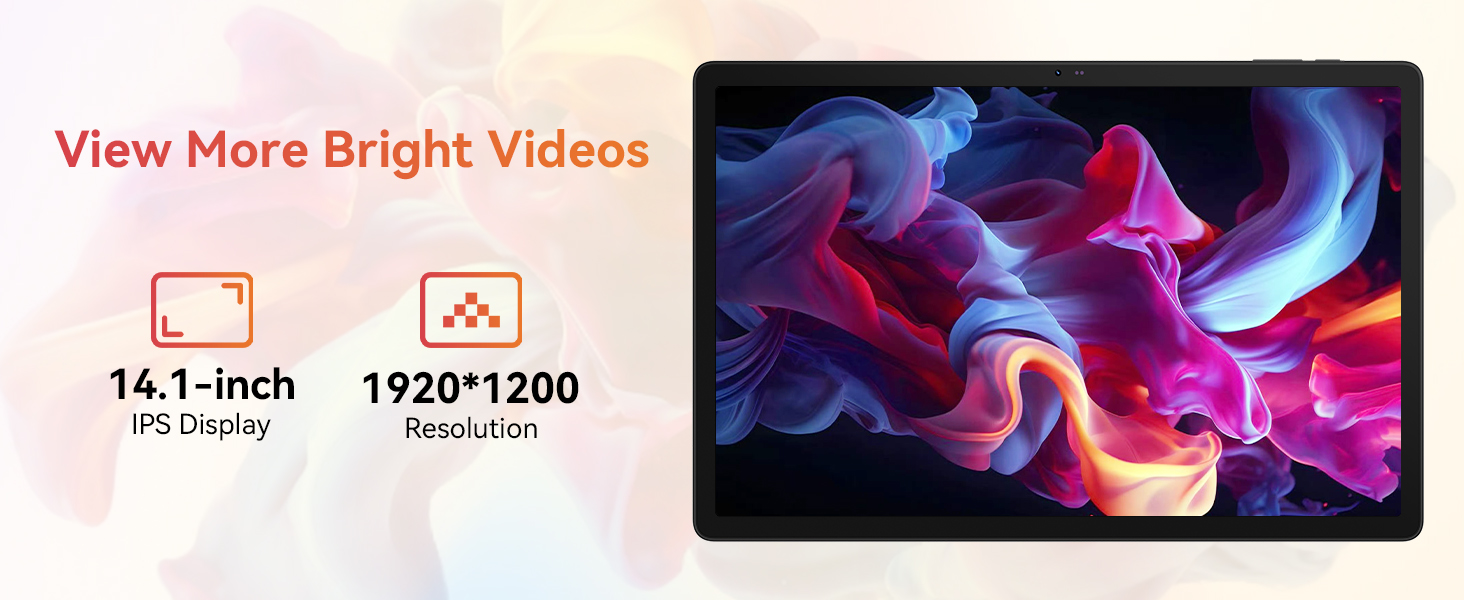
Image: The URAO tablet connected to a charger via its Type-C port, illustrating the 10000mAh battery and 30W fast charging feature.
3.3 Поврзување на периферни уреди (тастатура, глушец, пенкало)
The included keyboard, mouse, and stylus connect via Bluetooth.
- Одете на Поставки > Поврзани уреди > Bluetooth на вашиот таблет.
- Проверете дали Bluetooth е вклучен On.
- Put the keyboard, mouse, or stylus into pairing mode (refer to each accessory's individual instructions for specific pairing steps).
- Изберете го додатокот од листата на достапни уреди на вашиот таблет за да го спарите.
3.4 Мрежна конекција (Wi-Fi)
Поврзете се на Wi-Fi мрежа за пристап до интернет.
- Одете на Поставки > Мрежа и интернет > Интернет.
- Свртете Wi-Fi на.
- Select your desired Wi-Fi network from the list and enter the password if required. The tablet supports Wi-Fi 6 (802.11ax) for faster and more stable connections.
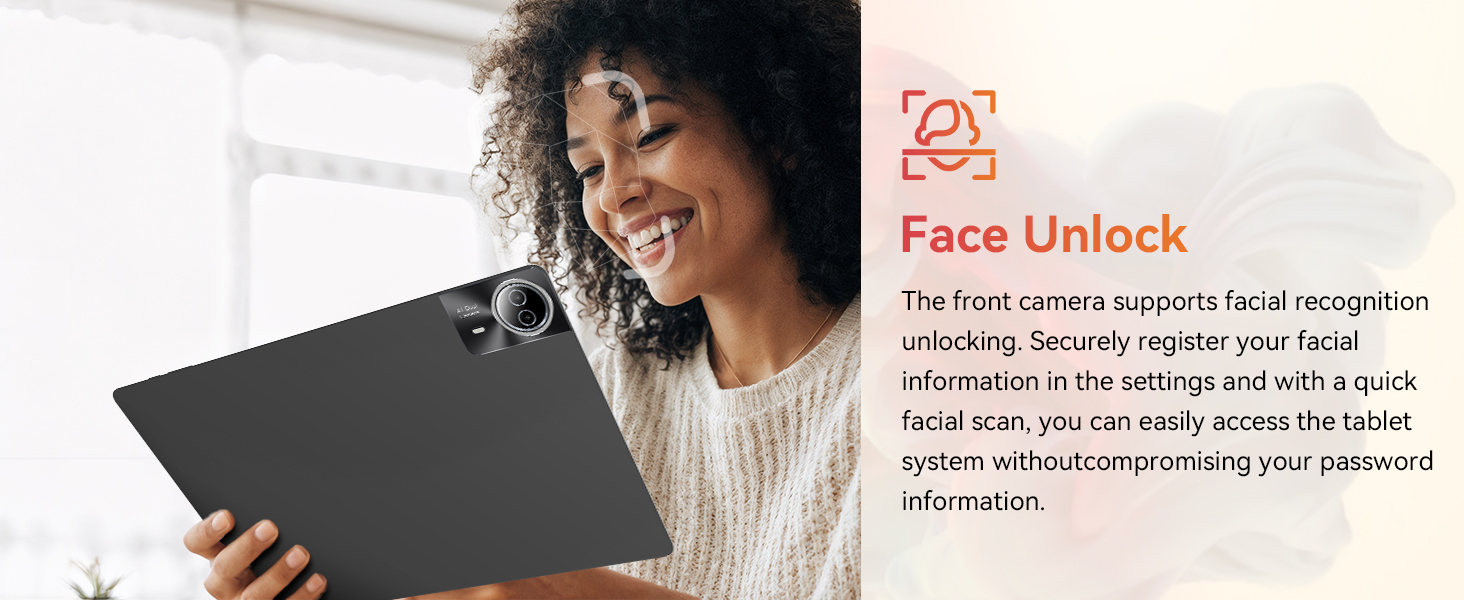
Image: The URAO tablet screen showing icons for dual-band Wi-Fi (2.4G+5G) and Bluetooth 5.4, indicating its connectivity features.
4. Упатства за работа
4.1 Основна навигација (Android 15)
Your tablet runs on Android 15, offering an intuitive user interface. Use touch gestures for navigation:
- Допрете: Изберете ставка.
- Повлечете: Скролувајте низ страници или листи.
- Штипење: Зголемување или намалување на сликите и web страници.
- Долг печат: Пристапете до контекстуални менија или преместете икони.
4.2 Поставки на екранот
The 14.1-inch IPS FHD display offers a resolution of 1920x1200 pixels for clear visuals. Adjust display settings via Поставки > Приказ.
- Ниво на осветленост: Прилагодете ја осветленоста на екранот.
- Темна тема: Enable for reduced eye strain in low light.
- Режим за заштита на очите: Намалува емисија на сина светлина.
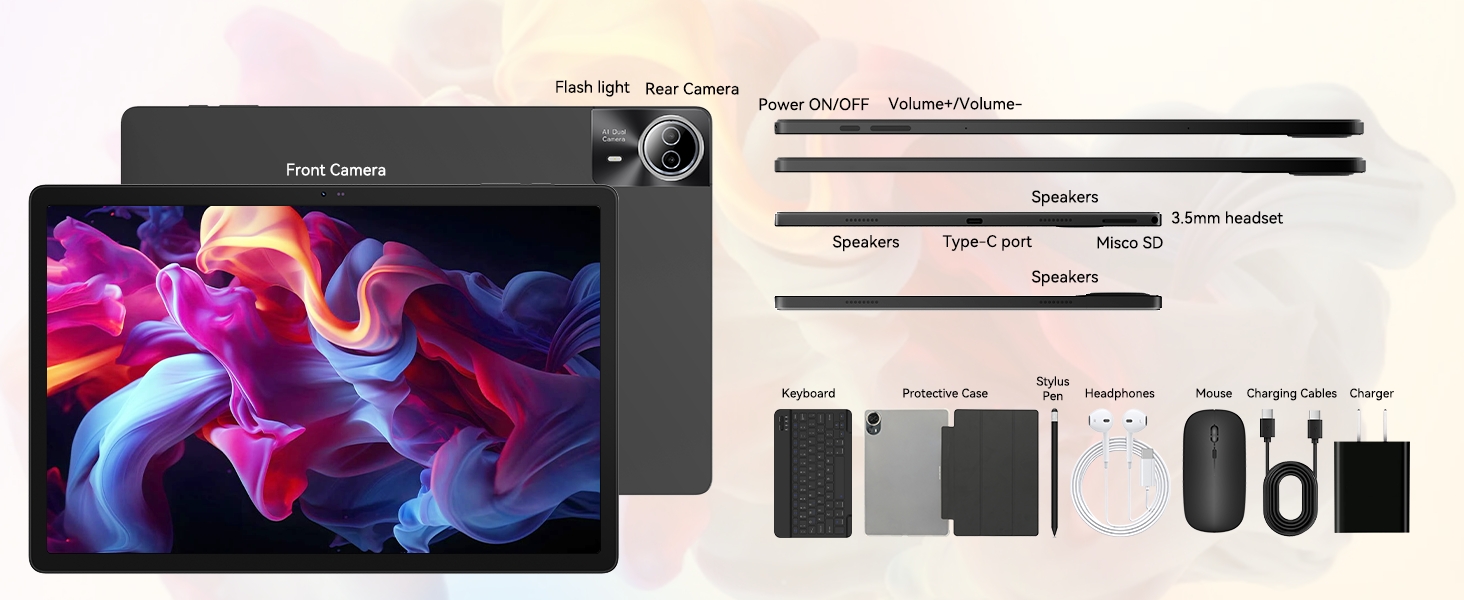
Image: The URAO tablet displaying a high-resolution image, emphasizing its 14.1-inch IPS display and 1920x1200 pixel resolution for bright and clear visuals.
4.3 Употреба на камерата
Таблетот има предна камера од 5MP и задна камера од 8MP.
- Отворете го Камера апликација од почетниот екран или фиоката со апликации.
- Допрете ја иконата на камерата за да се префрлате помеѓу предните и задните камери.
- Tap the shutter button to take photos or start/stop video recording.
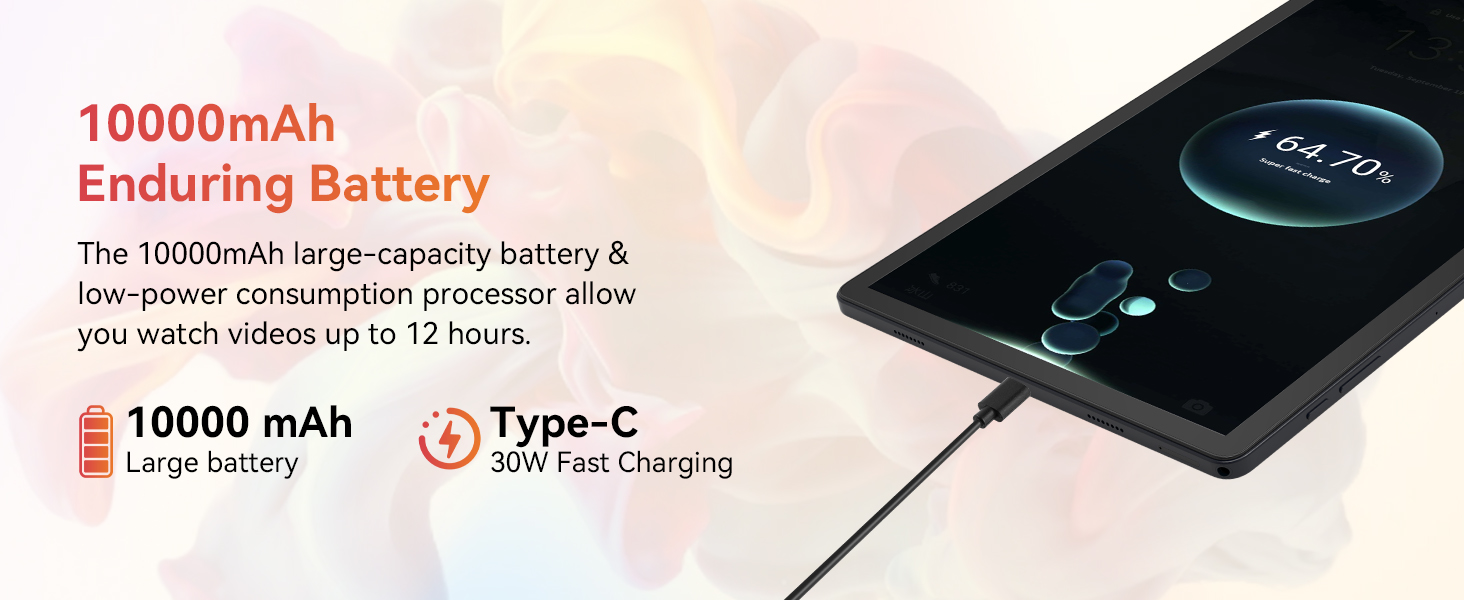
Image: A collage demonstrating the photo capabilities of the URAO tablet, featuring images taken with its 8MP rear camera and 5MP front camera, suitable for video calls and capturing moments.
4.4 Аудио
The tablet is equipped with Stereo 4 Speakers for an immersive audio experience. Volume can be adjusted using the Volume +/- buttons on the side of the tablet or through the on-screen controls.
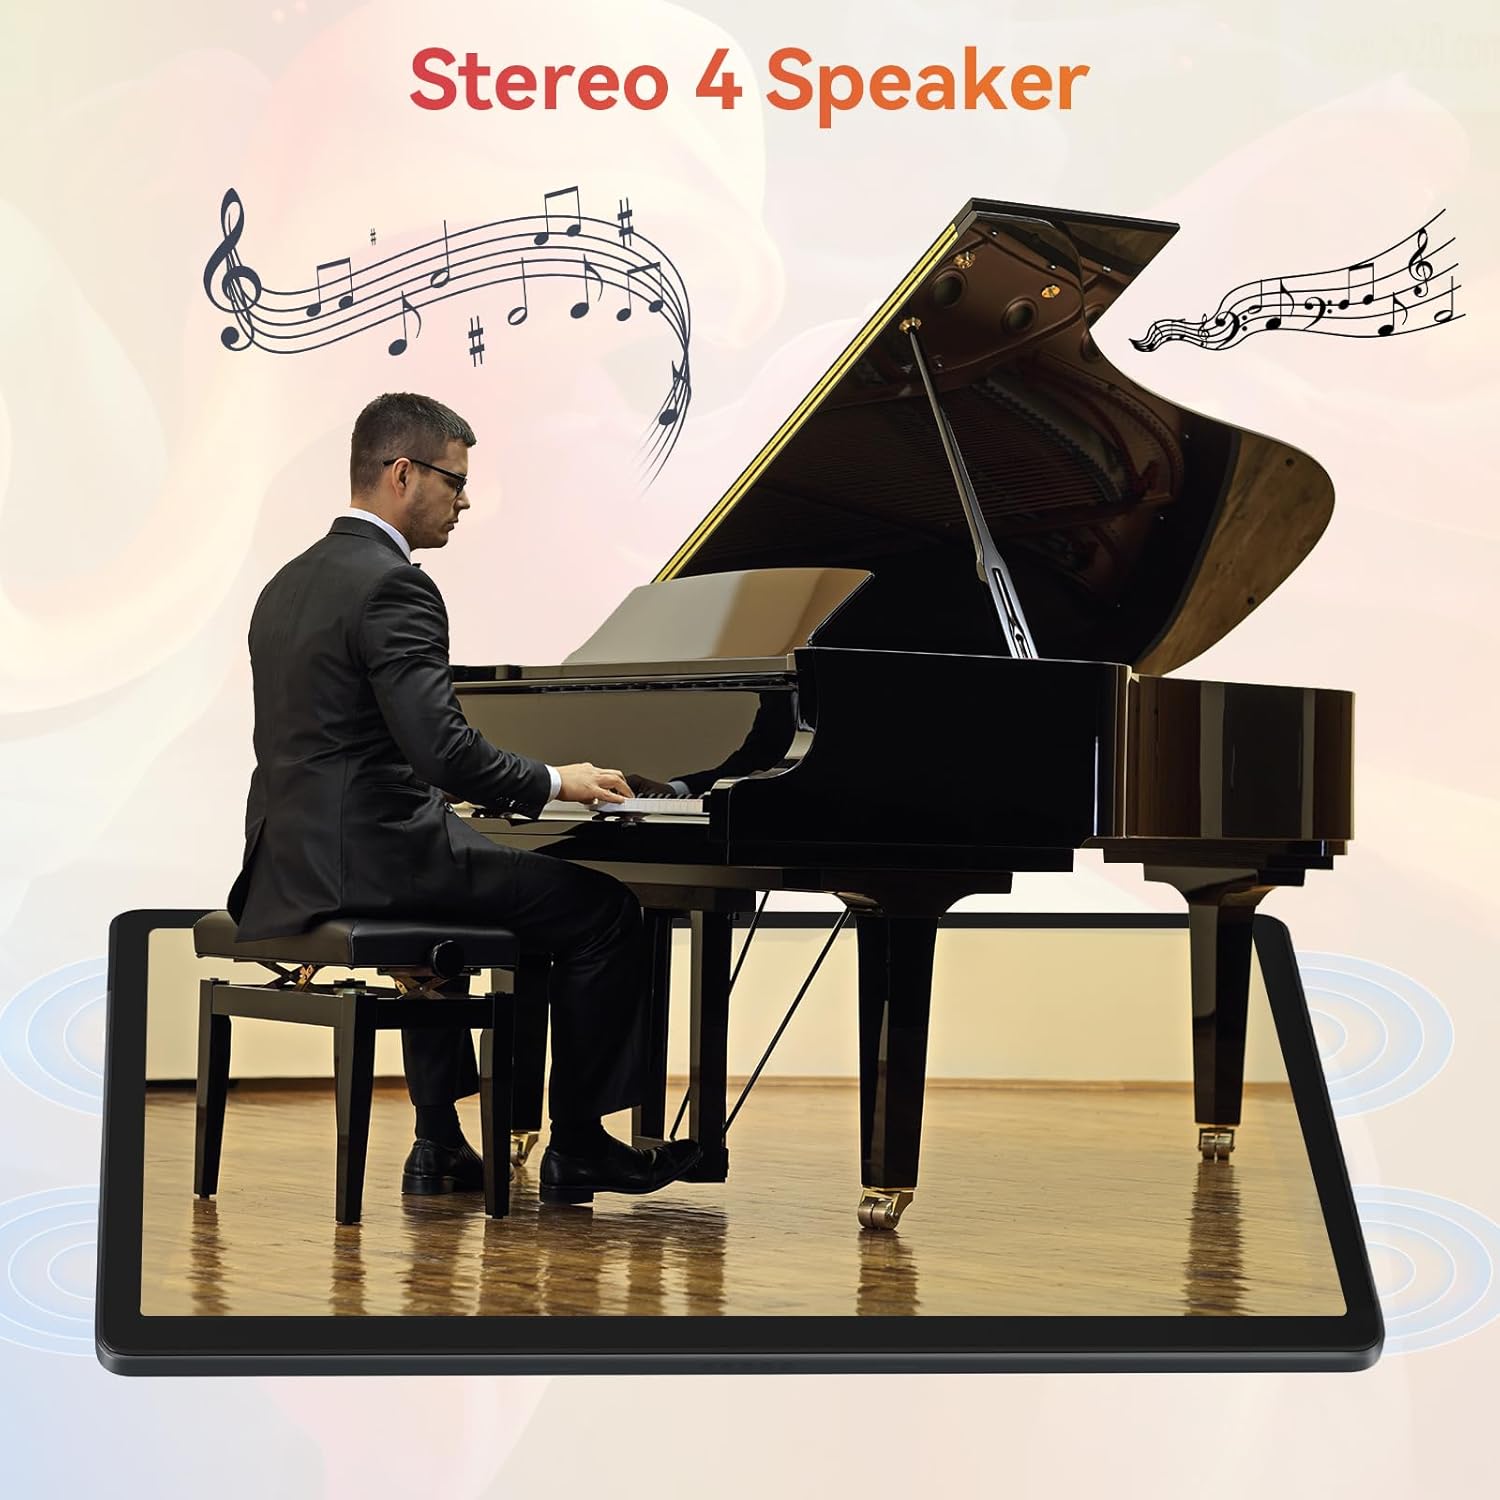
Image: The URAO tablet positioned in front of a piano player, with a graphic overlay indicating the presence of Stereo 4 Speakers for enhanced sound.
4.5 Управување со складирање
Your tablet comes with 256GB of internal storage and 30GB of RAM (6GB physical + 24GB virtual expansion). Storage can be expanded up to 1TB using a TF (Micro SD) card (not included).
- To insert a TF card, locate the card slot on the side of the tablet and gently push the card in until it clicks.
- Управувајте со складирањето преку Поставки > Складирање.

Image: The URAO tablet displaying multiple application icons, with graphics indicating its 30GB RAM (6+24GB), 256GB ROM, and support for up to 1TB external storage.
4.6 Режим 2-во-1
Transform your tablet into a laptop-like experience by connecting the Bluetooth keyboard and mouse. The protective case can also function as a stand.

Image: A multi-panel image showing the URAO tablet in different usage scenarios, including note-taking with a stylus, typing with the keyboard and mouse, and watching videos, demonstrating its versatility.
4.7 Препознавање лице
The front camera supports facial recognition for convenient unlocking.
- Одете на Поставки > Безбедност и приватност > Отклучување со лик.
- Следете ги упатствата на екранот за да ги регистрирате податоците за вашето лице.
- Once set up, you can unlock your tablet by simply looking at the front camera.
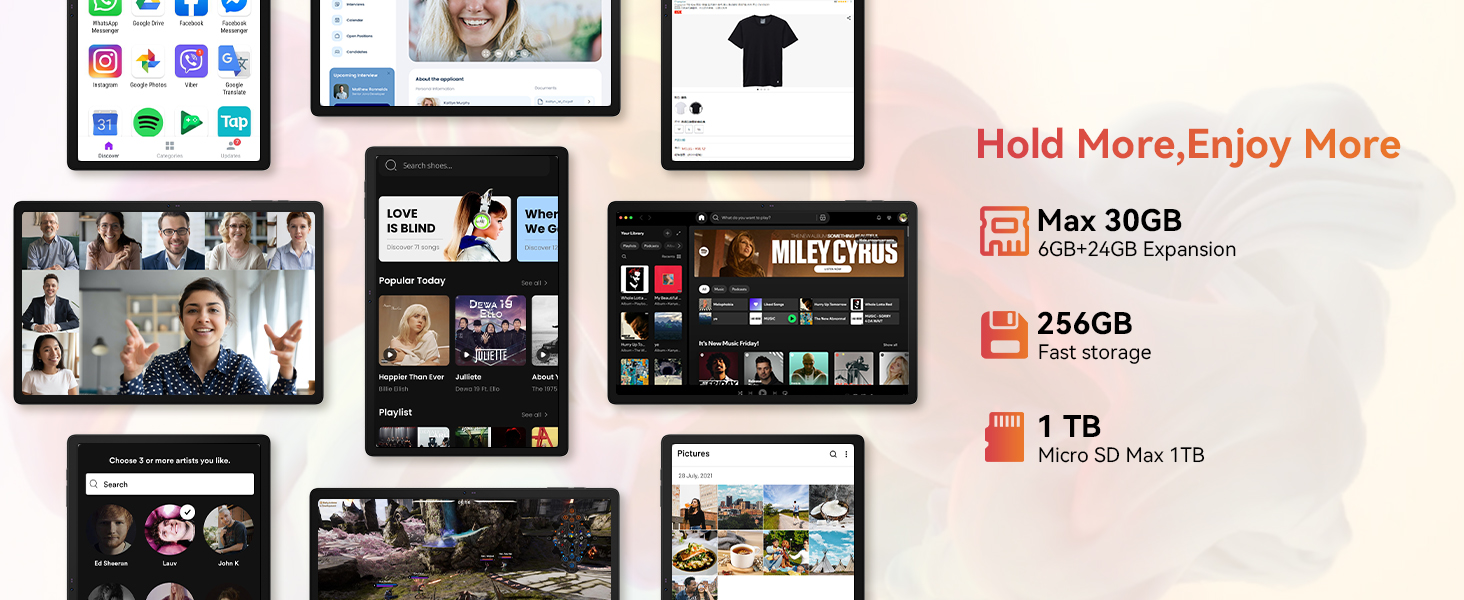
Image: A woman demonstrating the face unlock feature of the URAO tablet, with an icon indicating facial recognition technology.
5. Одржување
5.1 Чистење на уредот
- Користете мека крпа што не остава влакненца за чистење на екранот и телото на таблетот.
- Избегнувајте употреба на груби хемикалии или абразивни материјали.
- Не прскајте средства за чистење директно на екранот.
5.2 Ажурирања на софтверот
Периодично проверувајте за ажурирања на системот за да обезбедите оптимални перформанси и безбедност.
- Одете на Поставки > Систем > Системско ажурирање.
- Следете ги упатствата на екранот за да ги преземете и инсталирате сите достапни ажурирања.
5.3 Грижа за батерии
За да го продолжите животниот век на батеријата:
- Избегнувајте изложување на таблетата на екстремни температури.
- Не дозволувајте батеријата целосно да се празни често.
- Користете го само испорачаниот полнач и кабел.
6 Смена на проблеми
6.1 Уредот не се вклучува
- Проверете дали таблетот е доволно наполнет. Приклучете го на полначот најмалку 30 минути.
- Press and hold the Power ON/OFF button for 10-15 seconds to perform a forced restart.
6.2 Проблеми со Wi-Fi поврзување
- Рестартирајте го вашиот Wi-Fi рутер и таблетот.
- Проверете дали сте во опсегот на Wi-Fi сигналот.
- Проверете дали лозинката за Wi-Fi е правилно внесена.
6.3 Peripherals Not Connecting (Keyboard/Mouse/Stylus)
- Ensure Bluetooth is enabled on the tablet and the accessory is in pairing mode.
- Check if the accessory has sufficient battery (e.g., replace mouse batteries).
- Unpair and re-pair the accessory from the tablet's Bluetooth settings.
6.4 Неодзив на екранот на допир
- Рестартирајте го таблетот.
- Ensure the screen is clean and free of debris or liquids.
- If the issue persists, a factory reset may be necessary (back up your data first).
7. Спецификации
Technical Specifications for URAO G140L Tablet:
| Модел | G140L |
| Оперативен систем | Андроид 15 |
| Големина на екранот | 14.1 инчи |
| Резолуција на екранот | 1920 x 1200 пиксели (FHD IPS) |
| Процесор | 2.0 GHz Осумјадра |
| RAM меморија | 30GB (6GB физичка + 24GB виртуелна) |
| Внатрешна меморија (ROM) | 256 GB |
| Складирање што може да се прошири | Up to 1TB (TF card, not included) |
| Капацитет на батеријата | 10000 mAh |
| Полнење | 30W Fast Charging, USB Type-C |
| Просечен век на траење на батеријата | Up to 12 hours (mixed use) |
| Безжично поврзување | Wi-Fi 6 (802.11ax), Bluetooth 5.4 |
| Предна камера | 5 MP |
| Задна камера | 8 MP |
| Аудио | Stereo 4 Speakers |
| Сензори | Сензор за забрзување на гравитацијата |
| Димензии (ДxШxВ) | 12.8 x 8.39 x 0.39 инчи |
| Тежина на ставката | 4.29 фунти |
8. Гаранција и поддршка
8.1 Информации за гаранцијата
Your URAO G140L Tablet is covered by a manufacturer's warranty. Please refer to the warranty card included in your package for specific terms and conditions. Keep your proof of purchase for warranty claims.
8.2 Поддршка за корисници
For technical assistance, troubleshooting, or warranty inquiries, please contact URAO customer support through the retailer where the product was purchased or visit the official URAO webсајт за информации за контакт.