
1. Вовед
The ATN Binox 6 Dual Multispectral Binoculars are designed for comprehensive situational awareness across various light conditions. This device integrates advanced thermal and digital imaging technologies, offering clear vision from daylight to complete darkness. It is equipped with a 6th Generation Thermal Engine, a 4K CMOS sensor for day vision, and a built-in IR illuminator for night use. Key features include Dual-View Switching, ATN SharpIR AI-enhanced imaging, a 1,000-yard laser rangefinder, and onboard recording capabilities.
2. Содржина на пакетот
Проверете дали сите предмети се присутни во пакувањето:
- Binox 6 Dual Binoculars
- Пренослива торба
- 2x 18650 Battery & Charger
- Ремен за вратот
- Кабел за податоци
3. Производот завршиview
Familiarize yourself with the components of your ATN Binox 6 Dual binoculars.

Слика 3.1: Готовоview of the ATN Binox 6 Dual Multispectral Binoculars, highlighting key components such as the thermal sensor, 4K day/night sensor, IR illuminator, focus ring, functional buttons, power button, USB-C port, zoom/menu control, diopter adjustment, and adjustable interpupillary distance (IPD) eyepieces.

Слика 3.2: Предна страна view of the ATN Binox 6 Dual Multispectral Binoculars, showing the objective lenses.

Слика 3.3: Страна view of the ATN Binox 6 Dual Multispectral Binoculars, showing the ergonomic design and control buttons.
4. Поставување
4.1. Инсталација и полнење на батеријата
- Отворете ја преградата за батерии.
- Insert the two provided 18650 rechargeable batteries, ensuring correct polarity.
- Добро затворете ја преградата за батерии.
- Connect the data cable to the USB-C port on the binoculars and to the charger. Plug the charger into a power source.
- Allow the batteries to fully charge before first use (approximately 8 hours runtime on a full charge).
4.2. Initial Power On and Adjustments
- Притиснете и задржете го копчето за вклучување за да го вклучите уредот.
- Adjust the Interpupillary Distance (IPD) by moving the two halves of the binoculars until you see a single, clear circular image.
- Use the Diopter Adjustment rings on each eyepiece to achieve sharp focus for your individual eyesight.
- Rotate the Focus Ring to bring distant objects into sharp focus.
5. Упатства за работа
5.1. Mode Switching (Day, Night, Thermal, Twilight)
The Binox 6 Dual offers multiple viewing modes for various conditions.

Figure 5.1: Visual representation of the four primary viewing modes: Day, Night, Thermal, and Twilight, demonstrating the versatility of the Binox 6 Dual.
- Use the dedicated Functional Buttons to cycle through Day, Night, Thermal, and Twilight modes. Refer to the product overview diagram for button locations.
- Day Mode (4K UHD): Provides vibrant, high-definition color imaging in daylight conditions.
- Night Mode (IR-assisted): Utilizes the built-in IR illuminator for clear black and white vision in low light or complete darkness.
- Термички режим: Detects heat signatures, useful for spotting objects in challenging conditions like fog, smoke, or dense foliage.
- Twilight Mode: Optimized for low-light conditions before full darkness, balancing light amplification and detail.

Figure 5.2: A split image demonstrating the clarity of the 4K CMOS sensor in daytime and the effectiveness of IR-assisted night vision in darkness.
5.2. Dual-View Префрлување
This feature allows simultaneous viewing of two different modes, such as thermal and day vision, in a Picture-in-Picture format.

Figure 5.3: An illustration of Dual-View Switching, where a thermal image is overlaid as a smaller window on a larger day or night vision scene, providing combined visual information.
- Activate Dual-View Switching via the menu or a dedicated functional button (refer to your device's specific button layout).
- This allows for enhanced target identification by combining thermal detection with natural optical context.
5.3. Laser Rangefinder Operation
The integrated 1,000-yard laser rangefinder provides precise distance measurements.
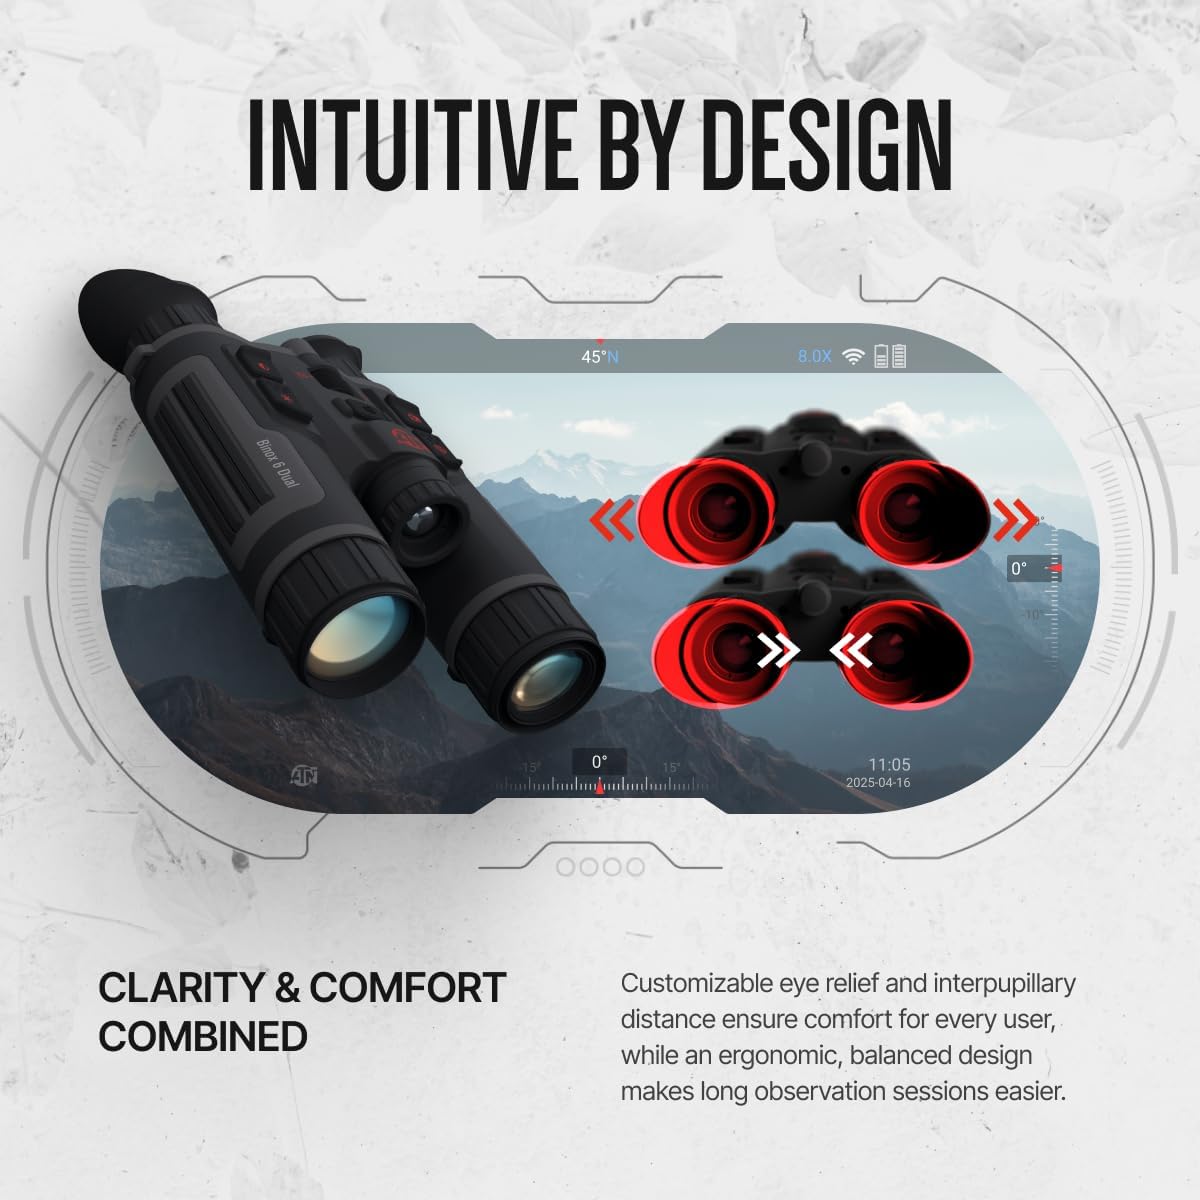
Figure 5.4: The laser rangefinder projecting a beam to measure the distance to a target, displaying the result as 1000 yards.
- Point the binoculars at your target.
- Press the dedicated rangefinder button (often labeled LRF) to activate the laser.
- The distance to the target will be displayed on the screen.
5.4. Recording and Wi-Fi Connectivity
Capture images and videos, and connect to the ATN Connect 6 app.
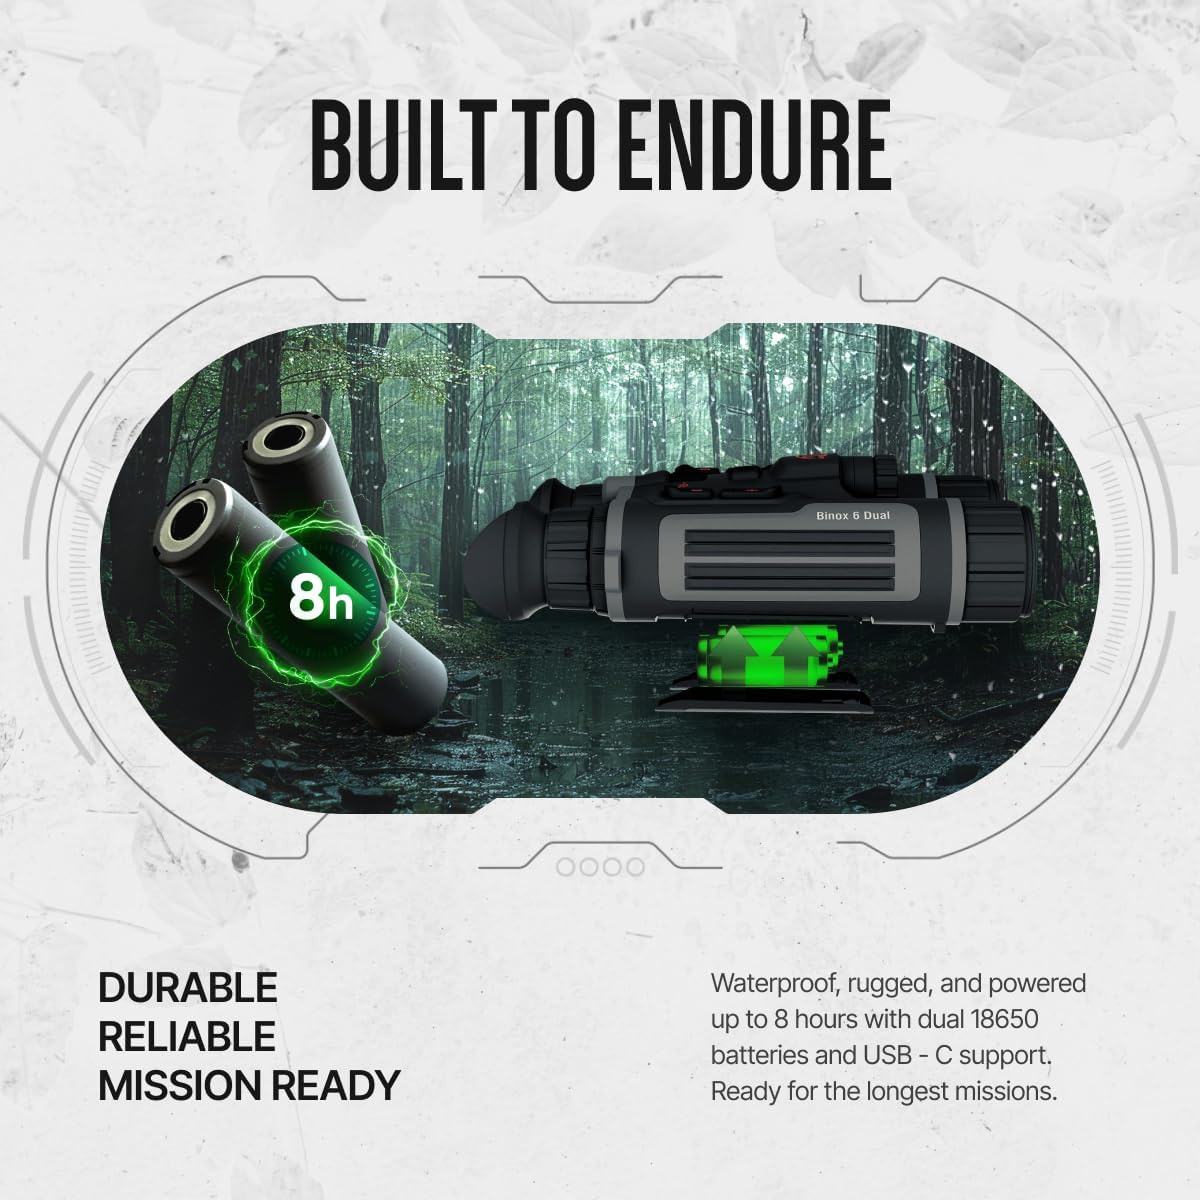
Figure 5.5: The Binox 6 Dual recording 4K Ultra HD video, indicated by an on-screen overlay, capturing a squirrel in a tree.
- Press the Record button to start/stop video recording (4K day, 1080p thermal).
- Press the Photo button to capture still images.
- Access recorded media via the menu or by connecting the device to a computer using the data cable.
- Enable Wi-Fi in the settings menu to connect to the ATN Connect 6 app for live streaming and sharing.
5.5. Напредни функции за снимање
- ATN SharpIR AI: Enhances edge clarity and contrast in real-time.
- Hot Point Tracking: Automatically highlights the hottest object in view for quick acquisition.
- Широк динамички опсег (WDR): Improves visibility in scenes with extreme light differences.
- Паметна IR: Adjusts IR illumination intensity automatically.
- DeFOG Mode: Enhances visibility in foggy conditions.
- Повеќе палети на бои: Customize thermal view colors for different environments and preferences.

Figure 5.6: A visual comparison demonstrating the improved detail and edge definition provided by ATN SharpIR AI technology in a thermal image.

Figure 5.7: Hot Point Tracking in action, visually marking the warmest object (a boar) in a group within the thermal view, aiding in quick target acquisition.
Video 5.1: An official product video demonstrating the various features and capabilities of the ATN Binox 6 Dual, including multispectral viewing modes, SharpIR AI, laser rangefinding, and rugged design. This video provides a comprehensive overview of the binoculars in action.
6. Одржување
6.1. Чистење
- Леќи: Use a soft, lint-free cloth specifically designed for optics. Gently wipe the lens surfaces. For stubborn smudges, use a small amount of lens cleaning solution on the cloth, not directly on the lens.
- Тело: Избришете го телото на двогледот со мека, дamp крпа. Избегнувајте груби хемикалии или абразивни материјали.
6.2. Складирање
- Store the binoculars in their portable bag when not in use to protect them from dust and impact.
- Чувајте го уредот на ладно и суво место, подалеку од директна сончева светлина и екстремни температури.
- For long-term storage, remove the batteries to prevent leakage.
6.3. Нега на батерии
- Use only the provided 18650 batteries and charger.
- Не ги изложувајте батериите на оган или екстремна топлина.
- Отстранете ги истрошените батерии според локалните прописи.
7 Смена на проблеми
| Проблем | Можна причина | Решение |
|---|---|---|
| Уредот не се вклучува. | Слаби или испразнети батерии. Неправилна инсталација на батериите. | Charge batteries fully. Ensure batteries are inserted with correct polarity. |
| Сликата е заматена или не е во фокус. | Improper focus ring or diopter adjustment. | Adjust the Focus Ring and Diopter Adjustment for each eye until the image is sharp. |
| Thermal image is unclear or lacks detail. | Environmental conditions (e.g., heavy rain, dense fog). Sensor calibration needed. | Try using DeFOG mode. Perform a sensor calibration (refer to on-screen menu for option). |
| Проблеми со Wi-Fi конекција. | Wi-Fi disabled. Out of range. App not updated. | Ensure Wi-Fi is enabled on the device. Move closer to your mobile device. Update the ATN Connect 6 app. |
| Ласерскиот далекомер не работи. | Пречка пред LRF. Целта е премногу далеку или премногу блиску. | Ensure LRF is clear. Target must be within 1000 yards. |
8. Спецификации
| Карактеристика | Детал |
|---|---|
| Резолуција на термички сензор | 384x288 |
| Thermal Sensor Pixel Size | 12 µm |
| Thermal Sensor NETD | ≤15 mK |
| Сензор за ден/ноќ | 4K UHD (1.8-inch CMOS) |
| Резолуција на екранот | 1920x1080 OLED (0.49-inch) |
| Стапка на освежување | 50 Hz |
| IR Illuminator Range | До 350 метри |
| Ласерски дострел | 1,000 yards (±1 m accuracy) |
| Внатрешно складирање | 64 GB |
| Снимање видео | 4K (Day), 1080p (Thermal) |
| Поврзување | Wi-Fi, USB-C |
| Извор на енергија | 2 x 18650 батерии за полнење |
| Траење на батеријата | До 8 часа |
| Материјал за домување | Lightweight Magnesium Alloy |
| Оценка за животна средина | IP67 (водоотпорен, отпорен на прашина) |
| Тежина | 1.59 фунти |
| Димензии | 11.55 x 11.25 x 4.75 инчи |
| Број на модел | MSBNB6335A |
9. Гаранција и поддршка
For warranty information, please refer to the warranty card included with your product or visit the official ATN website. For technical support, product registration, or service inquiries, please contact ATN customer service through their official channels.
Онлајн ресурси:
- Официјален претставник на ATN Webсајт: www.atncorp.com
- ATN Connect 6 App: Available on iOS and Android app stores.