Вовед
This manual provides essential information for the setup, operation, maintenance, and troubleshooting of your HP Compaq LA2206x 21.5-inch LED LCD Monitor. The monitor features a super-thin, soft black design with a 21.5-inch diagonal widescreen display, offering Full HD images. Its WLED backlight technology contributes to improved recyclability, and advanced adjustability enhances user productivity.
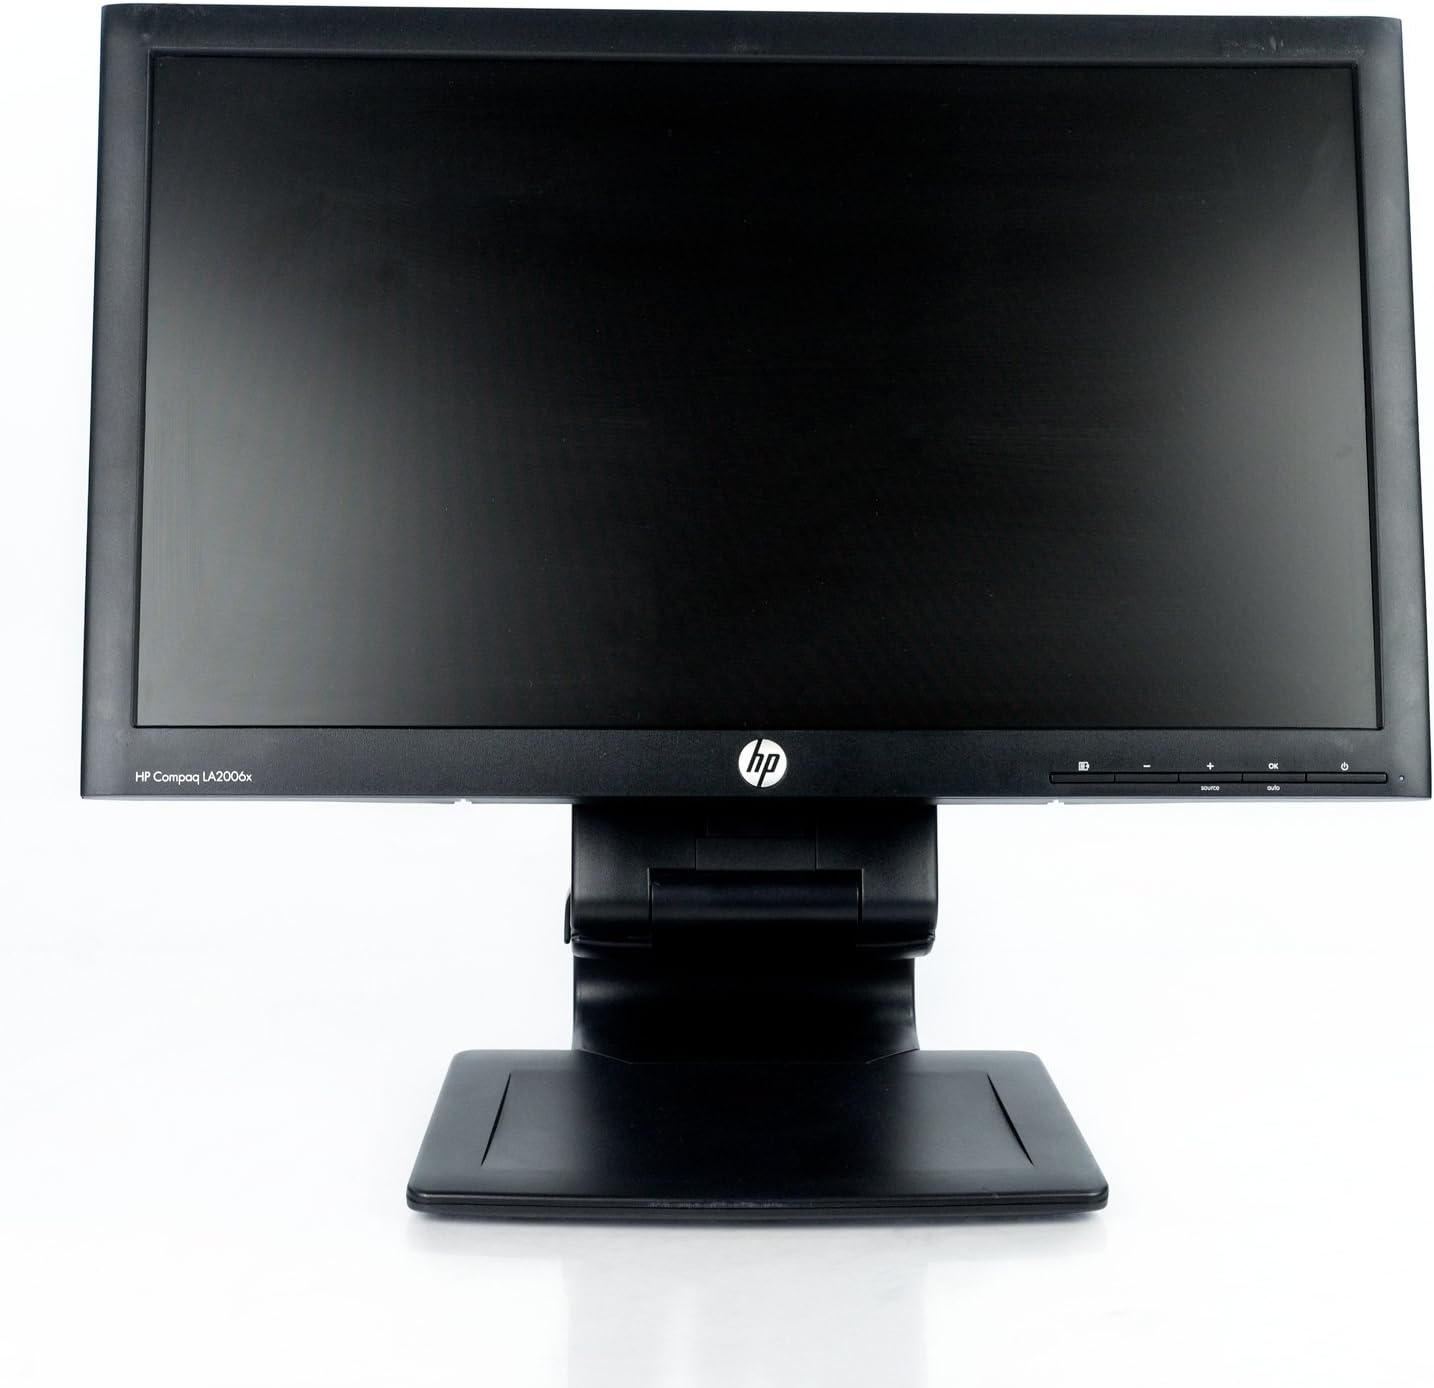
Слика 1: Предна страна view of the HP Compaq LA2206x monitor, showcasing its slim bezel and adjustable stand.
Поставување
1. Распакување на мониторот
Carefully remove all components from the packaging. Ensure all parts are present before proceeding with assembly. Retain packaging for future transport or service.
2. Склопување на штандот
- Поставете го мониторот со лицето надолу на мека, чиста површина за да спречите гребнатини.
- Align the stand base with the stand column. Secure the base to the column using the provided screw, if applicable.
- Attach the assembled stand to the back of the monitor. Ensure it clicks securely into place or is fastened with screws as per the included quick setup guide.
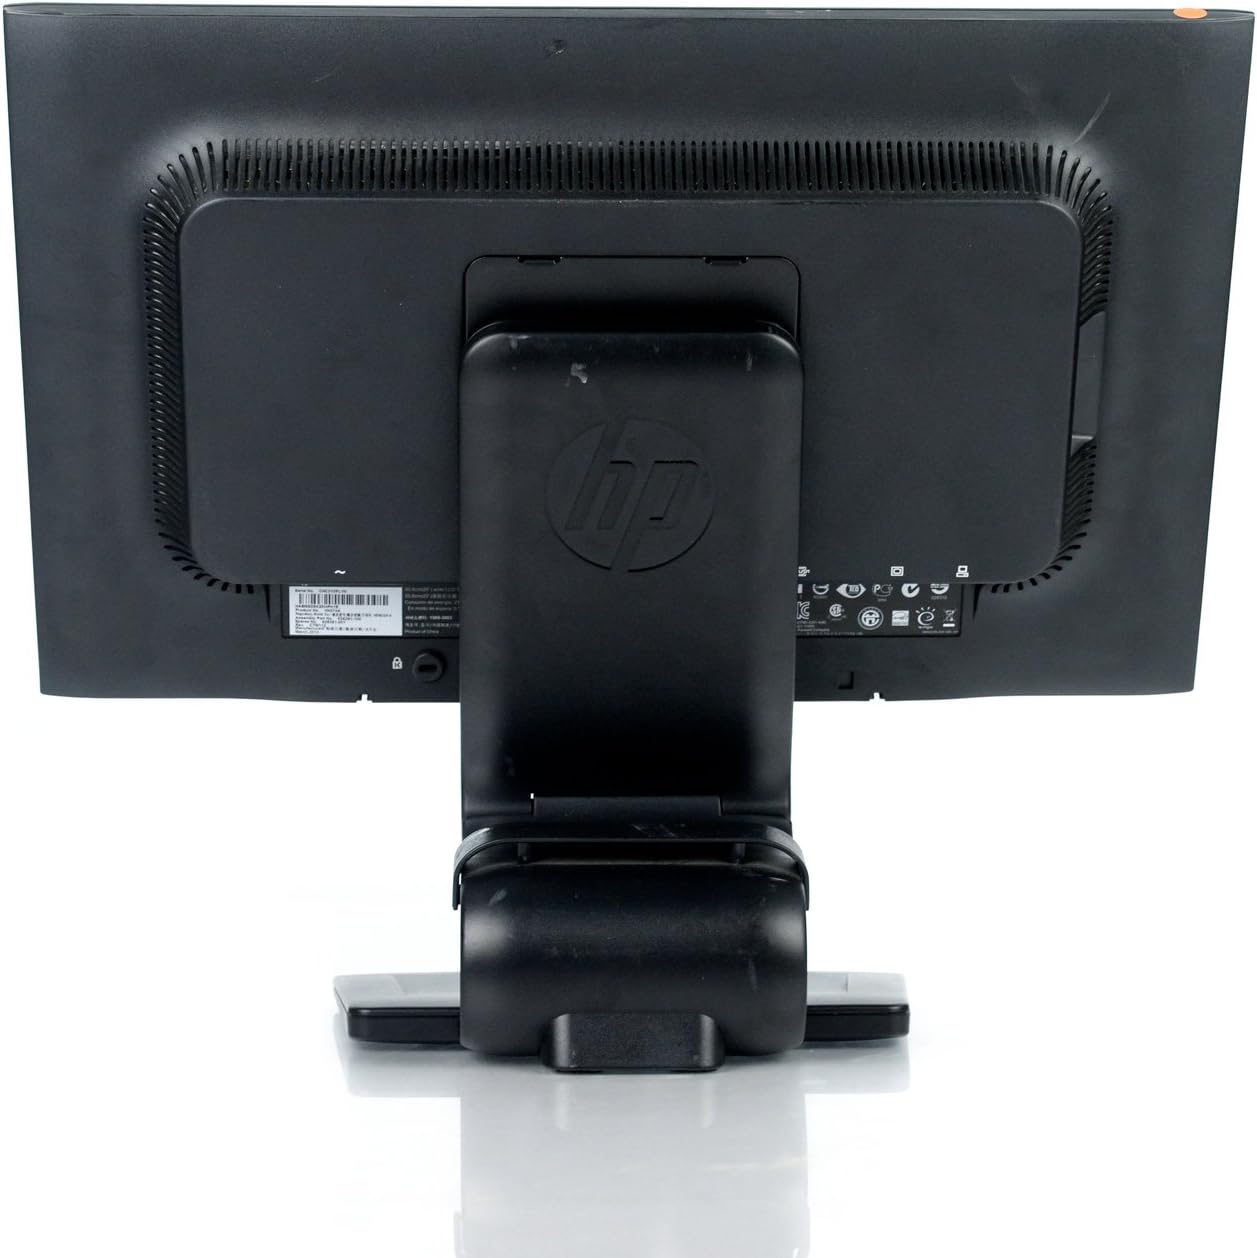
Слика 2: Заден дел view of the monitor showing the attached stand, ready for cable connections.
3. Кабли за поврзување
Connect the necessary cables to the monitor and your computer. Ensure all connections are firm.
- Кабел за напојување: Поврзете го едниот крај со влезот за напојување на мониторот, а другиот со заземјен електричен штекер.
- Видео кабел: Connect a DVI, DisplayPort, or VGA cable from your computer's video output to the corresponding input on the monitor. The monitor supports 1920x1080 resolution.
- USB Cable (Optional): Connect a USB upstream cable from your computer to the monitor's USB upstream port to enable the monitor's integrated USB 2.0 ports.

Слика 3: Детално view of the monitor's rear panel, highlighting the power input, DisplayPort, DVI, VGA, and USB ports.
Работејќи го мониторот
1. Вклучување/исклучување
Press the power button located on the front right side of the monitor to turn it on or off. The power indicator light will illuminate when the monitor is active.
2. Навигација на менито на екранот (OSD)
The monitor features an On-Screen Display (OSD) menu for adjusting various settings. Use the control buttons located on the front bezel to navigate and select options.

Слика 4: Close-up of the monitor's control buttons, including power, menu navigation, and input selection.
- Копче за мени: Го отвора менито за OSD.
- Копчиња '+' / '-': Движете се низ опциите на менито или прилагодете ги вредностите.
- Добро копче: Потврдува избор или влегува во подмени.
- Изворно копче: Quickly switches between available video inputs (DVI, DisplayPort, VGA).
- Копче за авто: Automatically adjusts the screen image for optimal display, particularly useful for analog (VGA) connections.
3. Adjusting Monitor Settings
Through the OSD menu, you can adjust settings such as:
- Осветленост и контраст: Прилагодете ја вкупната осветленост и разликата помеѓу светлите и темните области.
- Контрола на боја: Select color temperature or customize RGB values.
- Контрола на сликата: Fine-tune sharpness, clock, and phase for optimal image clarity.
- Контрола на влез: Manually select the video input source.
- Моќен менаџмент: Configure sleep timers and power-saving modes.
Одржување
1. Чистење на мониторот
- Always power off the monitor and unplug it from the electrical outlet before cleaning.
- Лесно користете мека крпа без влакненца dampизмиено со вода или неабразивно средство за чистење екрани.
- Do not spray cleaners directly onto the screen or casing.
- Avoid using benzene, thinners, or any volatile solvents, as these may damage the monitor's surface.
2. Безбедносни мерки на претпазливост
- Не ги блокирајте отворите за вентилација на мониторот.
- Држете го мониторот подалеку од директна сончева светлина, извори на топлина и прекумерна влага.
- Избегнувајте поставување тешки предмети врз мониторот или неговите кабли.
- If the monitor is damaged or malfunctions, do not attempt to repair it yourself. Contact qualified service personnel.
Решавање проблеми
This section addresses common issues you might encounter with your HP Compaq LA2206x monitor.
Нема моќ
- Осигурајте се дека кабелот за напојување е безбедно поврзан и со мониторот и со функционален електричен штекер.
- Проверете дали штекерот е функционален со вклучување на друг уред.
- Проверете дали е притиснато копчето за вклучување на мониторот.
Нема сигнал / Празен екран
- Confirm that the video cable is securely connected to both the monitor and the computer's video output port.
- Ensure the correct input source is selected on the monitor using the 'Source' button.
- Рестартирајте го компјутерот.
- Доколку е можно, тестирајте го мониторот со друг компјутер или друг видео кабел.
Distorted or Unclear Image
- For analog (VGA) connections, press the 'Auto' button on the monitor to automatically adjust the image.
- Adjust the brightness, contrast, sharpness, clock, and phase settings through the OSD menu.
- Ensure your computer's display resolution is set to the monitor's native resolution of 1920x1080.
Спецификации
Below are the key technical specifications for the HP Compaq LA2206x monitor (Model: XN376AA):
| Карактеристика | Спецификација |
|---|---|
| Големина на екранот | 21.5 инчи |
| Максимална резолуција на екранот | 1920 x 1080 (FHD 1080p) |
| Сооднос на аспект | 16:9 |
| Време на одговор | 5 ms |
| Технологија на прикажување | ЛЕД ЛЦД |
| Поврзување | DisplayPort, DVI, VGA, 2x USB 2.0 Ports |
| Боја | Црното |
| Тежина на ставката | 13.45 фунти |
| Димензии на производот (ДxШxВ) | 8.95 x 20.39 x 13.12 инчи |
| Број на модел | XN376AA |
Информации за гаранцијата
This HP Compaq LA2206x monitor is covered by a standard manufacturer's warranty. Please refer to the warranty card included with your product or visit the official HP support website for detailed terms and conditions, including warranty duration and service procedures. Keep your proof of purchase for warranty claims.
Поддршка
For technical assistance, driver downloads, or further information regarding your HP Compaq LA2206x monitor, please visit the official HP support website. You may need your monitor's serial number for support inquiries.

Слика 5: Location of the serial number label on the back of the monitor. The serial number for this unit is CNC210PLYN.
When contacting support, please have your model number (XN376AA) and serial number ready to expedite service.


