1. Вовед
Thank you for choosing the Progress Lighting Gather Collection Five-Light Chandelier. This elegant fixture, featuring etched glass shades and a brushed nickel finish, is designed to enhance your home's ambiance. This manual provides essential information for safe installation, operation, and maintenance of your new chandelier.
2. Важни безбедносни информации
ПРЕДУПРЕДУВАЊЕ: Овој производ може да ве изложи на хемикалии, вклучително и олово, за кое Калифорнија и е познато дека предизвикува рак и вродени дефекти или друга репродуктивна штета. За повеќе информации одете на www.P65Warnings.ca.gov.
Always turn off the main power supply at the circuit breaker before beginning any electrical installation. Consult a qualified electrician if you are unsure about any part of the installation process. Ensure all wiring connections are secure and comply with local electrical codes. Do not exceed the maximum wattagе наведено за светилките.
3. Содржина на пакетот
Проверете дали сите компоненти се присутни пред да започнете со инсталацијата:
- Chandelier Fixture (Brushed Nickel)
- Etched Glass Shades (5)
- Комплет за хардвер за монтирање
- Chain and Canopy Assembly
- Лист за инсталација
4. Спецификации на производот
| Карактеристика | Спецификација |
|---|---|
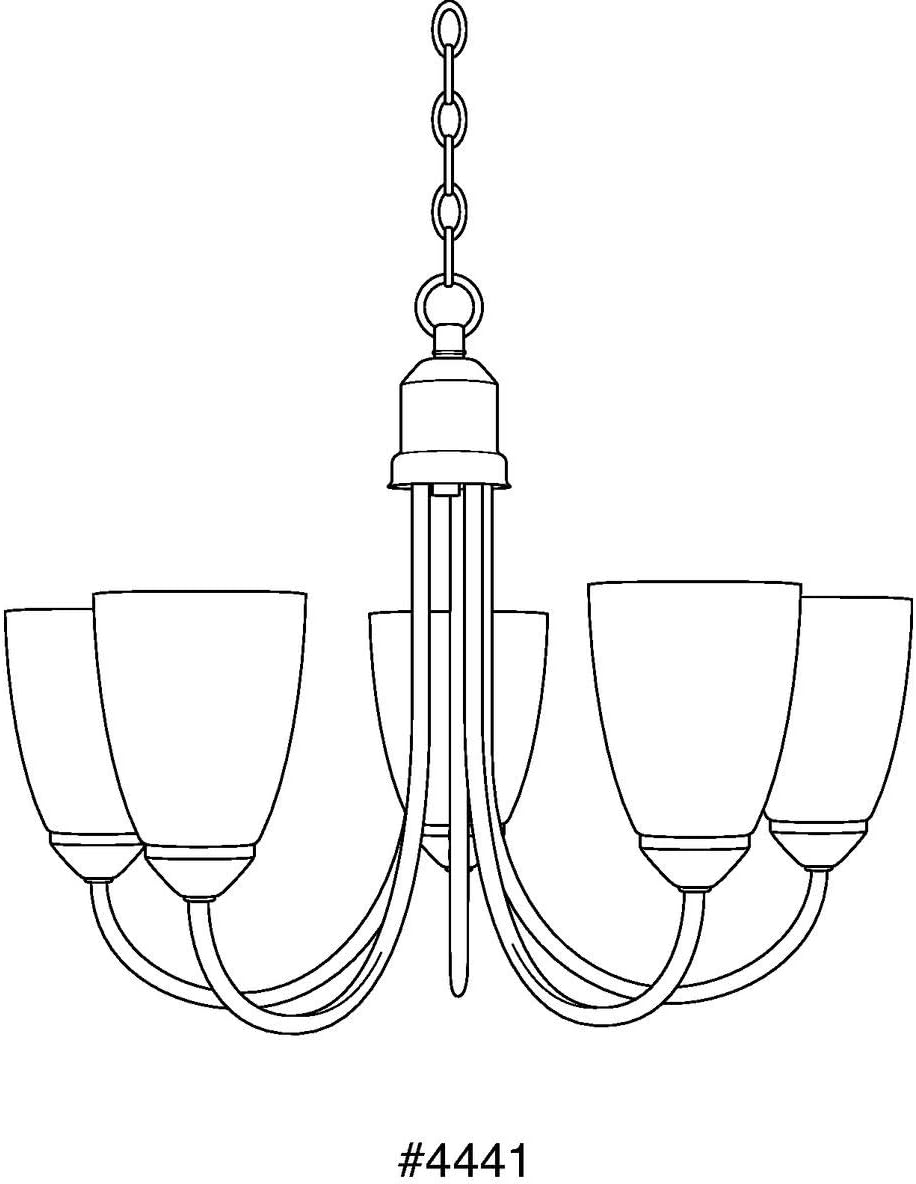
| Број на модел | P4441-09 |
| Бренд | Прогрес осветлување |
| Боја | Брусен никел |
| Материјал | Alloy Steel (Fixture), Glass (Shades) |
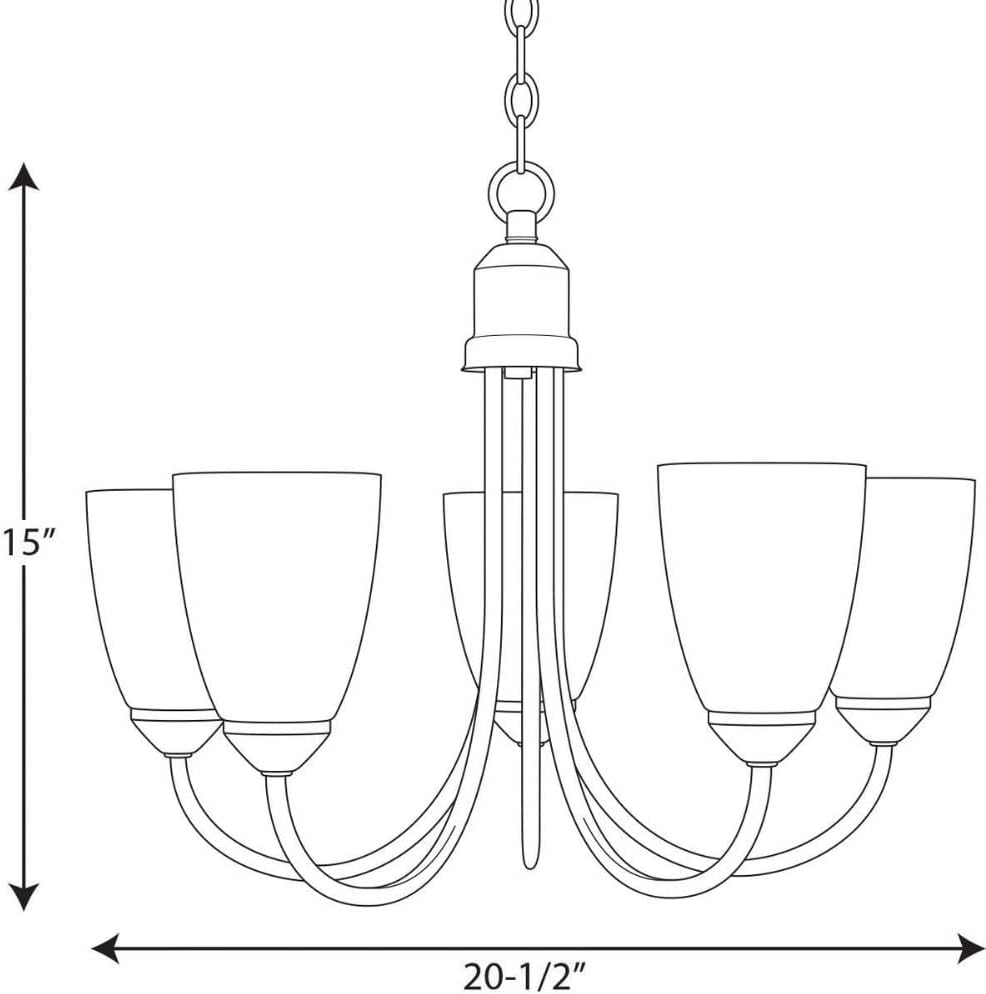
| Димензии (Д x Ш x В) | 20.2" x 20.63" x 15" |
| Тежина на ставката | 5 фунти |
| Број на извори на светлина | 5 |
| Макс Ватtage по сијалица | 100 вати |
| Voltage | 120 волти |
| Тип на инсталација | Постојана |
| Тип на извор на светлина | Блескаво светло (компатибилно со LED, CFL, халогени) |
| Тип на соба | Dining Room, Great Room, Bathroom |
5. Поставување и инсталација
Installation of this chandelier typically requires two people for safety and ease of handling. Follow the detailed instructions provided in the included installation sheet. Below are general steps and helpful visual aids.
5.1. Пред-инсталација
- Исклучете го напојувањето: Locate the circuit breaker controlling the light fixture and turn off the power.
- Отпакувај: Внимателно отстранете ги сите компоненти од пакувањето и проверете дали има оштетувања.
- Потребни алатки: Gather necessary tools such as a screwdriver, wire strippers, pliers, and a ladder.
5.2. Монтажа и монтажа
Assemble the main body of the chandelier according to the diagrams in your installation sheet. This may involve unfolding the arms and attaching the chain. Adjust the chain length to achieve the desired hanging height. For dining room tables, the bottom of the chandelier should typically hang 30-36 inches above the table surface for an 8-foot ceiling. For higher ceilings, consider the guidelines in the video below.


5.3. Chandelier Hanging Height Guidelines
For optimal lighting and aesthetic appeal, consider the following guidelines for hanging your chandelier. This video provides a comprehensive overview of recommended hanging heights for various room types.
5.4. Wици
Connect the fixture wires to the house wires according to the provided wiring diagram. Ensure all connections are secure with wire nuts. Proper grounding is crucial for safety; do not skip this step.
5.5. Завршно собрание
Once wired, secure the canopy to the ceiling junction box. Install the light bulbs (not included) into the sockets. The chandelier uses five medium base bulbs (100W max per bulb). Finally, attach the etched glass shades to each light base.
6. Operating Your Chandelier
After installation, restore power at the circuit breaker. Your chandelier is now ready for use. This fixture is fully dimmable when used with dimmable bulbs and a compatible dimmer switch (sold separately), allowing you to adjust the light intensity to suit your needs.
7. Нега и одржување
7.1. Чистење
To maintain the finish of your chandelier, wipe it with a soft, dry cloth. Avoid using abrasive cleaners or solvents, as these can damage the finish. For glass shades, use a mild glass cleaner and a soft cloth.
7.2. Замена на сијалицата
Always turn off the power to the fixture at the circuit breaker before replacing bulbs. Allow bulbs to cool completely before handling. Replace bulbs with the same type and wattage (medium base, 100W max) to ensure proper operation and prevent damage.
8 Смена на проблеми
Ако вашиот лустер не функционира правилно, погледнете ги следните вообичаени проблеми и решенија:
- Светлата не се вклучуваат:
- Проверете дали прекинувачот е ВКЛУЧЕН.
- Ensure bulbs are securely screwed in and not burnt out.
- Проверете дали сите жичени врски се безбедни.
- Lights flickering or dimming improperly:
- Ensure you are using dimmable bulbs with a compatible dimmer switch.
- Проверете дали има лабави врски со жици.
- Прицврстувачот е лабав:
- Ensure the mounting hardware is securely fastened to the ceiling junction box.
If problems persist, contact Progress Lighting customer support or a qualified electrician.
9. Гаранција и поддршка
This Progress Lighting product comes with a 1-годишна ограничена гаранција, guaranteeing your complete satisfaction and including professional after-sales customer service support. For warranty claims, technical assistance, or replacement parts, please contact Progress Lighting customer service directly.
Контакт информации: Refer to the contact details provided on the original product packaging or the official Progress Lighting webсајт.