Вовед
This manual provides essential information for the proper installation, operation, and maintenance of your Elna Sewing Machine Braiding Foot (Model 492180-20). Please read these instructions carefully before use to ensure optimal performance and longevity of the product.
Производот завршиview
The Elna Braiding Foot is a specialized accessory designed to simplify the process of attaching braids, cords, and decorative trims to fabric. Its unique design guides the braid smoothly under the needle, allowing for precise and even stitching.
Компатибилност
This snap-on braiding foot is compatible with a range of Elna and BabyLock sewing machine models, including but not limited to:
- Elna Models: DIVA, 1010, 1200, 1400, 1500, 1600, 2002, 2004, 2006, 8000, 9000
- BabyLock Models: ESI, ESI2, ESE, ESE2
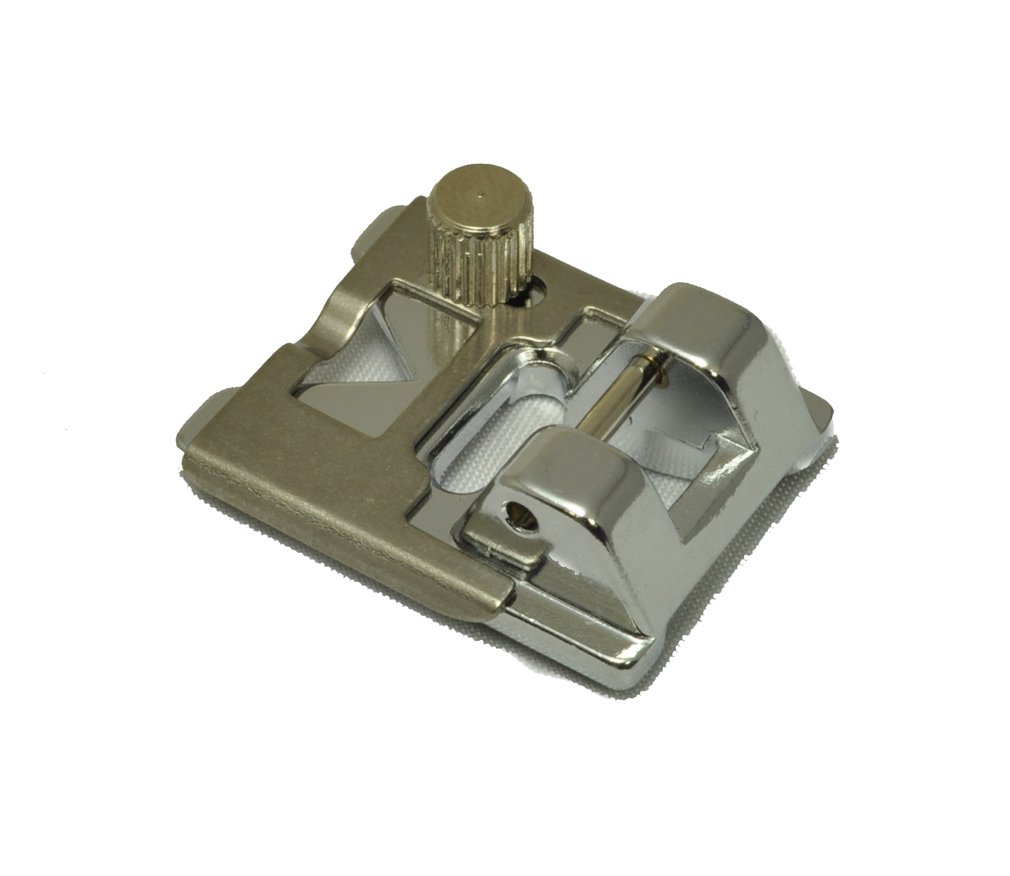
Figure 1: Elna Sewing Machine Braiding Foot. A close-up view of the Elna Sewing Machine Braiding Foot, showing its metal construction and snap-on mechanism for attachment to a sewing machine.
Поставување
- Исклучено: Од безбедносни причини, осигурајте се дека вашата машина за шиење е исклучена и исклучена од струја.
- Отстрани ја тековната стапка: Raise the presser foot lever. Press the release button or lever at the back of the presser foot holder to detach the currently installed presser foot.
- Attach Braiding Foot: Position the Elna Braiding Foot so that the bar on the foot aligns with the groove on the presser foot holder. Lower the presser foot lever until the foot snaps securely into place.
- Потврди го прилогот: Gently tug on the foot to ensure it is firmly attached and will not detach during operation.
Упатства за работа
- Prepare Braid: Select the braid, cord, or trim you wish to attach. Ensure it is suitable for the channel size of the braiding foot.
- Insert Braid: Thread the braid through the guide channel on the top of the braiding foot. Pull a few inches of the braid out from under the foot.
- Позиционирање на ткаенината: Place your fabric under the braiding foot, aligning the starting point of your braid with the desired stitching line.
- Изберете бод: Choose an appropriate stitch for attaching the braid. A zigzag stitch is commonly used, with width and length adjusted to straddle the braid. Test on a scrap piece of fabric first.
- Започнете со шиење: Lower the presser foot. Slowly begin sewing, guiding the fabric and braid evenly. The foot will feed the braid, keeping it centered under the needle.
Одржување
To ensure the longevity and proper function of your braiding foot, follow these simple maintenance steps:
- Чистење: Periodically wipe the braiding foot with a soft, dry cloth to remove any lint, dust, or thread residue.
- Складирање: Store the foot in a dry, clean place, preferably in a sewing machine accessory box, to prevent damage or loss.
- Инспекција: Before each use, inspect the foot for any signs of damage or wear that might affect its performance.
Решавање проблеми
If you encounter issues while using the braiding foot, consider the following:
- Braid Not Feeding Smoothly:
- Ensure the braid is correctly threaded through the foot's guide channel.
- Check that the braid size is appropriate for the foot's channel.
- Verify that the presser foot pressure is correctly adjusted on your machine (if applicable).
- Uneven Stitching:
- Confirm that the stitch width and length are set correctly for the braid.
- Maintain consistent speed and gentle guidance of the fabric and braid.
- Foot Not Attaching:
- Ensure the presser foot holder is clean and free of obstructions.
- Verify that the foot is correctly aligned with the holder's groove before lowering the lever.
Спецификации
| Тежина на ставката | 1 фунти |
| Производител | Елна |
| ASIN | B008MNZ318 |
| Се прекинува од страна на производителот | бр |
| Потребни се батерии | бр |
Гаранција и поддршка
For information regarding warranty coverage, technical support, or replacement parts, please refer to the documentation provided with your Elna sewing machine or contact Elna customer service directly. Keep your purchase receipt as proof of purchase.


