1. Вовед
This manual provides detailed instructions for the installation, setup, and operation of your LoraTap WiFi Smart Relay Switch (Model RR400W). Please read this manual thoroughly before use to ensure proper functionality and safety.
Содржина на пакетот:
- LoraTap WiFi Smart Relay Switch (RR400W)
- Упатство за употреба
- Mounting accessories (screws, anchors, mini screwdriver, electrical wires)

Image 1.1: LoraTap WiFi Smart Relay Switch (Model RR400W) and its mobile application interface.
2. Информации за безбедност
- ПРЕДУПРЕДУВАЊЕ: Electrical installation should only be performed by a qualified electrician or in accordance with local electrical codes.
- Секогаш исклучувајте го напојувањето на прекинувачот пред да го инсталирате или сервисирате уредот.
- Овој уред е дизајниран само за внатрешна употреба.
- Не го надминувајте максималното оптоварување од 10A / 2500W.
- Ensure the device is installed in a location with a neutral wire for correct electrical supply.
- Да се чува подалеку од дофат на деца.
3. Спецификации на производот
| Карактеристика | Спецификација |
|---|---|
| Број на модел | RR400W |
| Влез волуменtage | 100-250V AC, 50/60Hz |
| Максимално оптоварување | 10А / 2500W |
| Безжичен протокол | Wi-Fi 2.4GHz (IEEE 802.11 b/g/n) |
| Димензии (Д x Ш x В) | 4.8 x 4.2 x 2.3 cm (1.89 x 1.65 x 0.91 инчи) |
| Контролен метод | Remote (App), Voice |
| Компатибилност | Amazon Alexa, Google Assistant, Smart Life App, Tuya App |
| Сертификати | CE, RoHS, FCC |
4. Водич за инсталација
The LoraTap WiFi Smart Relay Switch is designed for easy integration into existing electrical systems. It requires a neutral wire for operation.
Дијаграм за поврзување:
- Исклучете го напојувањето: Before starting, turn off the power at the main circuit breaker to avoid electrical shock.
- Идентификувајте ги жиците: Locate the Live (L) and Neutral (N) input wires from your power source, and the Live (L) and Neutral (N) load wires going to your appliance (e.g., lamp).
- Влез за поврзување: Connect the Live input wire to the 'L in' terminal and the Neutral input wire to the 'N in' terminal on the LoraTap switch.
- Поврзување на излез: Connect the Live load wire to the 'L out' terminal and the Neutral load wire to the 'N out' terminal on the LoraTap switch.
- Безбедни врски: Ensure all wire connections are secure. The device supports 26-16AWG wires.
- Монтирање на уред: The compact size allows installation in narrow spaces, such as behind a socket or in a ceiling rose. Use the provided mounting accessories if needed.
- Вратете ја моќноста: Once all connections are secure and the device is properly mounted, restore power at the circuit breaker.

Image 4.1: Simplified wiring diagram for the LoraTap Smart Relay Switch. Ensure a neutral wire is present for installation.
5. Поставување на апликацијата и спарување
To control your LoraTap Smart Relay Switch, you need to download the Smart Life or Tuya app and pair the device.
Барања:
- A smartphone (Android or iOS).
- A 2.4GHz Wi-Fi network. 5GHz networks are not supported.
- The Smart Life or Tuya app installed on your smartphone.
Чекори за спарување:
- Преземи апликација: Пребарај за "Smart Life" or "Tuya Smart" in your smartphone's app store (App Store for iOS, Google Play for Android) and install it.
- Регистрација/Најава: Отворете ја апликацијата и регистрирајте нова сметка или најавете се со постоечка.
- Додај уред: Tap the "+" icon in the top right corner of the app to add a new device. Select "Electrical Switch" or "Switch (Wi-Fi)".
- Влезете во режим на спарување: Power on the LoraTap switch. If the indicator light is not blinking rapidly, press and hold the button on the switch for approximately 5 seconds until it blinks rapidly. This indicates pairing mode.
- Поврзете се на Wi-Fi: In the app, confirm the indicator is blinking rapidly. Enter your 2.4GHz Wi-Fi network name and password.
- Целосно спарување: The app will search for and connect to the device. Once connected, you can rename the device for easier control.

Image 5.1: Easy pairing process with the Smart Life/Tuya app. Ensure your Wi-Fi network is 2.4GHz.
6. Операција
The LoraTap Smart Relay Switch offers multiple control options for convenience.
6.1. Контрола на апликации
Once paired, you can control your device from anywhere using the Smart Life or Tuya app on your smartphone.
- Контрола за вклучување/исклучување: Tap the switch icon in the app to turn your connected appliance on or off.
- Статус во реално време: The app displays the current status of your appliance, allowing you to verify if it's on or off remotely.
- Контрола на групата: You can group multiple LoraTap switches together in the app to control them simultaneously.
- Споделување уред: Share control of the device with family members through the app.

Image 6.1: Remote control via the Smart Life app.
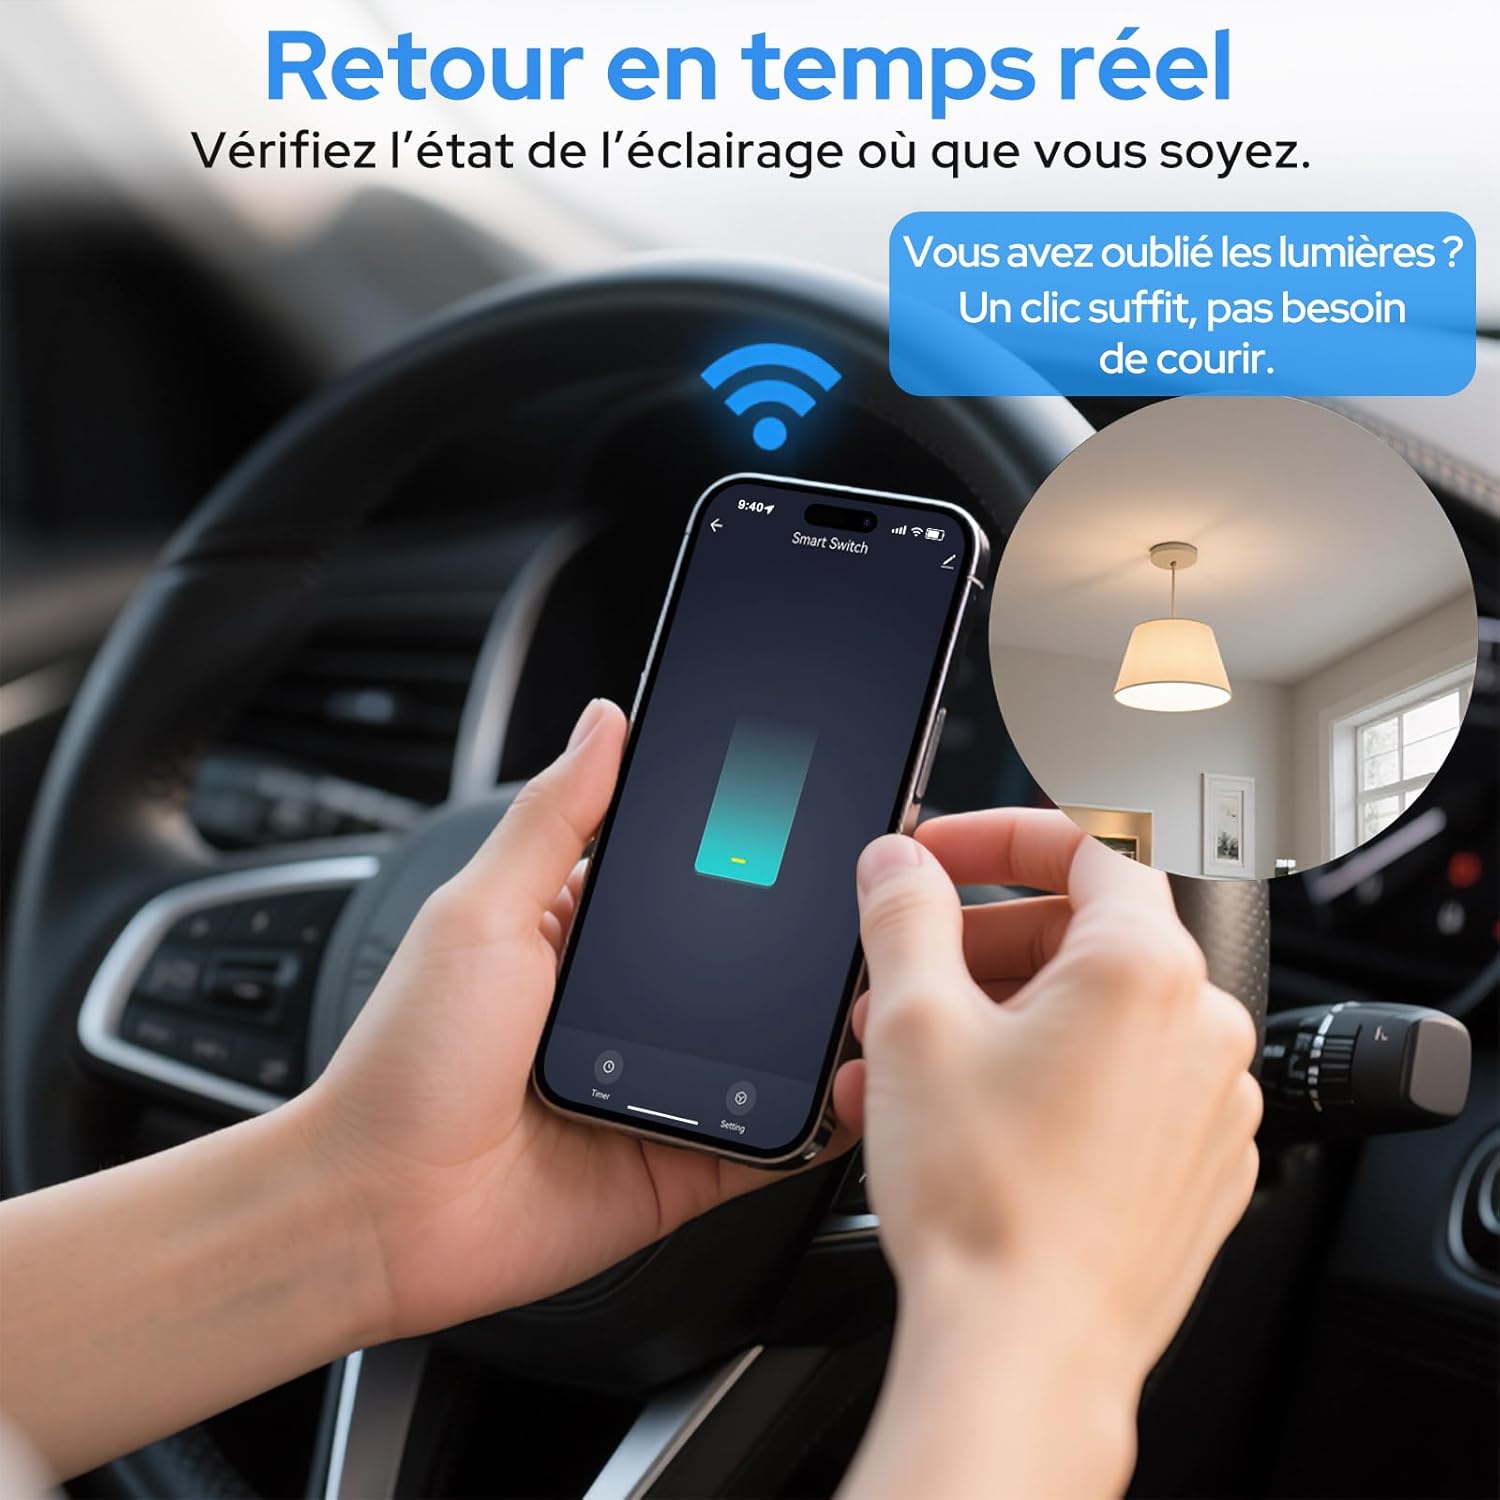
Image 6.2: Real-time status monitoring from anywhere.

Image 6.3: Device sharing feature for family members.
6.2. Гласовна контрола
The LoraTap Smart Relay Switch is compatible with Amazon Alexa and Google Assistant for convenient voice control.
- Поврзување на сметка: In the Alexa or Google Home app, link your Smart Life/Tuya account.
- Откријте уреди: Побарајте од Alexa или Google Assistant да откријат нови уреди.
- Гласовни команди: Use commands like "Alexa, turn on [device name]" or "Hey Google, turn off [device name]".

Image 6.4: Voice control integration with Amazon Alexa and Google Assistant.

Image 6.5: Family using voice commands for smart home control.
6.3. Закажување и тајмери
Automate your appliances by setting schedules and timers within the Smart Life/Tuya app.
- Функција на тајмер: Set a countdown timer for the switch to turn on or off automatically after a specified duration.
- Закажување: Create daily or weekly schedules for your appliance to turn on or off at specific times (e.g., turn on lights at sunset, turn off at bedtime).
- Повторете ја функцијата: Configure schedules to repeat on selected days of the week.

Image 6.6: Automate lighting with countdown timers.

Image 6.7: Program your lights with custom schedules.
6.4. Restart Status Settings
Configure the power-on state of your smart switch after a power outage.
- ИСКЛУЧЕНО: The device will remain off after power is restored.
- НА: The device will turn on automatically after power is restored.
- Remember Last Status: The device will return to its last known state (on or off) before the power outage.

Image 6.8: Configure the device's restart status after a power interruption.
7. Одржување
- Чистете го уредот со мека, сува крпа. Не користете груби хемикалии или абразивни средства за чистење.
- Ensure the device is kept in a dry environment and away from direct sunlight or extreme temperatures.
- Regularly check for firmware updates in the Smart Life/Tuya app to ensure optimal performance and security.
8 Смена на проблеми
| Проблем | Можна причина / решение |
|---|---|
| Device not pairing / Indicator not blinking rapidly. |
|
| Уредот е офлајн во апликацијата. |
|
| Гласовната контрола не работи. |
|
| Device not responding to manual switch. |
|
9. Гаранција и поддршка
LoraTap offers a 3-year warranty for this product. For technical support or warranty claims, please contact LoraTap customer service through their official webлокацијата или продавачот на мало каде што сте го купиле производот.
Контакт информации: Please refer to the packaging or LoraTap's official webстраница за најактуелните контакт информации за поддршка.


