1. Вовед
This manual provides essential information for the safe and efficient operation of your DL 10-in-1 Vintage Bluetooth Record Player. This versatile audio system integrates a turntable, CD player, cassette player, AM/FM radio, Bluetooth connectivity, and USB recording capabilities. Please read this manual thoroughly before use and retain it for future reference.
2. Инструкции за безбедност
Следете ги следниве безбедносни мерки за да спречите електричен удар, пожар или оштетување на уредот:
- Не го изложувајте овој апарат на дожд или влага.
- Не ги блокирајте отворите за вентилација. Инсталирајте во согласност со упатствата на производителот.
- Не инсталирајте во близина на извори на топлина како што се радијатори, топлински регистри, шпорети или други апарати (вклучувајќи ampлајфикатори) кои произведуваат топлина.
- Заштитете го кабелот за напојување од одење или стискање, особено на приклучоците, приклучните приклучоци и местото каде што тие излегуваат од апаратот.
- Користете само додатоци/додатоци наведени од производителот.
- Исклучете го овој апарат од струја за време на громови или кога не го користите подолг временски период.
- Целото сервисирање упатете го на квалификуван сервисен персонал. Сервисирањето е потребно кога апаратот е оштетен на кој било начин, како што е оштетен кабелот за напојување или приклучокот, течноста е истурена или предмети паднале во апаратот, апаратот бил изложен на дожд или влага, не работи нормално , или е исфрлен.
3. Содржина на пакетот
Проверете дали сите артикли наведени подолу се вклучени во вашиот пакет:
- 1 x DL 10-in-1 Stereo Turntable Unit
- 1 x 45 RPM адаптер
- 1 x Заменлива игла за игла
- 1 x Упатство за употреба (овој документ)
- 1 x Адаптер за напојување со наизменична струја
4. Производот завршиview
The DL 10-in-1 Vintage Bluetooth Record Player combines multiple audio playback options in a classic design. Familiarize yourself with the main components and controls.
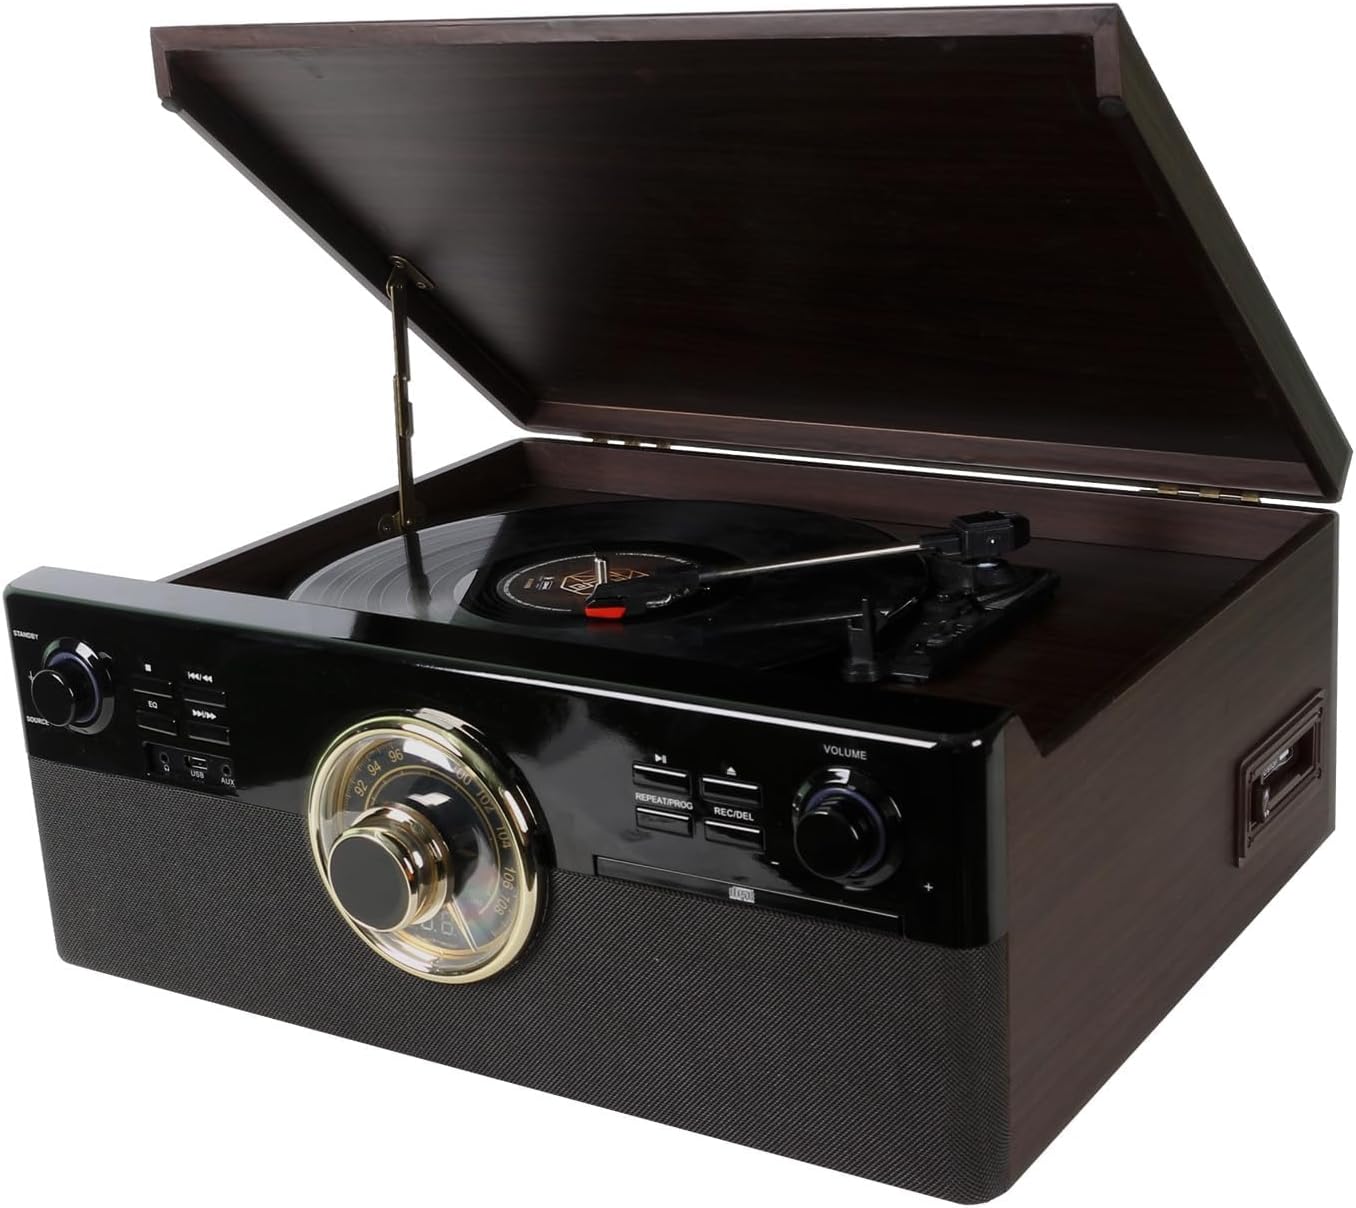
Image: Front-angle view of the DL 10-in-1 Vintage Bluetooth Record Player with the turntable lid open, showcasing its classic design and integrated controls.

Image: Visual representation of the 10 integrated functions: Vinyl Record, CD, Cassette, Bluetooth, FM Radio, USB, Stereo Speaker, Headphone, Aux In, and Line Out.
4.1 Контроли на предниот панел
- Копче за напојување/гласност: Го вклучува/исклучува уредот и ја прилагодува главната јачина на звук.
- Source Selector Knob: Switches between Phono, CD, Cassette, Radio, Bluetooth, and AUX input modes.
- Бројчаник за радио приемник: For selecting AM/FM radio stations.
- Контроли на CD плеер: Play/Pause, Stop, Skip Forward/Backward, Repeat, Program.
- USB порта: За репродукција на MP3 files and recording audio.
- Копче за снимање/бришење: Initiates USB recording or deletes files.

Слика: Детална view showing the turntable's ruby stylus, the radio tuner dial, and the volume knob with surrounding playback controls.
4.2 Приклучоци на задниот панел
- Line Out (RCA): Поврзете се со надворешно ampлајфикатори или звучници со напојување.
- Влез за напојување со наизменична струја: Connect the provided AC power adapter.

Image: Close-up of the USB port and AUX input, located on the front or side panel for easy access.

Image: Close-up of the circular radio tuner dial with frequency markings, used for selecting AM/FM stations.
5. Поставување
Follow these steps to set up your record player:
- Отпакување: Внимателно извадете го уредот од пакувањето. Зачувајте го пакувањето за иден транспорт или складирање.
- Поставување: Поставете го уредот на рамна, стабилна површина подалеку од директна сончева светлина, извори на топлина и прекумерна прашина или вибрации.
- Поврзување за напојување: Connect the AC power adapter to the AC power input on the rear of the unit, then plug the adapter into a wall outlet.
- Подготовка на грамофон: Remove the protective cap from the stylus. Ensure the tone arm is unlocked from its rest.
- Antenna (Radio): Продолжете ја FM жичната антена за оптимален радио прием.
6. Упатства за работа
6.1 Вклучување/исклучување и јачина на звук
- Завртете го Копче за напојување/гласност clockwise to turn the unit on. The indicator light will illuminate.
- Продолжете да вртите во насока на стрелките на часовникот за да ја зголемите јачината на звукот; вртете спротивно од стрелките на часовникот за да ја намалите јачината на звукот.
- Завртете го Копче за напојување/гласност counter-clockwise until it clicks to turn the unit off.
6.2 Свирење винил плочи
- Подигнете го капакот на грамофонската плоча.
- Ставете плоча на послужавникот на грамофонот. Ако свирите сингл од 45 вртежи во минута, поставете го адаптерот за 45 вртежи во минута на централното вретено.
- Изберете ја соодветната брзина (33 1/3, 45 или 78 вртежи во минута) користејќи го прекинувачот за избор на брзина.
- Завртете го Source Selector Knob to 'PHONO'.
- Gently lift the tone arm from its rest and position it over the desired track on the record.
- Полека спуштете ја тон-рачката врз плочата. Репродукцијата ќе започне автоматски.
- At the end of the record, the turntable will stop automatically (if auto-stop is enabled). Lift the tone arm and return it to its rest.
6.3 Репродукција на ЦД-а
- Завртете го Source Selector Knob to 'CD'.
- Притиснете го копчето EJECT за да ја отворите фиоката за CD.
- Ставете го ЦД-то со страната со етикетата свртена нагоре во фиоката.
- Press the EJECT button again to close the tray. The unit will read the CD.
- Притиснете го копчето PLAY/PAUSE за да започнете со репродукција.
- Користете ги копчињата SKIP за да се движите помеѓу песните.

Image: Close-up of the CD player tray, showing a compact disc being inserted for playback.
6.4 Playing Cassettes
- Завртете го Source Selector Knob to 'TAPE'.
- Вметнете касетна лента во отворот за касети на страната од уредот.
- Press the PLAY button on the cassette deck to begin playback.
- Use the FAST FORWARD and REWIND buttons as needed.
- Press the STOP/EJECT button to stop playback and remove the tape.

Image: Close-up of the cassette player slot, indicating the 'AUTO STOP' feature for tape playback.
6.5 Работа со Bluetooth
- Завртете го Source Selector Knob to 'BLUETOOTH'. The Bluetooth indicator will flash.
- Enable Bluetooth on your smartphone or tablet and search for available devices.
- Select 'DL-179D99' (or similar name) from the list of devices.
- Откако ќе се поврзе, индикаторот за Bluetooth ќе престане да трепка и ќе остане непроменет.
- You can now stream audio from your device to the record player.
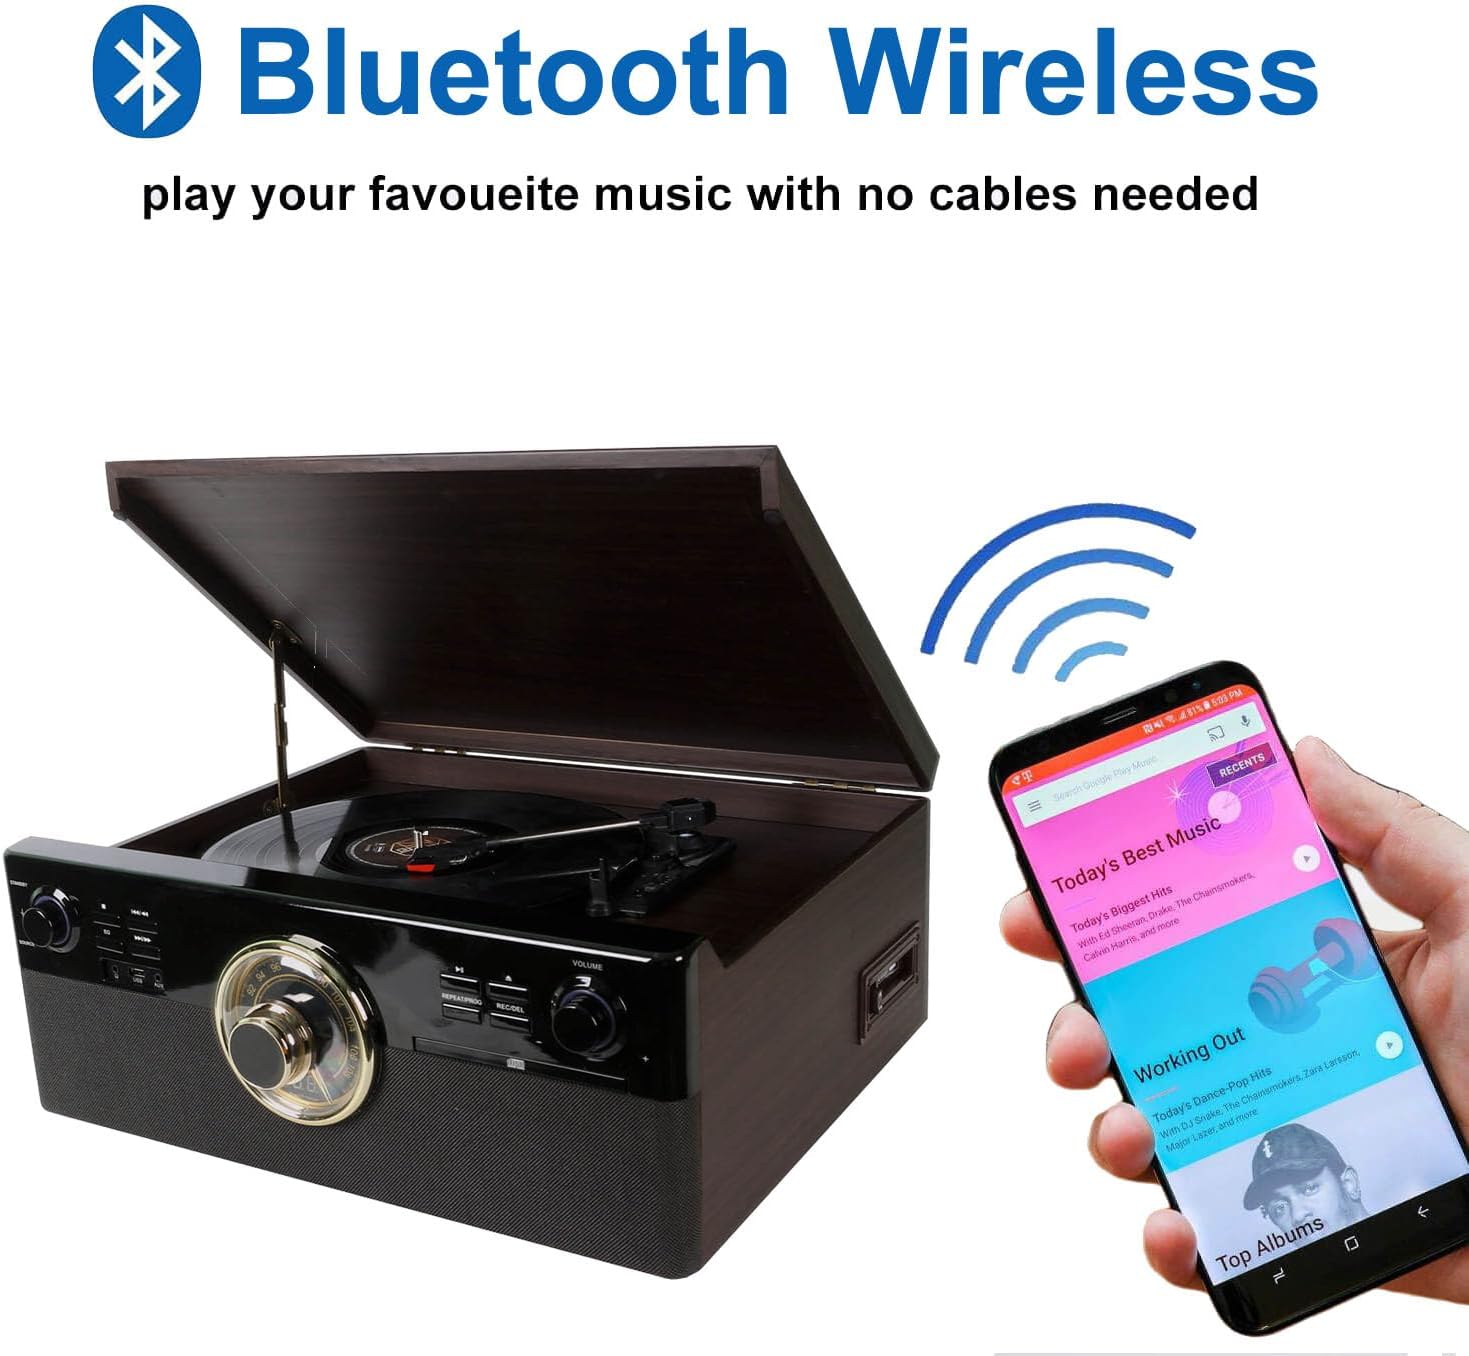
Image: The record player with a smartphone displaying a music app, illustrating wireless Bluetooth connectivity for audio streaming.
6.6 USB репродукција и снимање
- Репродукција на USB: Insert a USB drive into the USB port. Rotate the Source Selector Knob to 'USB'. The unit will automatically detect and play MP3 files. Use the playback controls to navigate.
- USB Recording (from Vinyl, CD, Cassette, AUX):
- Вметнете USB -уред во USB -портата.
- Select the desired source (PHONO, CD, TAPE, or AUX).
- Start playback on the source (e.g., play a record, CD, or cassette).
- Притиснете го REC/DEL button. The recording indicator will flash, and recording will begin.
- Притиснете го REC/DEL button again to stop recording. The recorded file will be saved as an MP3 on the USB drive.
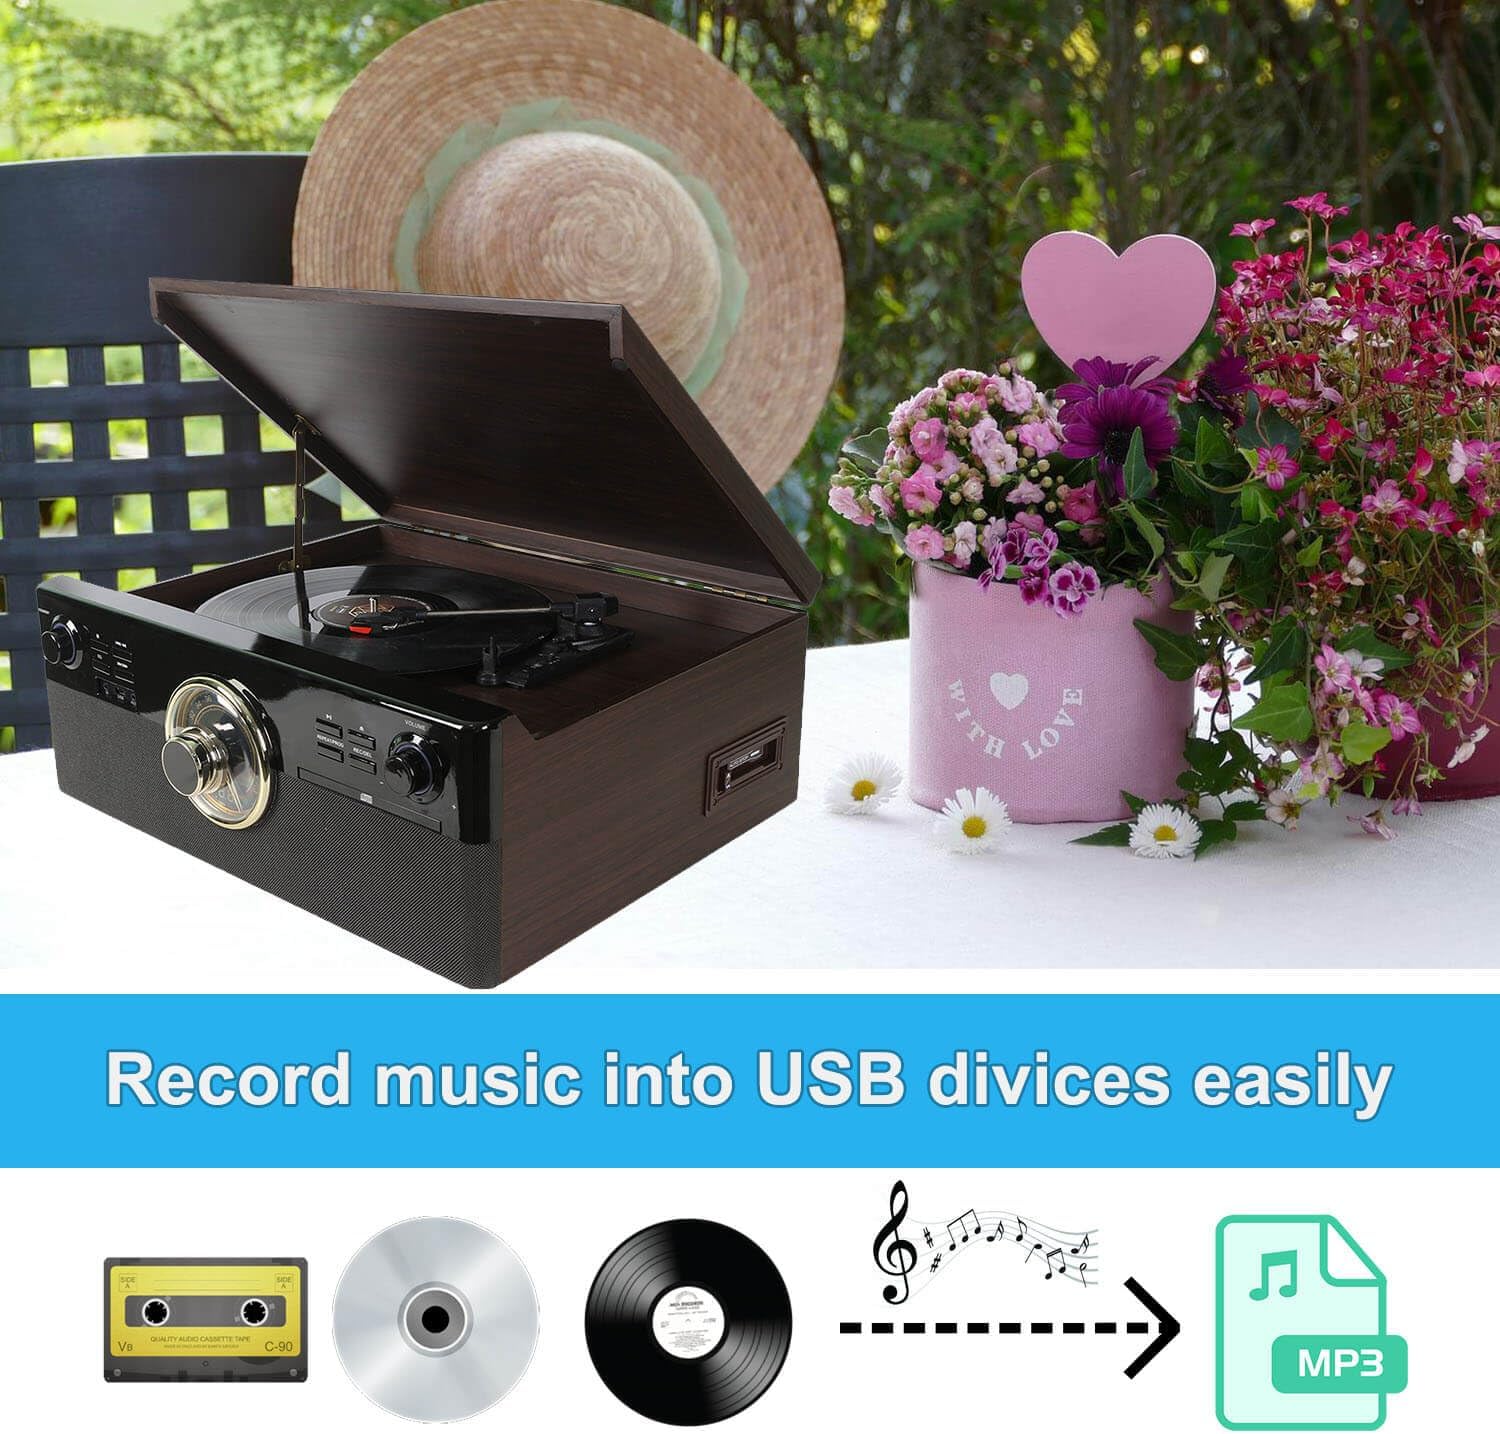
Image: A visual diagram illustrating the process of recording audio from cassette, CD, or vinyl records directly to a USB device as MP3 files.
6.7 Работа со радио
- Завртете го Source Selector Knob to 'RADIO'.
- Прилагодете го Radio Tuner Dial за да ја изберете саканата AM или FM станица.
- Extend the FM wire antenna for better reception.
6.8 External Audio Input (AUX IN)
- Поврзете надворешен аудио уред (на пр., MP3 плеер) на AUX IN приклучокот користејќи 3.5 mm аудио кабел (не е вклучен).
- Завртете го Source Selector Knob to 'AUX'.
- Репродуцирајте аудио од вашиот поврзан уред.
6.9 External Audio Output (LINE OUT)
- Connect the RCA LINE OUT jacks on the rear of the unit to the audio input jacks of an external ampладилник или напојувани звучници користејќи RCA кабел (не е вклучен).
- Ensure the external ampОсветлувачот/звучниците се вклучени и поставени на точниот влез.
- Audio from the record player will now be routed through the external system.

Image: Diagram illustrating the connection of the RCA Line Out ports on the back of the unit to external speakers for enhanced audio output.
7. Одржување
7.1 Чистење на единицата
- Избришете го уредот со мека, сува крпа. Не користете абразивни средства за чистење или растворувачи.
- Држете го капакот за прашина затворен кога не го користите за да го заштитите грамофонот.
7.2 Замена на пенкало
The stylus (needle) is a consumable part and should be replaced after approximately 300-500 hours of use to maintain sound quality and prevent damage to your records. A replacement stylus is included in your package.
- Gently pull the old stylus cartridge downwards and forwards to detach it from the tone arm.
- Align the new stylus cartridge with the tone arm.
- Push the new stylus cartridge upwards and backwards until it clicks into place.
8 Смена на проблеми
If you experience issues with your unit, refer to the following table for common problems and solutions:
| Проблем | Можна причина | Решение |
|---|---|---|
| Нема моќ | Кабелот за напојување не е поврзан; Уредот не е вклучен. | Ensure power cord is securely plugged in; Rotate Power/Volume knob clockwise to turn on. |
| Нема звук | Volume too low; Incorrect source selected; External speakers not connected/powered. | Increase volume; Select correct source; Check external speaker connections and power. |
| Плочата не се врти | Unit not powered on; Belt dislodged; Tone arm locked. | Ensure unit is on; Check if the drive belt is properly seated (refer to maintenance); Unlock tone arm. |
| Bluetooth не се спарува | Incorrect source; Device too far; Bluetooth not enabled on external device. | Select 'BLUETOOTH' source; Move device closer; Enable Bluetooth on your smartphone/tablet. |
| Лош радио прием | Антената не е продолжена; Слаб сигнал. | Fully extend the FM wire antenna; Try repositioning the unit. |
| Прескокнување на CD | CD dirty or scratched; Unit on unstable surface. | Clean CD with a soft cloth; Place unit on a stable, vibration-free surface. |
9. Спецификации
- Модел: DL-179D99
- Димензии на производот: 18.9 x 17.52 x 7.68 инчи
- Тежина на ставката: 17.81 фунти
- Потрошувачка на енергија (во режим на работа): 9 вати
- Брзини на грамофон: 33 1/3, 45, 78 вртежи во минута
- Тип на мотор: Мотор со еднонасочна струја
- Поврзување: Bluetooth, USB, AUX In, Line Out (RCA)
- Репродукција на медиуми: Vinyl records, CDs, Cassette tapes, AM/FM Radio, USB MP3
- Снимање: Vinyl, CD, Cassette to USB MP3
- Вклучени компоненти: Stereo Turntable, 45 RPM Adapter, Replacement Stylus Needle, Instruction Manual, AC Power Adapter
10. Гаранција и поддршка
This product is covered by a standard manufacturer's warranty against defects in materials and workmanship. For specific warranty terms, duration, and to register your product, please refer to the warranty card included in your package or contact the manufacturer directly.
For technical support, troubleshooting assistance, or to inquire about replacement parts, please contact DL customer service through the retailer where the product was purchased or visit the official DL webсајт за информации за контакт.