1. Вовед
This manual provides detailed instructions for the setup, operation, maintenance, and troubleshooting of your HP Sprocket Studio Plus 4x6 Instant Photo Printer. Please read this manual thoroughly before using the device to ensure optimal performance and longevity.
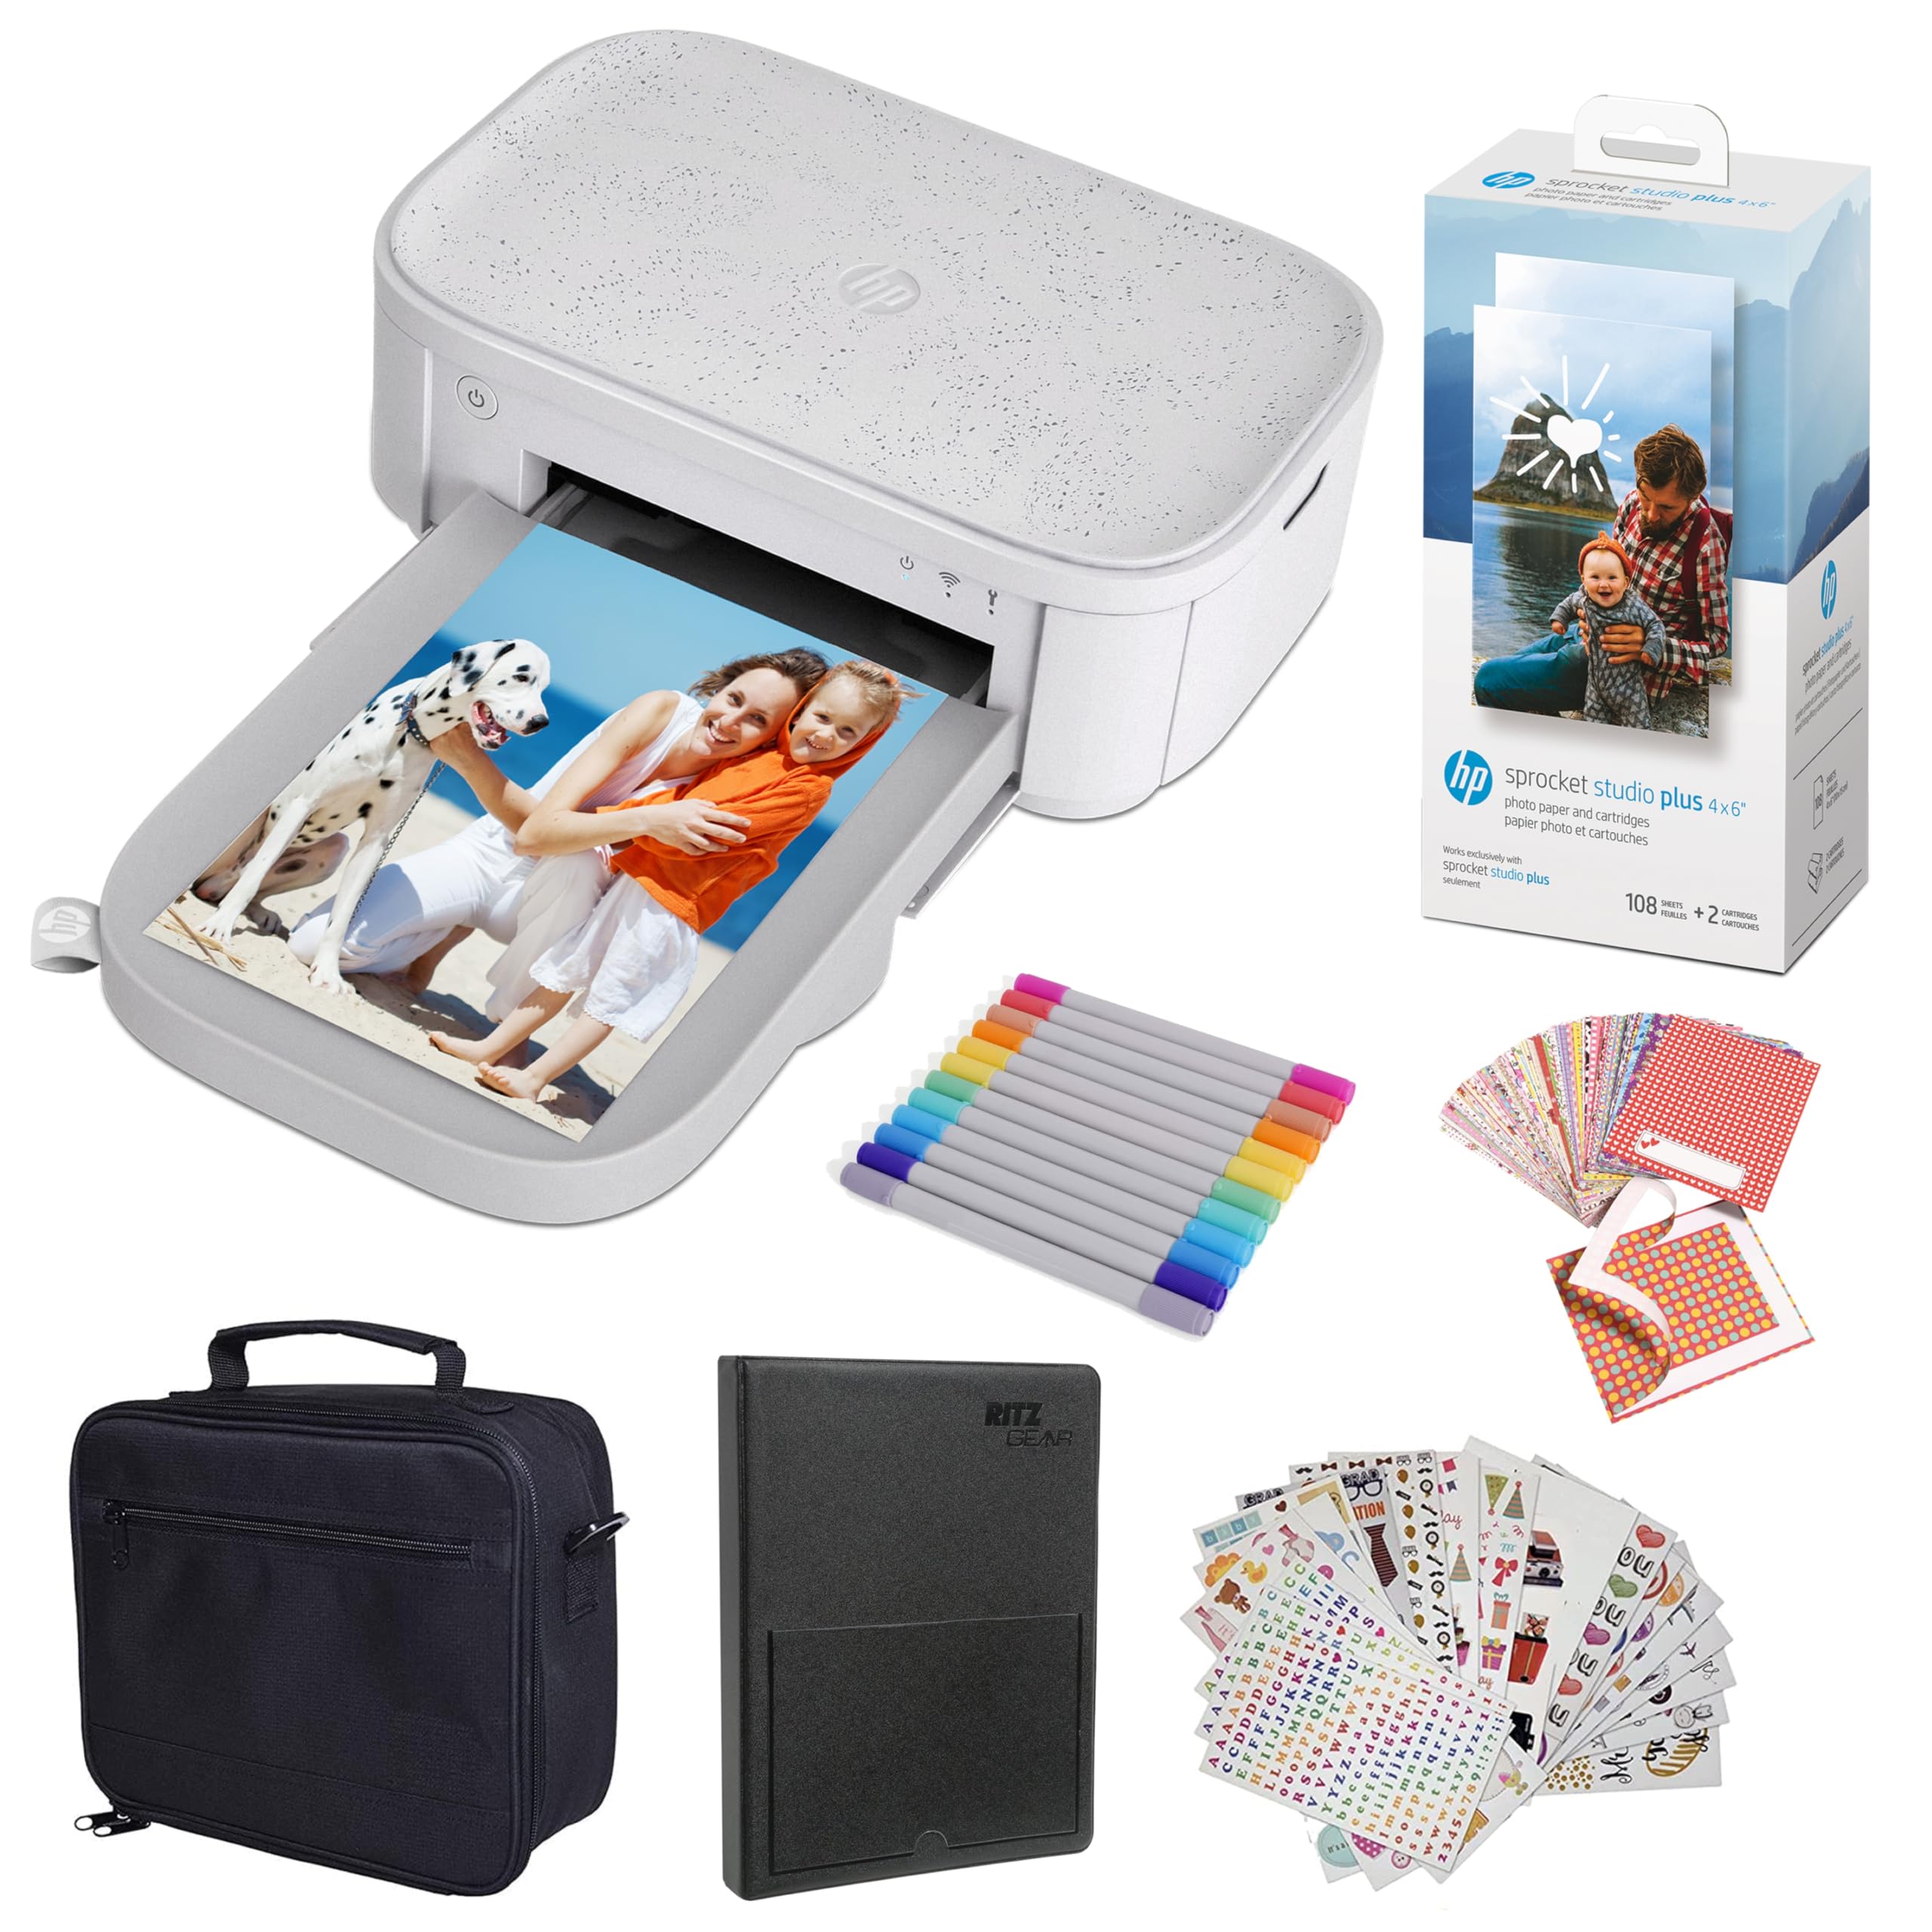
Image: The HP Sprocket Studio Plus 4x6 Instant Photo Printer, shown in white, with a smartphone displaying an image and a printed photo emerging from the printer.
2. Што има во кутијата
Проверете дали сите артикли се присутни во пакувањето:
- HP Sprocket Studio Plus 4x6 Instant Photo Printer
- Фото албум
- Случај
- Photo paper and cartridges
- Маркери
- Sticker sets
- Адаптер за напојување

Image: A pack of HP Sprocket Studio Plus 4x6 photo paper and two ink cartridges, ready for installation.
3. Водич за поставување
3.1 Почетно вклучување
- Поврзете го адаптерот за напојување со печатачот и со штекер.
- Press and hold the power button on the printer to turn it on.
- Wait for the indicator lights to stabilize, indicating the printer is ready.
3.2 Loading Photo Paper and Cartridge
- Отворете го капакот на фиоката за хартија.
- Insert the photo paper stack into the tray, glossy side up. Ensure the paper is aligned correctly.
- Open the cartridge compartment.
- Insert the ink cartridge until it clicks into place.
- Добро затворете ги двата капаци.

Слика: Крупен план view demonstrating the correct way to insert the ink cartridge (1) and load photo paper (2) into the HP Sprocket Studio Plus printer.
3.3 Installing the HP Sprocket App
The HP Sprocket app is required to operate your printer. Download it from your device's app store (iOS or Android).
- За уреди со iOS: Пребарај за "HP Sprocket" in the Apple App Store.
- За уреди со Android: Пребарај за "HP Sprocket" in the Google Play Store.
- Install the app and follow the on-screen prompts.
3.4 Поврзување на вашиот печатач
Your HP Sprocket Studio Plus printer can connect via Wi-Fi or Hotspot mode. Refer to the video below for a visual guide on connecting your printer.
Video: This video demonstrates how to connect the HP Sprocket Studio Plus printer to your mobile device via Wi-Fi and Hotspot mode using the HP Sprocket app. It covers turning on the printer, navigating the app's printer management settings, and entering Wi-Fi credentials or the default hotspot password.
3.4.1 Wi-Fi конекција
- Проверете дали вашиот печатач е вклучен.
- Open the HP Sprocket app on your mobile device.
- Navigate to the main menu (usually a hamburger icon).
- Select "Manage Printers".
- Tap "Add New Printer".
- Select your printer from the list of available printers (e.g., "HP Sprocket Studio Plus OB78").
- The app will prompt you to connect the printer to your Wi-Fi network. Enter your Wi-Fi credentials (network name and password).
- Confirm the setup is complete.
3.4.2 Hotspot Mode Connection
Use Hotspot Mode if a Wi-Fi network is not available or for direct connection.
- Проверете дали вашиот печатач е вклучен.
- Open the HP Sprocket app on your mobile device.
- Одете до главното мени.
- Select "Manage Printers".
- Tap "Add New Printer".
- Select your printer from the list.
- When prompted to connect to Wi-Fi, select "No network available" or similar option to initiate Hotspot Mode.
- Go to your mobile device's Wi-Fi settings.
- Select the printer's direct Wi-Fi network (e.g., "DIRECT-6C-HPISPS").
- Внесете ја стандардната лозинка: 12345678.
- Return to the HP Sprocket app and confirm the connection.
4. Ракување со вашиот печатач
4.1 Печатење фотографии
- Open the HP Sprocket app.
- Select the photo(s) you wish to print from your gallery or social media accounts.
- Use the in-app editing tools to customize your photos (see section 4.2).
- Допрете ја иконата за печатење.
- Потврдете ги поставките за печатење (на пр., број на копии).
- The printer will begin printing your photo(s).

Image: A smartphone screen showing the HP Sprocket app interface with a photo selected for printing, next to the HP Sprocket Studio Plus printer.
4.2 Customization Features
The HP Sprocket app offers various tools to enhance your photos before printing:
- Филтри: Apply different visual effects to your photos.
- Рамки: Add decorative borders around your images.
- Налепници: Place digital stickers on your photos for a personalized touch.
- Collages: Комбинирајте повеќе фотографии во еден печатен материјал.
- Photo IDs: Create passport-style photos.

Image: The HP Sprocket app displaying a collage feature, allowing users to arrange multiple photos into a single layout for printing.

Image: The HP Sprocket app interface showing options for creating photo IDs, with a portrait photo displayed on the screen.
4.3 Поддршка за повеќе корисници
Multiple users can connect to the HP Sprocket Studio Plus printer simultaneously, allowing for shared printing experiences.
5. Одржување
5.1 Replacing Ink Cartridges and Photo Paper
The HP Sprocket Studio Plus uses dye-sublimation technology, requiring specific photo paper and cartridges. It is recommended to replace both the paper and cartridge at the same time, as they are designed to run out concurrently (approximately 108 sheets per cartridge).
- When the printer indicates low ink or paper, open the paper tray and cartridge compartment.
- Remove the used ink cartridge and empty paper stack.
- Insert a new HP Sprocket Studio Plus ink cartridge and a fresh stack of 4x6 photo paper.
- Добро затворете ги капаците.

Image: A package of HP Sprocket Studio Plus 4x6 photo paper and cartridges, indicating it includes 108 sheets and 2 cartridges.
5.2 Чистење на печатачот
To maintain print quality, periodically clean the exterior of the printer with a soft, dry cloth. Avoid using liquid cleaners directly on the printer.
6 Смена на проблеми
6.1 Заеднички прашања и решенија
- Печатачот не се поврзува со Wi-Fi:
- Ensure your Wi-Fi network is 2.4GHz, as the printer may not be compatible with 5GHz networks.
- Проверете дали лозинката за Wi-Fi е правилно внесена.
- Restart both your printer and mobile device.
- Try connecting using Hotspot Mode as an alternative.
- Заглавување на хартија:
- Turn off the printer and carefully open the paper tray.
- Gently remove any jammed paper. Do not force it.
- Проверете дали хартијата е правилно вчитана и не е преполна.
- Рестартирајте го печатачот.
- Лош квалитет на печатење:
- Check if the ink cartridge and photo paper are correctly installed and not expired.
- Ensure you are using genuine HP Sprocket Studio Plus photo paper and cartridges.
- Clean the printer as described in the maintenance section.
- Печатачот не реагира:
- Ensure the printer is powered on and connected to a power source.
- Рестартирајте го печатачот.
- Check the app for any error messages or connection issues.
7. Спецификации
| Карактеристика | Спецификација |
|---|---|
| Димензии на производот | 6.65" Д x 10.75" Ш x 2.68" В |
| Тип на контролер | Андроид, iOS |
| Максимална големина на медиум | 4x6 инчи |
| Печатени медиуми | Сјајна фото-хартија |
| Максимален капацитет на влезен лист | 80 листови |
| Компатибилни уреди | Паметни телефони |
| Максимална резолуција за печатење во боја | [ВИСОК] |
| Максимална црно-бела резолуција за печатење | 1200 dpi |
| Двострано печатење | бр |
| Хардверски интерфејс | Bluetooth |
| Боја на мастило | Целосна боја |
| Контролен метод | Апликација |
| Серија на модели | Sprocket Studio Plus |
| Тип на мастило за печатач | Касета со мастило во боја |
| Тежина на ставката | 1 фунти |
| Технологија за поврзување | Bluetooth |
| Технологија на печатење | Сублимација на боја |
| Специјална карактеристика | Network-Ready, Portable |
| Боја | Бело |
| Максимална брзина на печатење (боја) | 1 ppm |
8. Гаранција и поддршка
8.1 Информации за гаранцијата
The HP Sprocket Studio Plus 4x6 Instant Photo Printer comes with a 1-годишна ограничена гаранција. For specific terms and conditions, please refer to the warranty documentation included with your product or visit the official HP support webсајт.
8.2 Поддршка за корисници
For further assistance, technical support, or to purchase replacement supplies, please visit the official HP support webвеб-страница или контактирајте ја службата за корисници на HP. Можете да најдете информации за контакт на HP webна локацијата или во пакувањето на вашиот производ.
- Поддршка на HP Webсајт: www.hp.com/support