1. Вовед
This manual provides detailed instructions for the setup, operation, and maintenance of your Bytech BYMCWC101BLK PC Web Camera. Please read this manual thoroughly before using the product to ensure proper functionality and longevity.
2. Содржина на пакетот
Проверете дали сите артикли наведени подолу се вклучени во пакетот на вашиот производ:
- Bytech BYMCWC101BLK компјутер Web Камера
- Упатство за употреба (овој документ)
- Интегриран USB кабел
3. Поставување
Follow these steps to set up your Bytech BYMCWC101BLK PC Web Камера:
- Поставување: Поставете го webcam on top of your computer monitor, laptop screen, or a flat surface. The adjustable clip allows for secure attachment.
- Поврзете се со компјутер: Приклучете го интегрираниот USB кабел од webкамери во достапна USB порта на вашиот компјутер.
- Инсталација на драјвери: На webcam is typically plug-and-play. Your operating system (Windows, macOS, Linux) should automatically detect and install the necessary drivers. Wait for the installation to complete.
- Верификација: Open a video conferencing application (e.g., Zoom, Skype, Microsoft Teams) or your computer's camera application to confirm the webcam is recognized and displaying video.
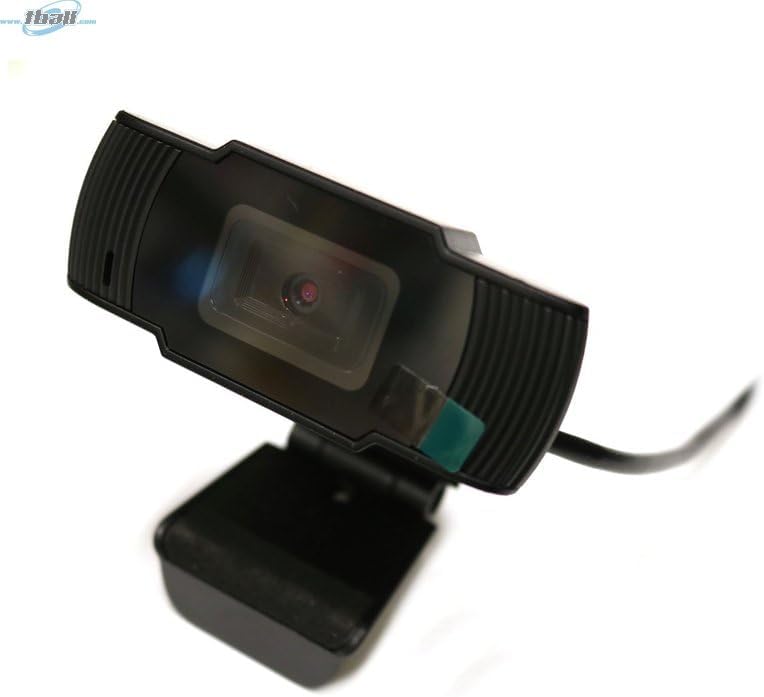
Image: The Bytech BYMCWC101BLK PC Web Camera securely mounted on top of a computer monitor, demonstrating its adjustable clip design.
4. Упатства за работа
Once installed, the Bytech BYMCWC101BLK PC Web Camera can be used with various applications:
- Видео конференција: Select the Bytech webcam as your video input device within your preferred video conferencing software (e.g., Zoom, Skype, Google Meet).
- Стриминг: For live streaming platforms, configure the webcam as your primary video source in your streaming software (e.g., OBS Studio).
- Снимање: Use your computer's built-in camera application or third-party software to record video.
- Перформанси на слаба осветленост: На webcam features BSI CMOS photo sensor technology and is designed to perform effectively in low-light conditions, providing clear video even with limited ambient lighting.
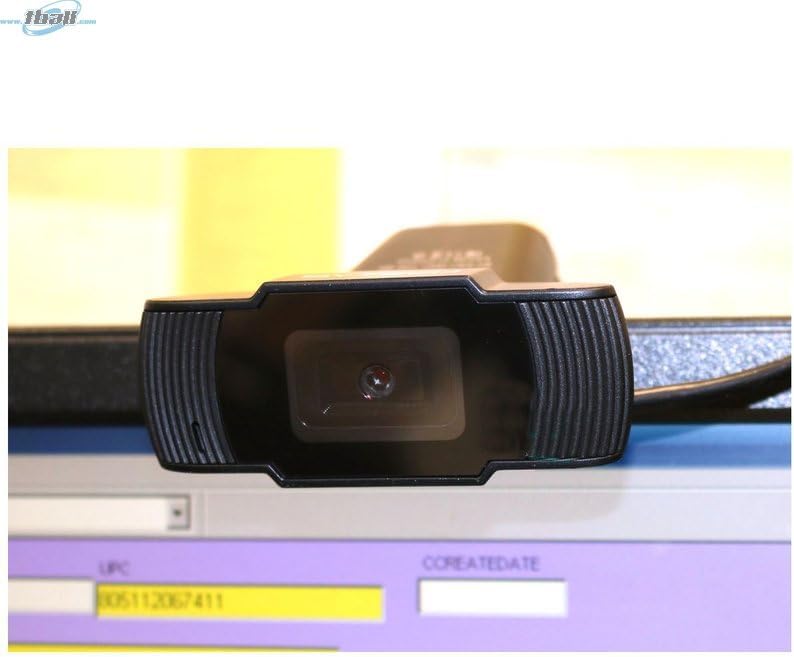
Слика: Крупен план view of the Bytech BYMCWC101BLK PC Web Camera's lens, highlighting its design and integrated privacy cover (if applicable, otherwise just lens).
5. Одржување
To ensure optimal performance and extend the lifespan of your webкамера:
- Чистење: Нежно избришете го објективот со мека крпа што не остава влакненца. Избегнувајте употреба на груби хемикалии или абразивни материјали.
- Складирање: Кога не се користи, чувајте го webcam in a clean, dry environment away from direct sunlight and extreme temperatures.
- Грижа за кабел: Do not bend or crimp the USB cable excessively.
6 Смена на проблеми
Доколку наидете на проблеми со вашиот webcam, погледнете ги следните вообичаени проблеми и решенија:
- Нема слика/видео:
- Осигурајте се дека USB кабелот е безбедно поврзан и со двете webкамерата и вашиот компјутер.
- Обидете се да го вклучите webкамера во друга USB порта.
- Рестартирајте го компјутерот.
- Check your application settings to ensure the Bytech webcam is selected as the video input device.
- Лош квалитет на видеото:
- Обезбедете соодветно осветлување во вашата околина.
- Исчистете го webcam lens with a soft cloth.
- Check your application's video settings for resolution and frame rate.
- Microphone Not Working (if applicable):
- Потврдете дека webcam's microphone is selected as the audio input device in your computer's sound settings and within your application.
- Ensure the microphone is not muted in your system or application.
7. Спецификации
| Карактеристика | Детал |
|---|---|
| Име на моделот | BYMCWC101BLK |
| Бренд | Bytech |
| Технологија за поврзување | USB |
| Технологија на фотосензор | BSI CMOS |
| Формат за снимање видео | MP4 |
| Специјална карактеристика | Ниска осветленост |
| Боја | Црното |
| Тежина на ставката | 4.9 унци |
| Димензии на пакетот | 7.76 x 4.65 x 2.44 инчи |
8. Гаранција и поддршка
For warranty information or technical support, please refer to the documentation included with your purchase or contact your retailer. Keep your proof of purchase for warranty claims.


