Вовед
This manual provides detailed instructions for the installation, operation, and maintenance of your AXAGON ADSA-ST USB 3.0 Docking Station. This device is designed to connect 2.5" and 3.5" SATA SSDs and HDDs to your computer via a USB 3.0 interface, offering fast data transfer speeds.
Ве молиме внимателно прочитајте го ова упатство пред да го користите производот за да обезбедите правилна функционалност и да спречите оштетување.
Содржина на пакетот
Проверете дали сите компоненти се присутни во пакувањето:
- AXAGON ADSA-ST Docking Station
- USB 3.0 Type-A to Micro-B cable
- Адаптер за напојување
- Упатство за употреба (овој документ)

Image: The AXAGON ADSA-ST Docking Station shown alongside its retail packaging, illustrating the product and its box.
Клучни карактеристики
- Supports 2.5" and 3.5" SATA I/II/III SSDs and HDDs.
- USB 3.0 (USB 3.2 Gen 1) interface with up to 5 Gbps transfer speed.
- SATA 6G (SATA III) support.
- UASP (USB Attached SCSI Protocol) support for enhanced performance.
- TRIM support for SSDs.
- HDD Auto Spindown function.
- LED indication for power and activity.
- Compact design with aluminum body.

Слика: А view of the AXAGON ADSA-ST Docking Station highlighting its 5 Gbps USB 3.2 Gen 1 speed and compact size.
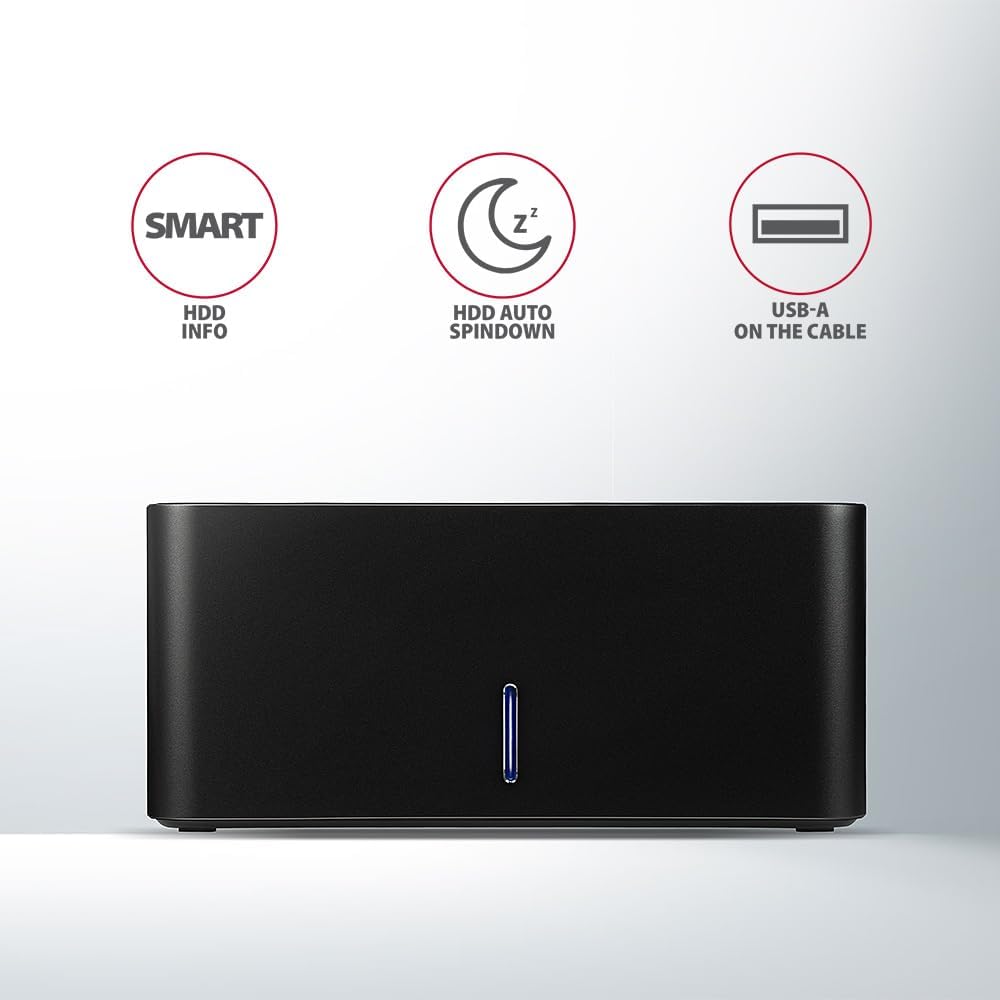
Image: The docking station from the front, indicating features like SMART HDD info, automatic HDD spindown, and USB-A connectivity.
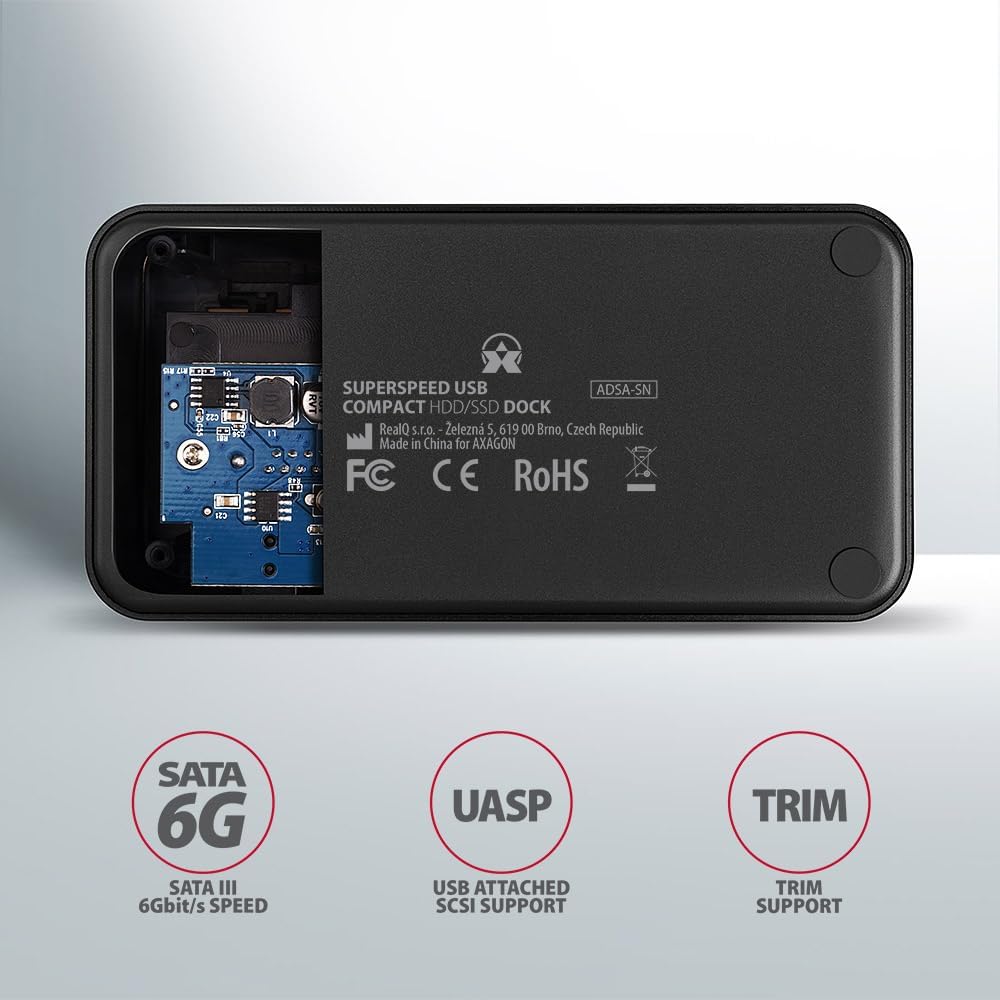
Image: The underside of the docking station, showing internal components and highlighting SATA 6G, UASP, and TRIM support.
Инструкции за поставување
- Поврзете адаптер за напојување: Plug the included power adapter into the DC IN port on the back of the docking station and then into a power outlet.
- Поврзете се со компјутер: Connect the USB 3.0 cable from the docking station's Micro-B port to an available USB 3.0 (or higher) port on your computer.
- Вметнете HDD/SSD:
- For 2.5" SSD/HDD: Gently slide the 2.5" drive into the slot until it connects firmly with the SATA connector.
- For 3.5" HDD: Gently slide the 3.5" drive into the slot until it connects firmly with the SATA connector.
Ensure the drive is inserted correctly with the SATA connector facing the correct direction. Do not force the drive.

Image: A 2.5-inch SSD being inserted into the docking station, demonstrating compatibility with smaller drives.
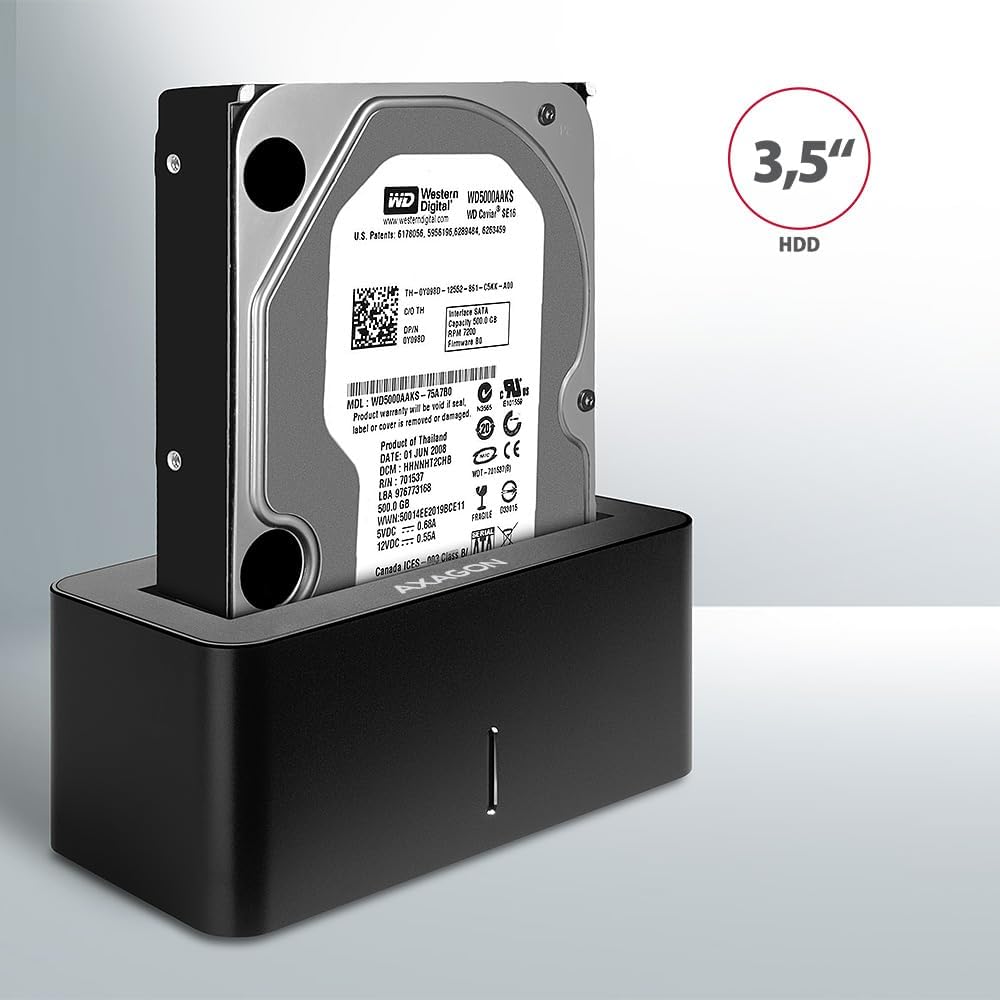
Image: A 3.5-inch HDD being inserted into the docking station, demonstrating compatibility with larger drives.
- Вклучување: Press the power button located on the back of the docking station. The LED indicator on the front will illuminate.
Image: The rear panel of the docking station, showing the power button, USB Micro-B port, and power input for connection.
Упатства за работа
Препознавање на диск
Once powered on and connected, your operating system should automatically detect the inserted drive. If it's a new drive, you may need to initialize and format it through Disk Management (Windows) or Disk Utility (macOS) before it appears in File Истражувач/Пронаоѓач.
LED индикатор
The LED indicator on the front of the docking station provides status information:
- Цврсто сино: Power on, drive idle.
- Светлечко сино: Drive activity (reading or writing data).
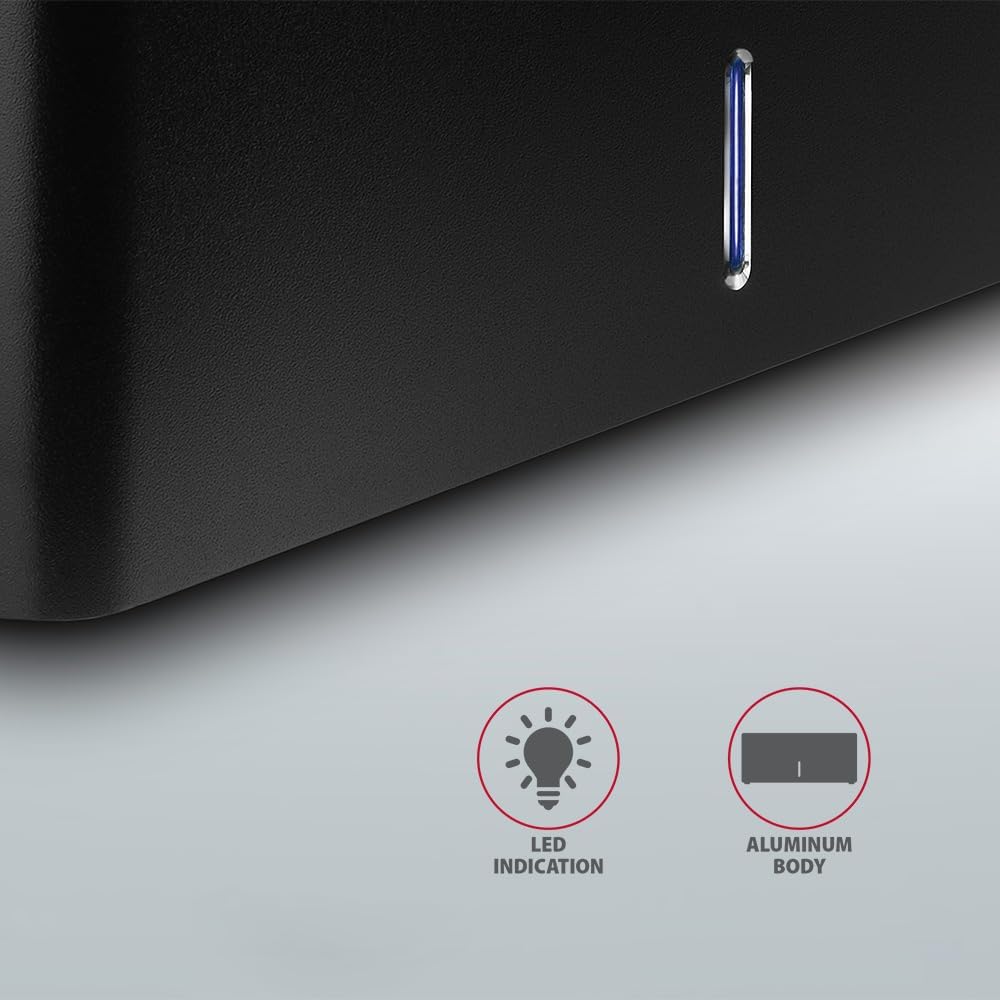
Слика: Крупен план view of the docking station's front panel, highlighting the LED indicator light.
Removing a Drive
Before removing a drive, always safely eject it from your operating system to prevent data corruption. After ejection, gently pull the drive straight out of the docking station slot.
Автоматско вртење на HDD
The docking station supports automatic spindown of the HDD when it is idle for a certain period, conserving power and extending drive lifespan. This feature is managed by the operating system or the drive itself.
Одржување
- Одржувајте ја приклучната станица чиста и без прашина. Користете мека, сува крпа за чистење.
- Избегнувајте изложување на уредот на екстремни температури, влажност или директна сончева светлина.
- Не обидувајте се сами да го расклопите или поправите уредот. Обратете се кај квалификуван сервисер.
- Обезбедете соодветна вентилација околу приклучната станица за време на работата.
Решавање проблеми
- Дискот не е откриен:
- Проверете дали адаптерот за напојување е безбедно поврзан и дали приклучната станица е вклучена.
- Проверете дали USB-кабелот е правилно поврзан и со станицата за приклучување и со компјутерот.
- Обидете се со друга USB порта на вашиот компјутер.
- Ensure the HDD/SSD is fully seated in the docking station's slot.
- Check Disk Management (Windows) or Disk Utility (macOS) to see if the drive is recognized but uninitialized/unformatted.
- Test with a different HDD/SSD to rule out a drive issue.
- Бавни брзини на пренос:
- Ensure the docking station is connected to a USB 3.0 (or higher) port on your computer. USB 2.0 ports will limit speeds.
- Проверете дали вашиот оперативен систем и драјверите се ажурирани.
- The actual speed depends on the drive's performance and your computer's USB controller.
- Drive disconnects randomly:
- Проверете ги сите врски со кабел.
- Осигурајте се дека адаптерот за напојување обезбедува стабилно напојување.
- Disable USB power saving features in your computer's operating system settings.
Технички спецификации
| Карактеристика | Детал |
|---|---|
| Бренд | АКСАГОН |
| Број на модел | ADSA-SN |
| Хардверска платформа | PC |
| Компатибилни уреди | Лаптоп, десктоп компјутер |
| Компатибилност со диск | 2.5" / 3.5" SATA I/II/III SSD/HDD |
| Интерфејс | USB 3.0 (USB 3.2 Gen 1) |
| Стапка на пренос на податоци | Up to 5 Gbps (USB 3.0), 6 Gbps (SATA III) |
| Вкупно USB порти | 1 (Micro-B) |
| Број на дискови | 1 |
| Боја | Црното |
| Тежина на ставката | 2.2 фунти (приближно 1 кг) |
| Димензии на пакетот | 3.94 x 0.79 x 0.39 инчи (приближно 10 x 2 x 1 см) |
| Датум прв на располагање | 30 март 2021 година |
Гаранција и поддршка
За информации за гаранцијата и техничка поддршка, ве молиме погледнете го официјалниот AXAGON webлокација или контактирајте го вашиот локален дистрибутер. Зачувајте го доказот за купување за гаранциски барања.


