1. Вовед
This manual provides detailed instructions for the installation, operation, and maintenance of your IdeaFormer 310x310mm Flexible Magnetic 3D Printer Build Surface. Please read this manual thoroughly before use to ensure proper functionality and longevity of the product.
2. Производот завршиview
The IdeaFormer Flexible Magnetic 3D Printer Build Surface consists of two main components: a flexible magnetic print surface (Side A) and a magnetic adhesive base (Side B). This system is designed to provide excellent adhesion for 3D prints and easy removal of finished objects.
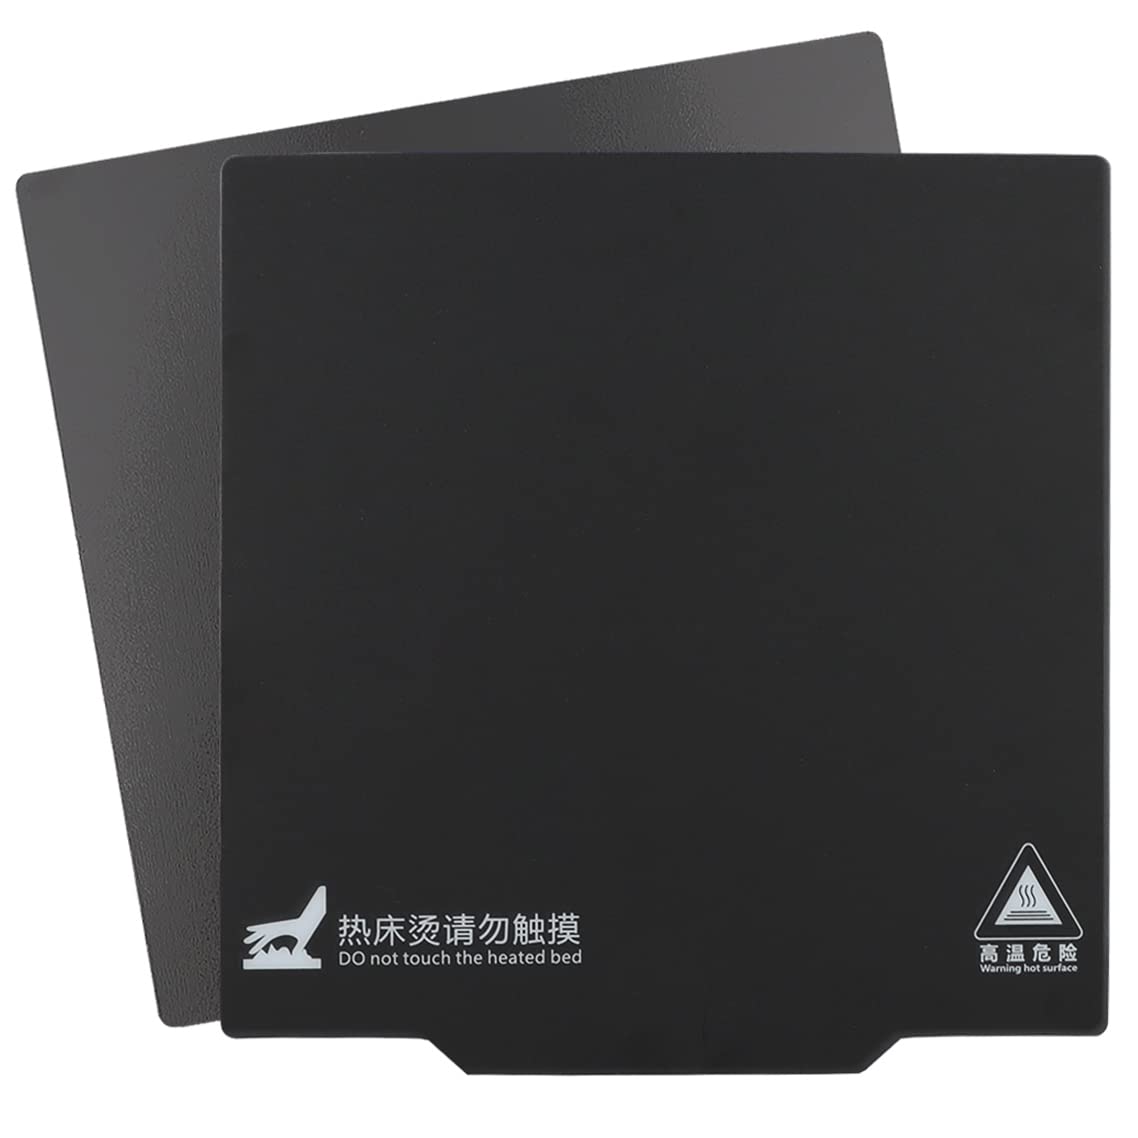
Image: The IdeaFormer Flexible Magnetic 3D Printer Build Surface, showing both the flexible top plate and the magnetic base.
Клучни карактеристики:
- Флексибилен дизајн: Allows for easy removal of printed models by bending the surface.
- Strong Magnetic Adhesion: Ensures the print surface remains securely attached to the hot bed during printing.
- Отпорност на високи температури: Maintains magnetic properties up to 80°C without demagnetization.
- Издржлив: Designed for repeated use.
- Лесна инсталација: Simple adhesive application for the magnetic base.

Image: Visual representation of key features including heat resistance up to 80°C, repeated use, and warping prevention.
Димензии на производот:
- Flexible Magnetic Print Surface (Side A): 310мм x 310мм
- Magnetic Adhesive Base (Side B): Approximately 315mm x 313mm (slightly larger to facilitate operation, does not affect normal use).

Image: Diagram illustrating the dimensions of the 310mm x 310mm flexible print surface and the slightly larger magnetic base.
Состав на материјал:
- The top surface (Side A) is a matte finish.
- The back of Side A and the top of Side B are magnetic, ensuring strong attraction.
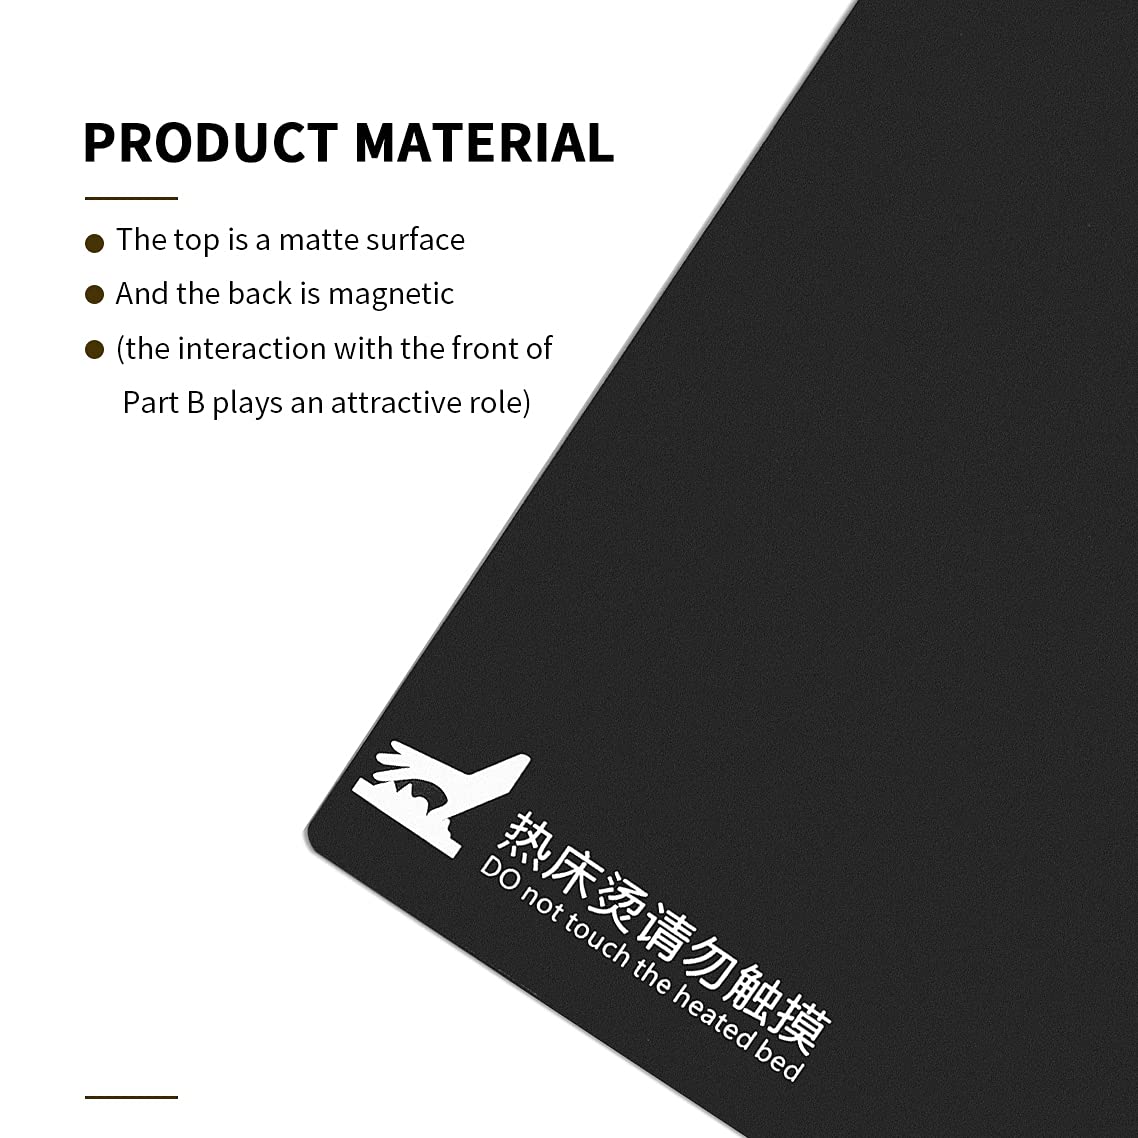
Image: Detail of the product material, highlighting the matte top surface and the magnetic interaction.
3. Компатибилност
This 310x310mm magnetic build surface is compatible with various 3D printers that have a print bed of the same size. Compatible models include, but are not limited to:
- Artillery SW-X1
- Artillery SW-X2
- CR-10
- CR-10S
- CR-10S Pro
- CR-10 V2
- CR-10 V3
- Tevo Tornado
- Nereus
- Anet A8 Plus
- Е12
Please confirm your printer's bed size before installation.
4. Поставување и инсталација
Follow these steps to correctly install your IdeaFormer Flexible Magnetic 3D Printer Build Surface:
- Prepare the Hot Bed: Ensure the hot bed of your 3D printer is clean and free from any debris or residue.
- Identify Magnetic Polarity: Before removing the adhesive backing, place the flexible magnetic print surface (Side A) onto the magnetic adhesive base (Side B). If they do not firmly attract or easily separate, rotate Side A by 90 degrees and try again until a strong magnetic connection is achieved. This ensures correct magnetic pole alignment.
- Apply Magnetic Base (Side B): Once the correct magnetic direction is identified, carefully peel off the protective film from the adhesive side of the magnetic base (Side B). Align it precisely with your printer's hot bed and firmly press it down, ensuring no air bubbles are trapped.
- Attach Print Surface (Side A): Place the flexible magnetic print surface (Side A) onto the newly installed magnetic adhesive base (Side B), ensuring the correct magnetic orientation found in step 2.
Video: A step-by-step guide on how to correctly install the IdeaFormer magnetic 3D printer build surface, including checking magnetic polarity and applying the adhesive base.
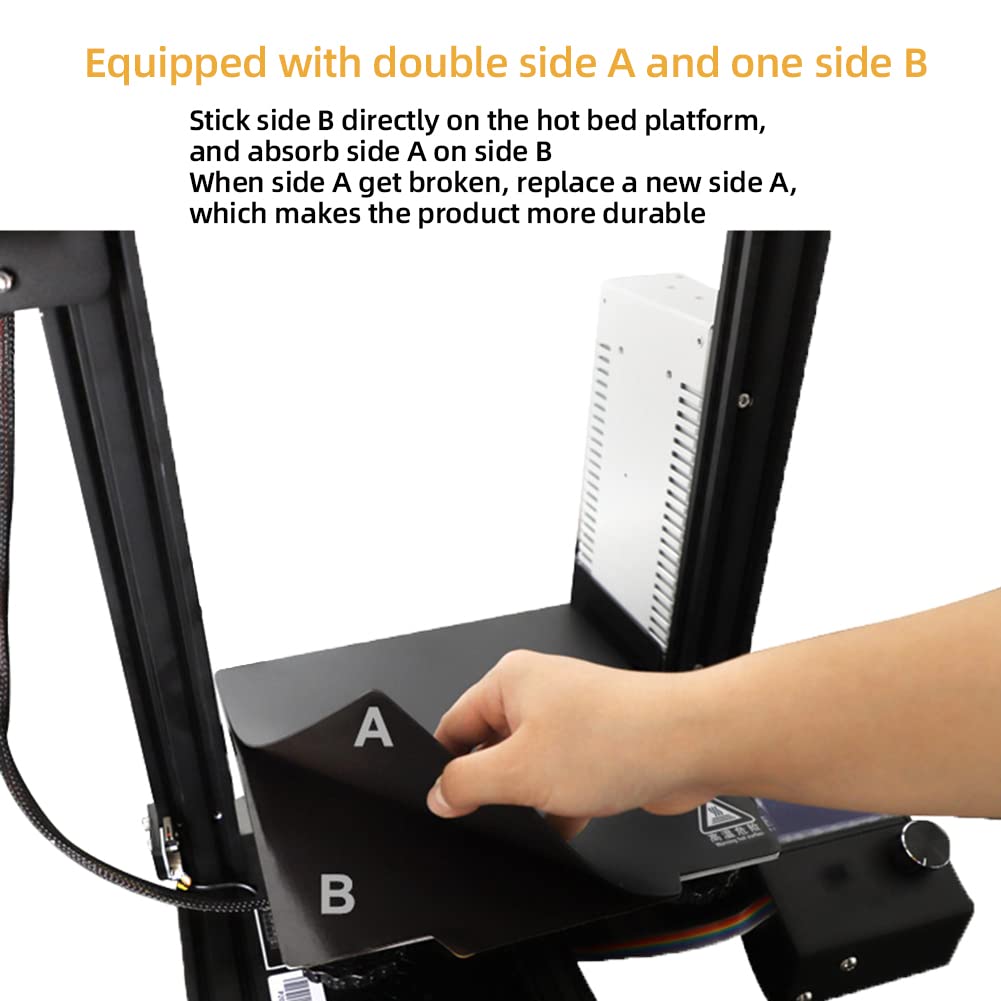
Image: Demonstrates the process of placing the flexible print surface onto the magnetic base on a 3D printer.
5. Упатства за работа
To achieve optimal printing results with your new build surface:
- Компатибилност со филамент: This build surface is specifically designed for use with PLA filaments ONLY. Using other filament types may result in poor adhesion or damage to the surface.
- Нивелирање на креветот: After installation, it is crucial to re-level your printer's bed. Adjust the distance between the nozzle and the build surface to approximately the thickness of a standard A4 paper sheet. Proper leveling is essential for good first-layer adhesion and to prevent damage to the surface.
- Print Removal: Once printing is complete and the bed has cooled, the flexible nature of the surface allows for easy removal of printed objects. Simply remove the flexible print surface from the magnetic base and gently bend it to pop off the print. For very thin or strongly adhered prints, a blunt, flat object can be used to assist removal, taking care not to scratch the surface.

Image: A clear warning indicating that the build surface is suitable for PLA filaments only, with a printed object on the surface.
6. Одржување
Regular maintenance will extend the lifespan of your build surface:
- Чистење: Keep the hot bed and the flexible print surface clean. Wipe with a soft cloth, possibly dampened with isopropyl alcohol, to remove any residue or fingerprints. Ensure the surface is dry before starting a new print.
- Заштита на површината: The print surface is made of plastic. Avoid using sharp tools or excessive force when removing prints to prevent scratches or grooves.
- Замена: The flexible print surface (Side A) is designed to be replaceable. If Side A becomes damaged or worn, you can replace it with a new one, making the product more durable and cost-effective.
7 Смена на проблеми
Еве неколку вообичаени проблеми и нивните решенија:
- Слаба адхезија:
- Ensure the print bed is properly leveled. The distance between the nozzle and the bed should be the thickness of an A4 paper.
- Clean the print surface thoroughly to remove any oils or debris.
- Verify you are using PLA filament.
- Prints Difficult to Remove:
- Allow the print bed to cool completely before attempting removal. Adhesion is strongest when the bed is hot.
- Remove the flexible surface from the magnetic base and gently bend it.
- For stubborn prints, use a blunt, flat tool to carefully pry them off, avoiding sharp edges that could damage the surface.
- Magnetic Plates Not Attracting Firmly:
- This indicates incorrect magnetic pole alignment. Remove the flexible print surface (Side A) and rotate it 90 degrees, then re-place it on the magnetic base (Side B). Repeat until a strong attraction is felt.
- Ensure the magnetic base is securely adhered to the hot bed and is not lifting.
- Surface Damage (Scratches/Grooves):
- Avoid using sharp objects for print removal.
- Ensure the nozzle is not too close to the bed during printing, as this can cause it to drag and damage the surface. Re-level the bed if necessary.
- Warping of Prints:
- Ensure proper bed temperature for PLA (typically 50-60°C).
- Check for drafts around the printer, which can cause uneven cooling and warping.
8. Спецификации
| Име на производ | Flexible Magnetic 3D Printer Build Surface |
| Бренд | IdeaFormer |
| Број на модел | TP-MC-MSK--310--310 |
| Димензии | 310mm x 310mm (Print Surface) |
| Материјал | Magnetic Sheet (PLA compatible) |
| Отпорност на топлина | Up to 80°C without demagnetization |
| Компатибилен филамент | PLA (полилактична киселина) |
| Компатибилни уреди | 3D Printers with 310x310mm hot beds |
9. Гаранција и поддршка
IdeaFormer is committed to providing high-quality products and excellent customer service.
- Услуга за клиенти: If you have any questions or require technical support for this product, please visit the official IdeaFormer store page or contact us through the "Your Orders" section on the platform where you made your purchase.
- Време на одговор: Се стремиме да одговориме на сите прашања во рок од 24 часа.


