Вовед
This manual provides detailed instructions for the setup, operation, and maintenance of your BISOFICE H5 Handheld POS Terminal. Please read this manual thoroughly before using the device to ensure proper functionality and to prevent damage. Keep this manual for future reference.
Производот завршиview
The BISOFICE H5 is a versatile handheld POS terminal designed for various business applications, integrating a barcode scanner, thermal printer, and robust communication capabilities within an Android 8.1 operating system.
Клучни карактеристики:
- Android 8.1 OS for smooth and stable operation.
- Compact and wireless design with a 2550mAh rechargeable battery.
- Built-in 58mm thermal receipt printer with a printing speed of over 75mm/s.
- Intelligent payment terminal with 3G, WiFi, BT4.0, and WCDMA network support.
- 2MP focus camera for 1D/2D barcode scanning.
- 5.0-inch IPS touchscreen display (1280x720 resolution).
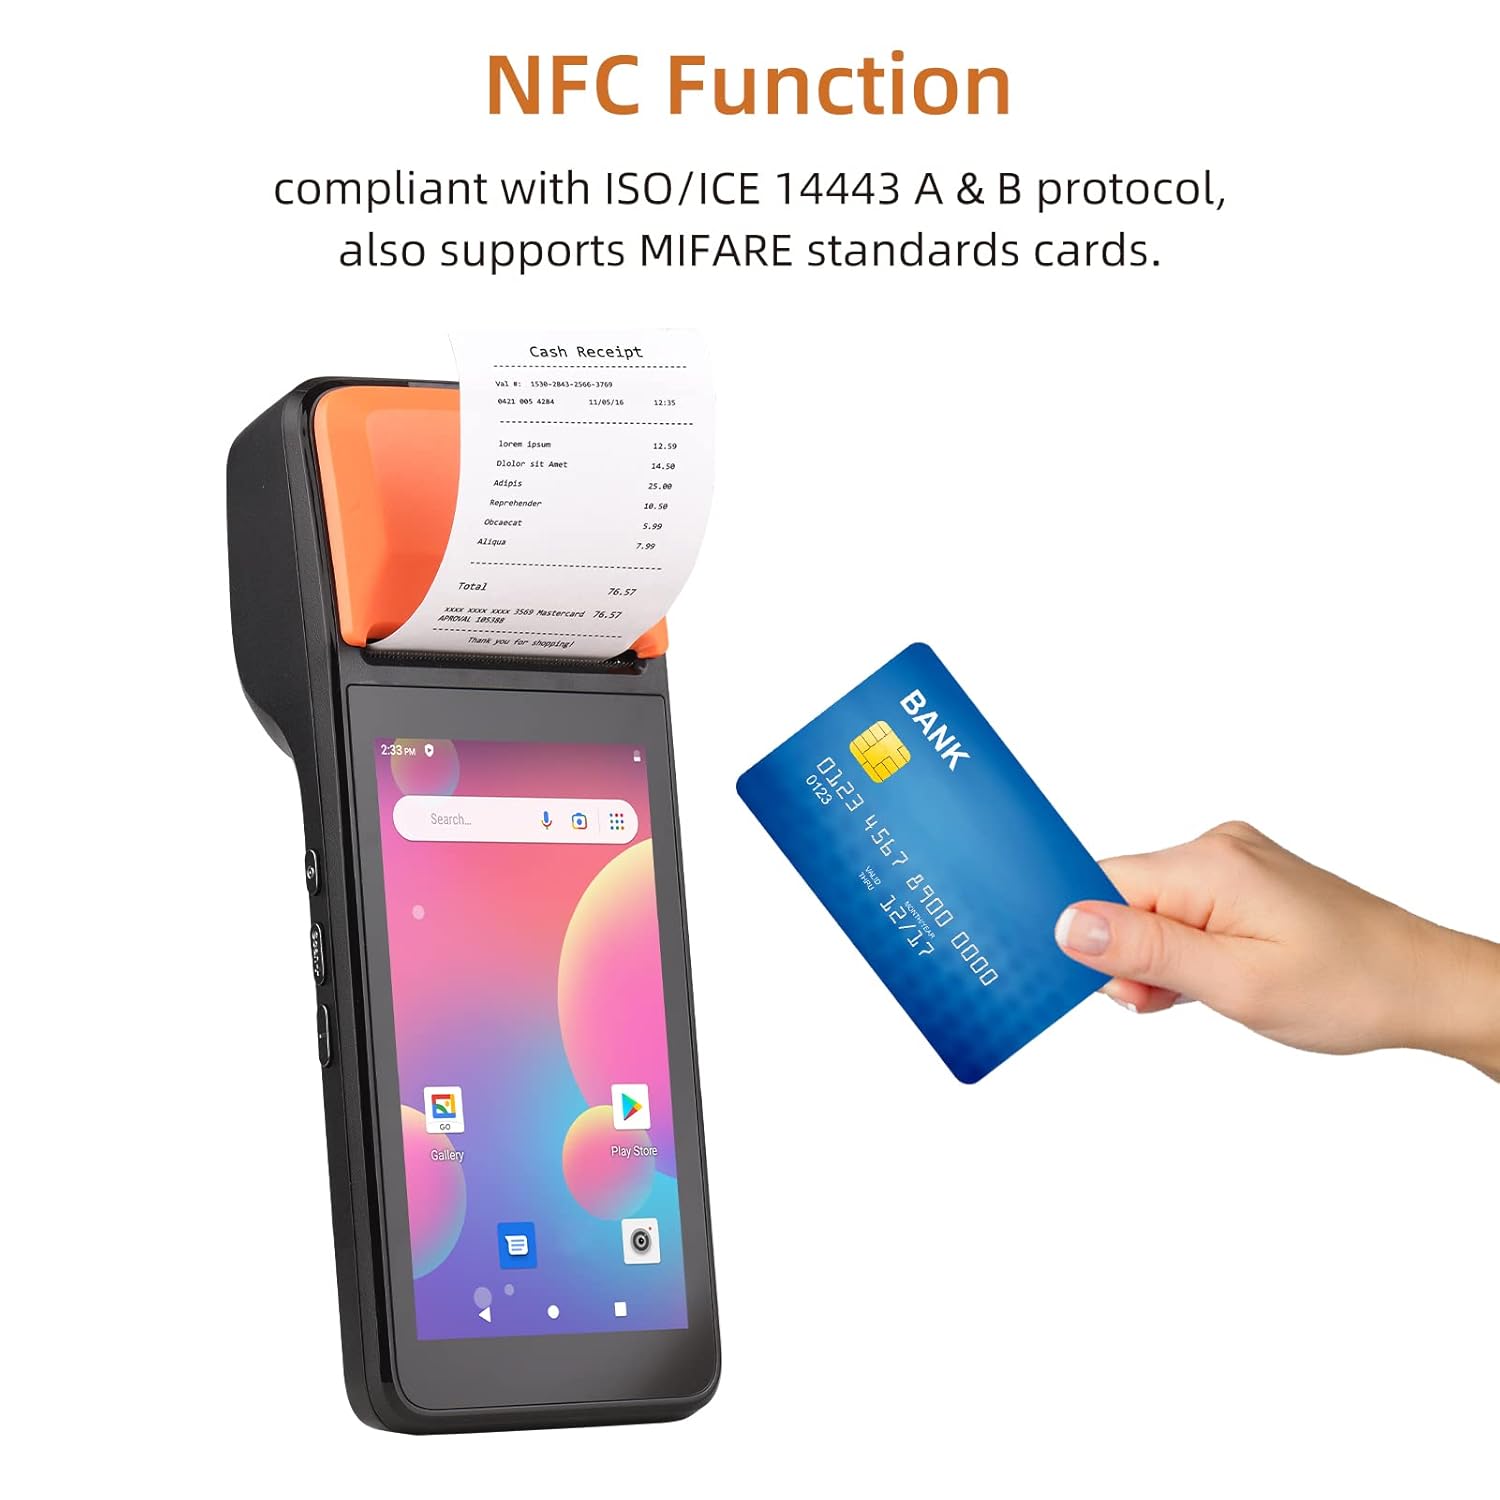
- NFC function compliant with ISO/ICE 14443 A & B protocol, supporting MIFARE standard cards.
Општо View:

Димензии на уредот:

Рачна работа:

Функционалност на NFC:
Thermal Printer Details:

Camera and Barcode Reader:

Спецификации
The following table details the technical specifications of the BISOFICE H5 Handheld POS Terminal:
| Карактеристика | Детал |
|---|---|
| Модел | H5 |
| Процесорот | MTK Dual CPU, 4-core 1.3GHz |
| Оперативен систем | Андроид 8.1 |
| Меморија | 8 GB ROM + 1 GB RAM меморија |
| Приказ | 5.0" HD IPS (1280x720), G+FF features, Touch Screen |
| Печатач | High-speed 58mm thermal printer, >75mm/s print speed, 58x40mm paper roll |
| Задна камера | 2 million focus camera (2MP), supports 1D/2D barcode recognition |
| Батерија | 8.8V, 2550mAh Lithium ion polymer Battery |
| Време на полнење | 2 часа |
| Време на празнење | 30 часа |
| Време на мирување | 85 часа |
| Безжична комуникација | GSM: B2/B3/B5/B8; WCDMA: B1/B2/B5/B8 |
| WiFi | 2.4G, support IEEE 802.11 a/b/g/n |
| Bluetooth | BT2.1/3.0/4.0 BLE |
| NFC | Yes, compliant with ISO/ICE 14443 A & B protocol |
| Слот за SIM картичка | Standard SIM card holder |
| Комуникациски интерфејс | Type-C (supports OTG) |
| Charger Input/Output | Input: AC 100-240V, Output: 5V, 2A |
| Димензии (ДxШxВ) | 20.83 x 7.62 x 8.89 cm |
| Тежина на ставката | 499 гр |
| Вклучени компоненти | PDA Machine, Type-C Cable, Thermal Paper Roll |

Водич за поставување
1. Полнење на уредот
Before first use, fully charge the device. Connect the provided Type-C cable to the device's charging port and the other end to the AC adapter. Plug the adapter into a power outlet. The charging indicator will illuminate. A full charge takes approximately 2 hours.
2. Installing the SIM Card (Optional)
If you require 3G network connectivity, install a standard SIM card:
- Locate the SIM card slot, usually under the battery cover or on the side.
- Insert the standard SIM card into the slot with the metal contacts facing down, ensuring it clicks into place.
- Добро затворете го капакот.
3. Loading Thermal Paper Roll
The device uses 58mm wide thermal paper rolls with a maximum diameter of 40mm.
- Open the printer cover by gently pushing the latch or button.
- Insert the thermal paper roll with the printing surface facing the print head. Ensure the paper feeds smoothly.
- Pull a small amount of paper out past the cutting edge.
- Цврсто затворете го капакот на печатачот додека не кликне на своето место.
4. Вклучување/исклучување
- За вклучување: Press and hold the power button (typically on the side) until the screen illuminates.
- За исклучување: Press and hold the power button until a power-off menu appears. Select "Power off" and confirm.
Упатства за работа
1. Basic Android Navigation
The BISOFICE H5 operates on Android 8.1. Navigate using the 5.0-inch touchscreen:
- Допрете: За да изберете ставка или да отворите апликација.
- Повлечете: To scroll through lists or screens.
- Штипење: To zoom in or out (if supported by the application).
- Копче за почеток: Се враќа на почетниот екран.
- Копче за назад: Се враќа на претходниот екран.
- Копче за неодамнешни апликации: Ги прикажува неодамна користените апликации.
2. Поврзување со мрежи
- Wi-Fi: Одете на Поставки > Мрежа и Интернет > Wi-Fi. Turn Wi-Fi on, select your desired network, and enter the password if prompted.
- 3G/Мобилни податоци: If a SIM card is installed, go to Поставки > Мрежа и интернет > Мобилна мрежа и проверете дали мобилните податоци се овозможени.
- Bluetooth: Одете на Поставки > Поврзани уреди > Bluetooth. Turn Bluetooth on to pair with other devices.
3. Using the Barcode Scanner
The device features a 2MP camera and CCD 1D reader for scanning barcodes.
- Open an application that supports barcode scanning (e.g., a POS application or a dedicated scanner app).
- Point the camera/scanner lens at the barcode, ensuring it is within the focus area.
- The device will typically emit a sound or vibrate upon successful scan.
4. Printing Receipts/Labels
The integrated thermal printer allows for quick printing of receipts or labels.
- Ensure thermal paper is correctly loaded.
- Within your POS or printing application, select the print option.
- Confirm print settings if prompted (e.g., number of copies).
- The device will automatically print the document. Tear off the receipt using the serrated edge.
5. Using NFC Function
The NFC function enables contactless transactions and data exchange.
- Проверете дали NFC е овозможен во Поставки > Поврзани уреди > NFC.
- Open an application that supports NFC (e.g., a payment app).
- Hold the NFC-enabled card or device near the NFC reader area (typically near the printer section) until the transaction is confirmed.
Одржување
1. Чистење на уредот
- Use a soft, dry, lint-free cloth to clean the exterior of the device.
- For the touchscreen, use a screen cleaner specifically designed for electronic displays. Do not spray cleaner directly onto the screen.
- Избегнувајте употреба на груби хемикалии, растворувачи или абразивни материјали.
2. Printer Head Maintenance
Regularly clean the thermal print head to ensure clear print quality.
- Исклучете го уредот пред чистење.
- Отворете го капакот на печатачот.
- Gently wipe the print head with an alcohol swab or a soft cloth dampобложена со изопропил алкохол.
- Allow the print head to dry completely before closing the cover and powering on the device.
3. Нега на батерии
- Избегнувајте изложување на уредот на екстремни температури.
- Не ја празнијте батеријата целосно често. Наполнете ја пред да падне премногу ниско.
- Доколку го складирате уредот подолг период, наполнете ја батеријата до околу 50% и чувајте го на ладно и суво место.
Решавање проблеми
| Проблем | Можна причина | Решение |
|---|---|---|
| Уредот не се вклучува. | Low battery; device crash. | Charge the device for at least 30 minutes. If still unresponsive, perform a forced restart (refer to device documentation for specific key combination, usually holding power button for 10-15 seconds). |
| Не може да се печати. | No paper; paper jammed; printer cover not closed; print head dirty; application error. | Check and load paper. Clear any paper jams. Ensure printer cover is securely closed. Clean the print head. Restart the printing application or the device. |
| Лош квалитет на печатење. | Dirty print head; low quality thermal paper; paper loaded incorrectly. | Clean the print head. Use high-quality thermal paper. Ensure paper is loaded correctly with the thermal side facing the print head. |
| Скенерот за баркодови не работи. | Poor lighting; barcode damaged; scanner lens dirty; application not active. | Ensure adequate lighting. Check barcode for damage. Clean the scanner lens. Ensure the scanning application is open and active. |
| No network connection (Wi-Fi/3G). | Wi-Fi/Mobile data off; incorrect password; out of range; SIM card issue. | Check Wi-Fi/Mobile data settings. Re-enter Wi-Fi password. Move closer to the Wi-Fi router. Reinsert SIM card or check its activation status. |
Гаранција и поддршка
For warranty information and technical support, please refer to the warranty card included with your product or contact BISOFICE customer service through their official website or the retailer where the product was purchased. Please have your product model (H5) and serial number ready when contacting support.


