1. Вовед
This manual provides detailed instructions for the setup, operation, maintenance, and troubleshooting of your Ducky One 3 Mini Pro Nazca 8K 60% Hotswap RGB PBT Mechanical Keyboard. Please read this manual thoroughly to ensure proper usage and to maximize your keyboard's performance.
2. Поставување
2.1 Содржина на пакетот
- Ducky One 3 Mini Pro Nazca Mechanical Keyboard
- USB-C to USB-A Braided Cable
- Привлечник за клучеви
- Прекинувач извлекувач
- Additional Keycaps (design specific)
2.2 Поврзување на тастатурата
- Locate the USB-C port on the back of your Ducky One 3 Mini Pro keyboard.
- Connect the USB-C end of the provided braided cable to the keyboard.
- Поврзете го USB-A крајот од кабелот со слободен USB порт на вашиот компјутер.
- The keyboard will automatically be detected and installed by your operating system.

Image: The Ducky One 3 Mini Pro keyboard connected via its braided USB cable, highlighting the cable's quality and the keyboard's compact design.
2.3 Прилагодување на аголот на тастатурата
The keyboard features adjustable feet on the underside to change the typing angle for ergonomic comfort. Gently flip out the stands to your preferred height.

Image: The underside of the Ducky One 3 Mini Pro keyboard, illustrating the adjustable feet that allow users to customize the typing angle for improved ergonomics.
3. Упатства за работа
3.1 Клучни карактеристики
- 60% Распоред: Compact design, ideal for maximizing desk space and portability.
- Cherry MX2A Brown Switches: Tactile switches with a 55g actuation force, offering a balance of typing feedback and quiet operation.
- 8K Polling Rate: Ensures ultra-responsive input with minimal lag for high-performance gaming.
- Triple-Shot PBT Keycaps: Highly durable keycaps with legends that will not fade, providing a premium typing experience.
- South-Facing RGB Lighting: Customizable RGB backlighting for enhanced visibility and aesthetic appeal, compatible with most keycaps.
- Прекинувачи што може да се заменуваат со топла вода: Allows for easy replacement of switches without soldering.
- Poron Film: Integrated for enhanced typing comfort, reduced noise, and increased durability.

Слика: Јасен пресврт од горе надолу view of the Ducky One 3 Mini Pro keyboard, showcasing its compact 60% layout and keycap design.

Image: The Ducky One 3 Mini Pro keyboard with its customizable RGB backlighting illuminated, demonstrating its aesthetic capabilities.
3.2 Function Layer
Due to its 60% layout, many functions are accessed via a secondary layer using the Fn key in combination with other keys. Refer to the keyboard's included quick guide or Ducky's official website for a full list of function layer commands, including media controls, lighting adjustments, and macro programming.
4. Одржување
4.1 Чистење на тастатурата
- Исклучете ја тастатурата од компјутерот пред чистење.
- Користете мека крпа без влакненца гampened with a small amount of water or a mild cleaning solution to wipe down the keycaps and casing.
- За подлабоко чистење, користете го испорачаниот извлекувач на капачињата за да ги отстраните капачињата и исчистете ја подлогата со компримиран воздух или мала четка.
4.2 Замена на копчињата и прекинувачите
Your Ducky One 3 Mini Pro keyboard features hot-swappable switches, allowing for easy customization.
- Отстранување на капачето на копчето: Use the keycap puller to gently grasp the keycap and pull straight up.
- Отстранување на прекинувачот: Once the keycap is removed, use the switch puller to carefully grip the switch from its top and bottom clips, then pull straight up.
- Инсталација на прекинувач: Align the pins of the new switch with the holes on the PCB. Press down firmly until the switch clicks into place. Ensure pins are not bent.
- Keycap Installation: Ставете го посакуваното капаче на копчето на стеблото на прекинувачот и нежно притиснете надолу додека не се прицврсти.

Image: A hand demonstrating the use of a switch puller to remove a mechanical switch from the Ducky One 3 Mini Pro keyboard, highlighting its hot-swappable feature.
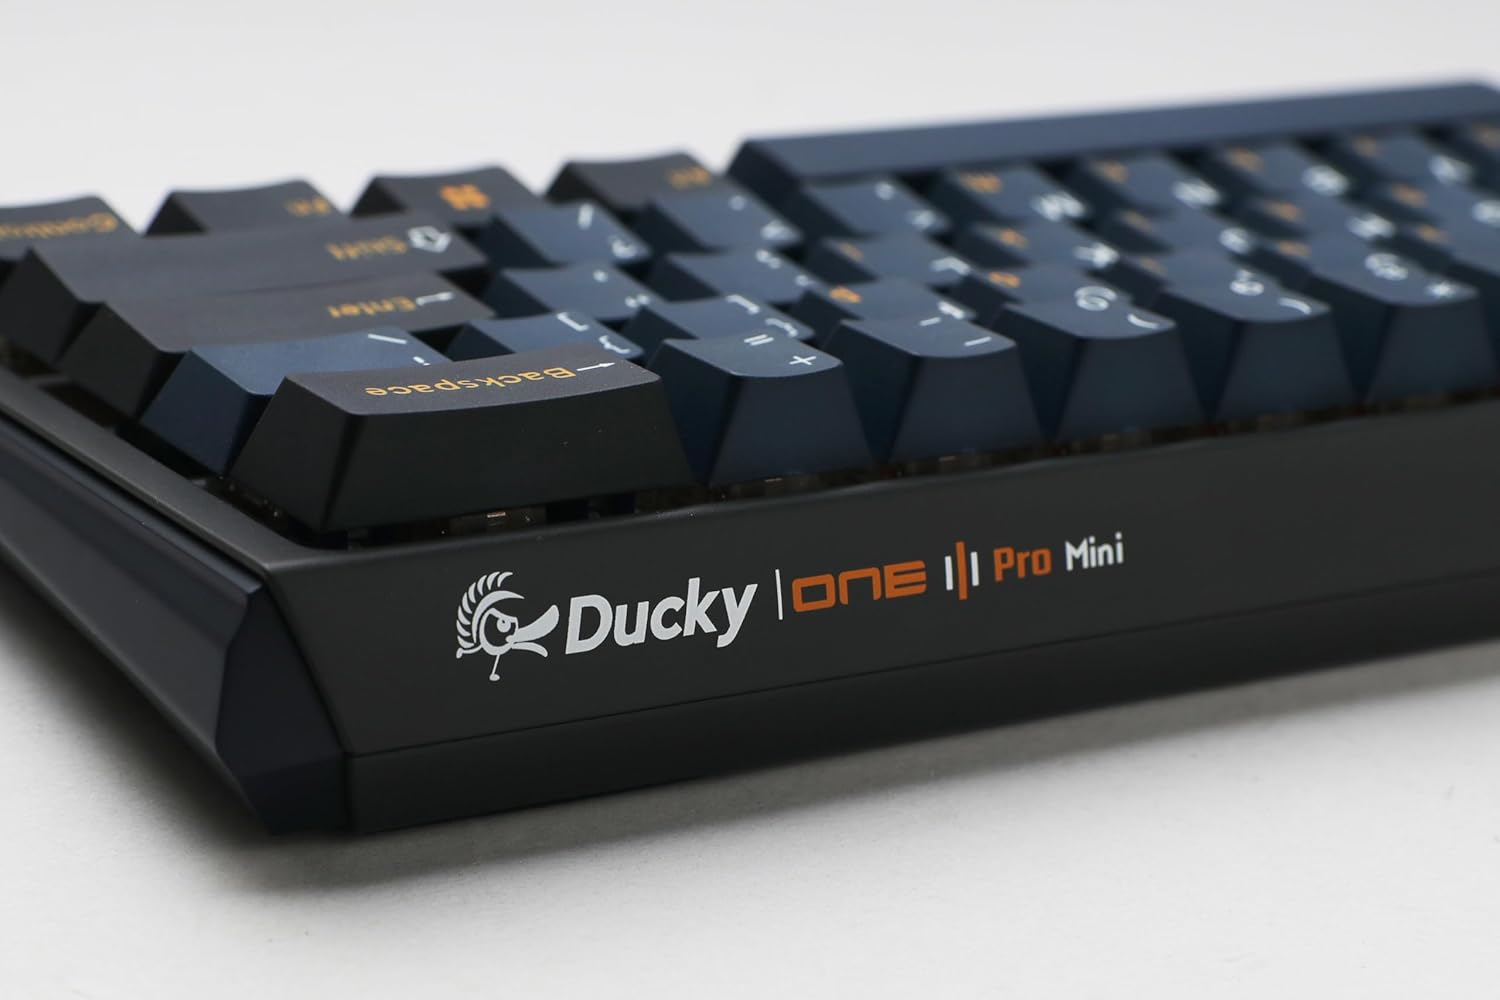
Image: Two mechanical switches and their corresponding keycaps are shown removed from the Ducky One 3 Mini Pro keyboard, illustrating the ease of customization.
5 Смена на проблеми
5.1 Тастатурата не реагира
- Осигурајте се дека USB кабелот е безбедно поврзан и со тастатурата и со компјутерот.
- Обидете се да ја поврзете тастатурата со друг USB порт на вашиот компјутер.
- Тестирајте ја тастатурата на друг компјутер за да утврдите дали проблемот е во тастатурата или во компјутерот.
- Рестартирајте го компјутерот.
5.2 Проблеми со RGB осветлување
- Check the keyboard's function layer commands for RGB lighting control (e.g., brightness, mode changes).
- Ensure no software conflicts are present if you are using third-party lighting control applications.
- Perform a factory reset if necessary (refer to Ducky's official support for specific instructions for your model).
5.3 Key Chatter or Unresponsive Keys
- Due to the hot-swappable design, a switch might not be fully seated. Remove the keycap and gently press down on the switch to ensure it is properly installed.
- If a specific switch is faulty, use the switch puller to replace it with a new one.
- Исчистете ги сите остатоци што може да бидат под капачето на копчето или околу прекинувачот.
6. Спецификации
| Карактеристика | Детал |
|---|---|
| Број на модел | DKON2361ST-CBUSPTCHNAZ001 |
| Распоред | 60% |
| Тип на прекинувач | Cherry MX2A Brown (Tactile) |
| Стапка на анкети | 8,000 Hz |
| Материјал за клуч | Triple-Shot PBT (Polybutylene Terephthalate) |
| Осветлување | South-Facing RGB Backlight |
| Поврзување | Жичен USB-C |
| Димензии (Д x Ш x В) | 12.2 x 4.33 x 1.57 инчи |
| Тежина на ставката | 1.43 фунти |
| Посебни карактеристики | Hot-Swap, N-Key Rollover, Poron Film |
7. Гаранција и поддршка
For detailed warranty information and technical support, please visit the official Ducky webлокација или контактирајте ја нивната служба за корисници. Зачувајте го доказот за купување за гаранциски барања.
Службеник на пиленце Webсајт: www.duckychannel.com.tw


