1. Вовед
This manual provides essential information for the proper setup, operation, and maintenance of your NexiGo NG17QH 4K Portable Monitor. Please read this manual thoroughly before using the device to ensure optimal performance and to prevent damage. Keep this manual for future reference.

Image: The NexiGo NG17QH 4K Portable Monitor, showcasing its sleek design and smart cover.
2. Содржина на пакетот
Verify that all items listed below are included in your package. If any items are missing or damaged, please contact NexiGo customer support.
- NexiGo NG17QH 4K Portable Monitor
- Smart Cover / Stand
- Кабел USB-C на USB-C
- Кабел мини HDMI до HDMI
- Кабел за напојување од USB-A до USB-C
- Адаптер за напојување
3. Производот завршиview
Familiarize yourself with the ports and controls on your NexiGo NG17QH portable monitor.
Слика: Детална view of the monitor's ports and controls.
Порти и копчиња:
- Целосно избрана USB-C порта: Used for power, video, and audio transmission with compatible devices.
- Мини HDMI приклучок: Used for video and audio transmission with HDMI-compatible devices.
- Копче за вклучување: Press and hold to power the monitor on or off. Short press to access the OSD menu.
- Индикатор за напојување: Indicates the monitor's power status.
- Multi-Function Key: Used to navigate the OSD menu and adjust settings.
- OTG Interface (USB-C): Allows connection of USB peripherals like keyboards or mice when the monitor is connected via the full-featured USB-C port.
- 3.5 мм приклучок за слушалки: За поврзување на надворешни аудио уреди.
4. Поставување
Follow these steps to set up your NexiGo NG17QH portable monitor.
4.1 Напојување на мониторот
- Using a single USB-C cable (Full-Featured): If your device (laptop, smartphone) supports full-featured USB-C output, connect the monitor to your device using the provided USB-C to USB-C cable. This single cable can provide both power and display signal.
- Using an external power adapter: If your device does not provide sufficient power or if you are using the Mini HDMI port, connect the provided USB-A to USB-C power cable to the monitor's full-featured USB-C port and plug the USB-A end into the power adapter, then into a wall outlet.
4.2 Поврзување со уреди
- Laptop/PC (USB-C): Connect the monitor to your laptop/PC using the USB-C to USB-C cable. Ensure your laptop's USB-C port supports DisplayPort Alternate Mode.
- Laptop/PC (HDMI): Connect the monitor to your laptop/PC using the Mini HDMI to HDMI cable. Ensure the monitor is powered externally via the USB-C power cable.
- Gaming Consoles (PS5, Xbox, Switch): Connect the monitor to your console using the Mini HDMI to HDMI cable. Ensure the monitor is powered externally via the USB-C power cable.
- Паметен телефон: Connect the monitor to your smartphone using the USB-C to USB-C cable. Ensure your smartphone's USB-C port supports video output.
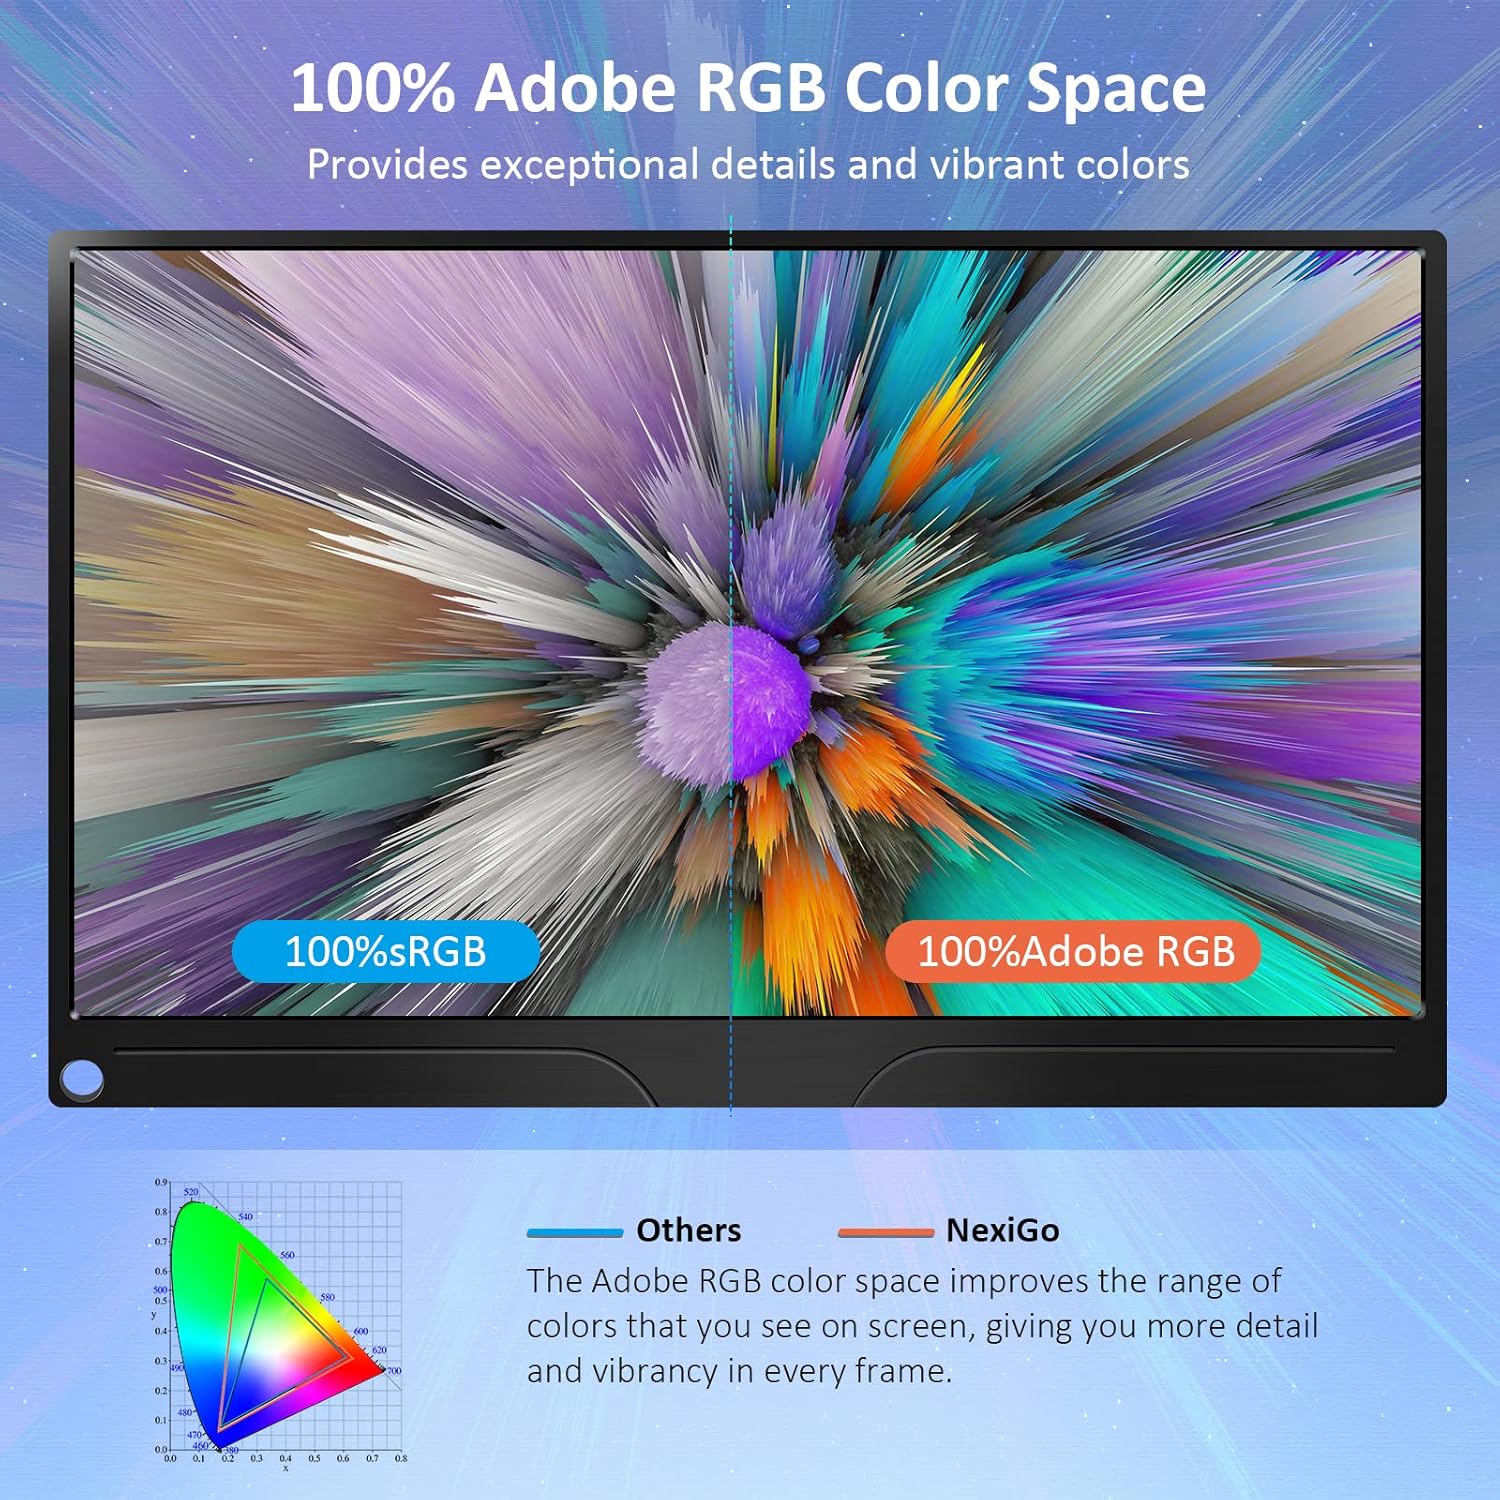
Image: The portable monitor connected to a laptop, demonstrating an extended display setup.
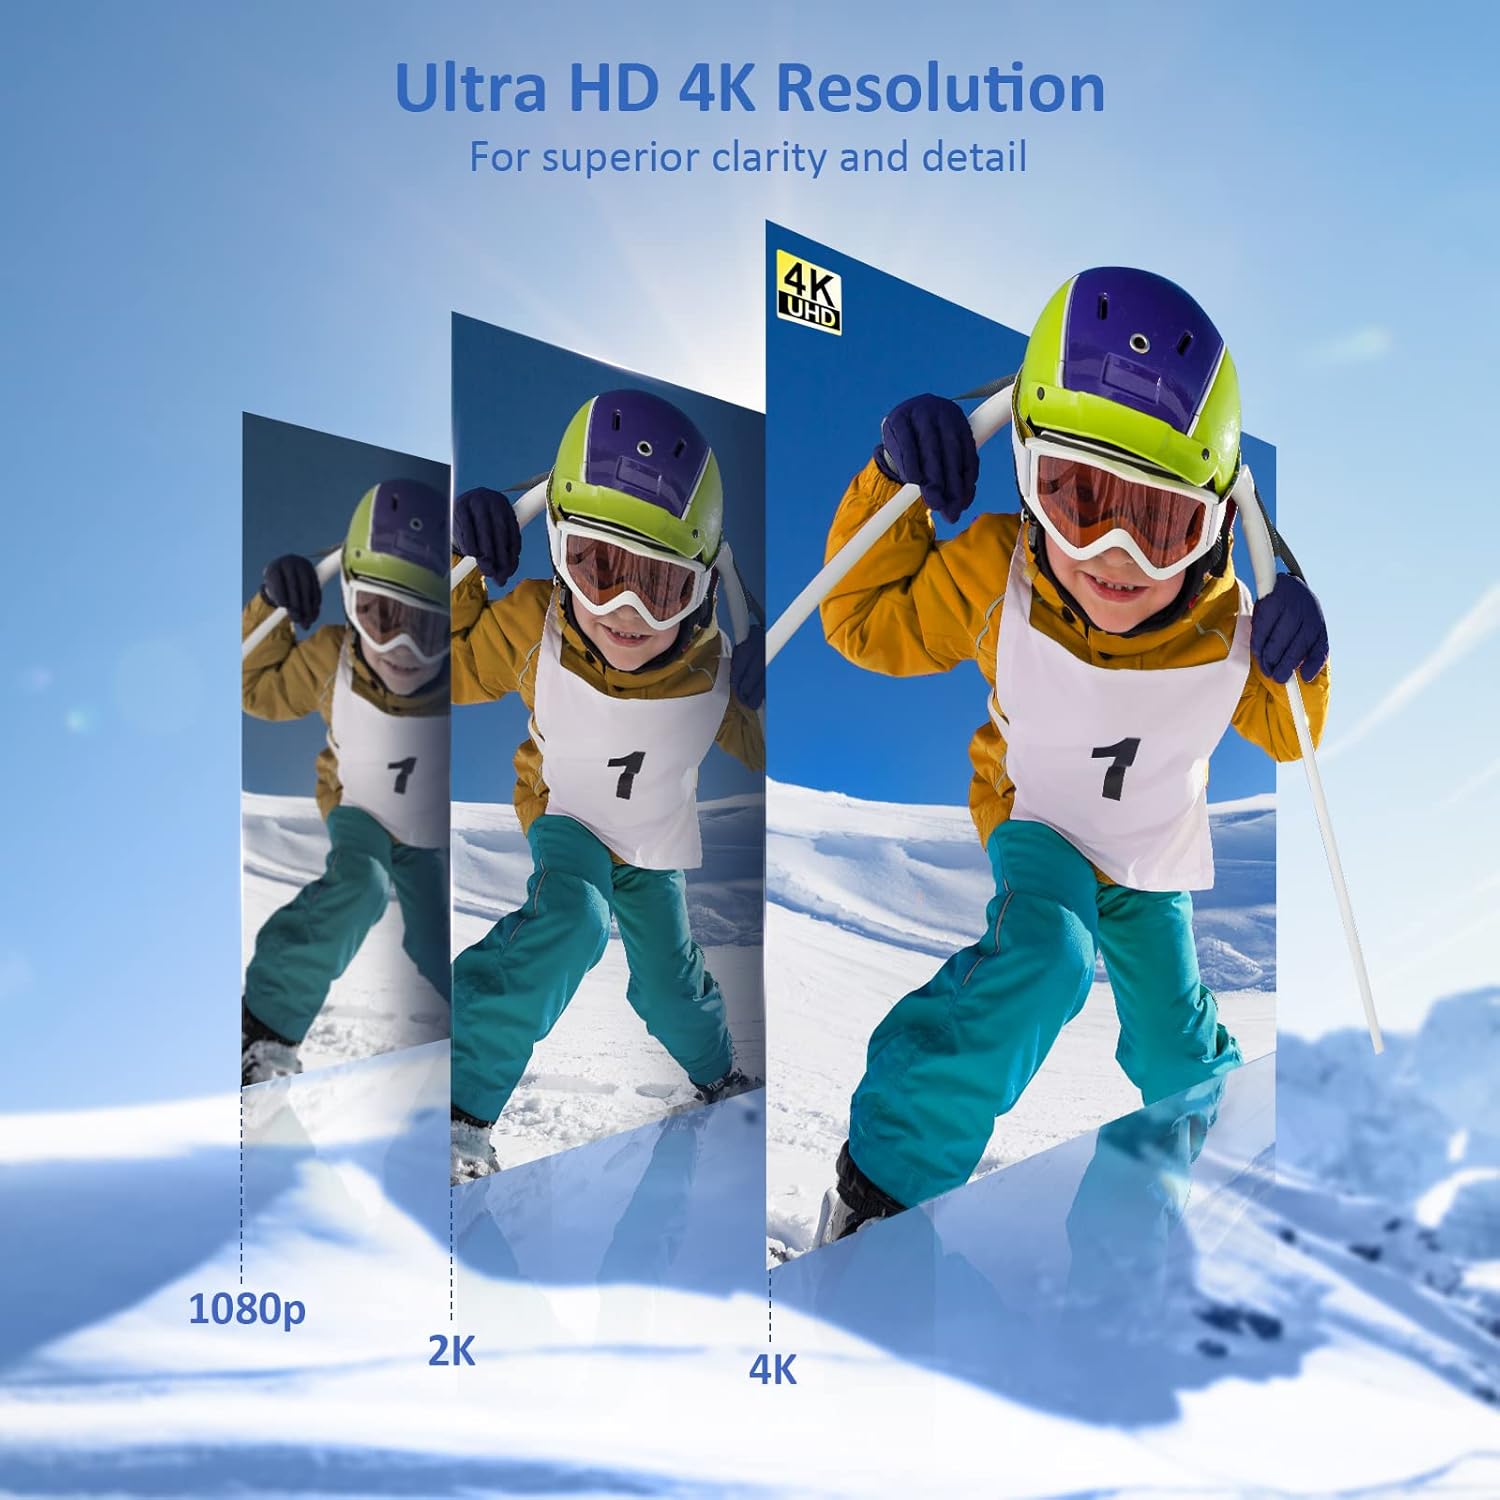
Image: The portable monitor connected to a smartphone, displaying content.
4.3 Монтирање VESA
The monitor is compatible with VESA mounts (75x75mm). To mount the monitor, remove the smart cover and attach it to a compatible VESA arm or wall mount using appropriate screws (not included).
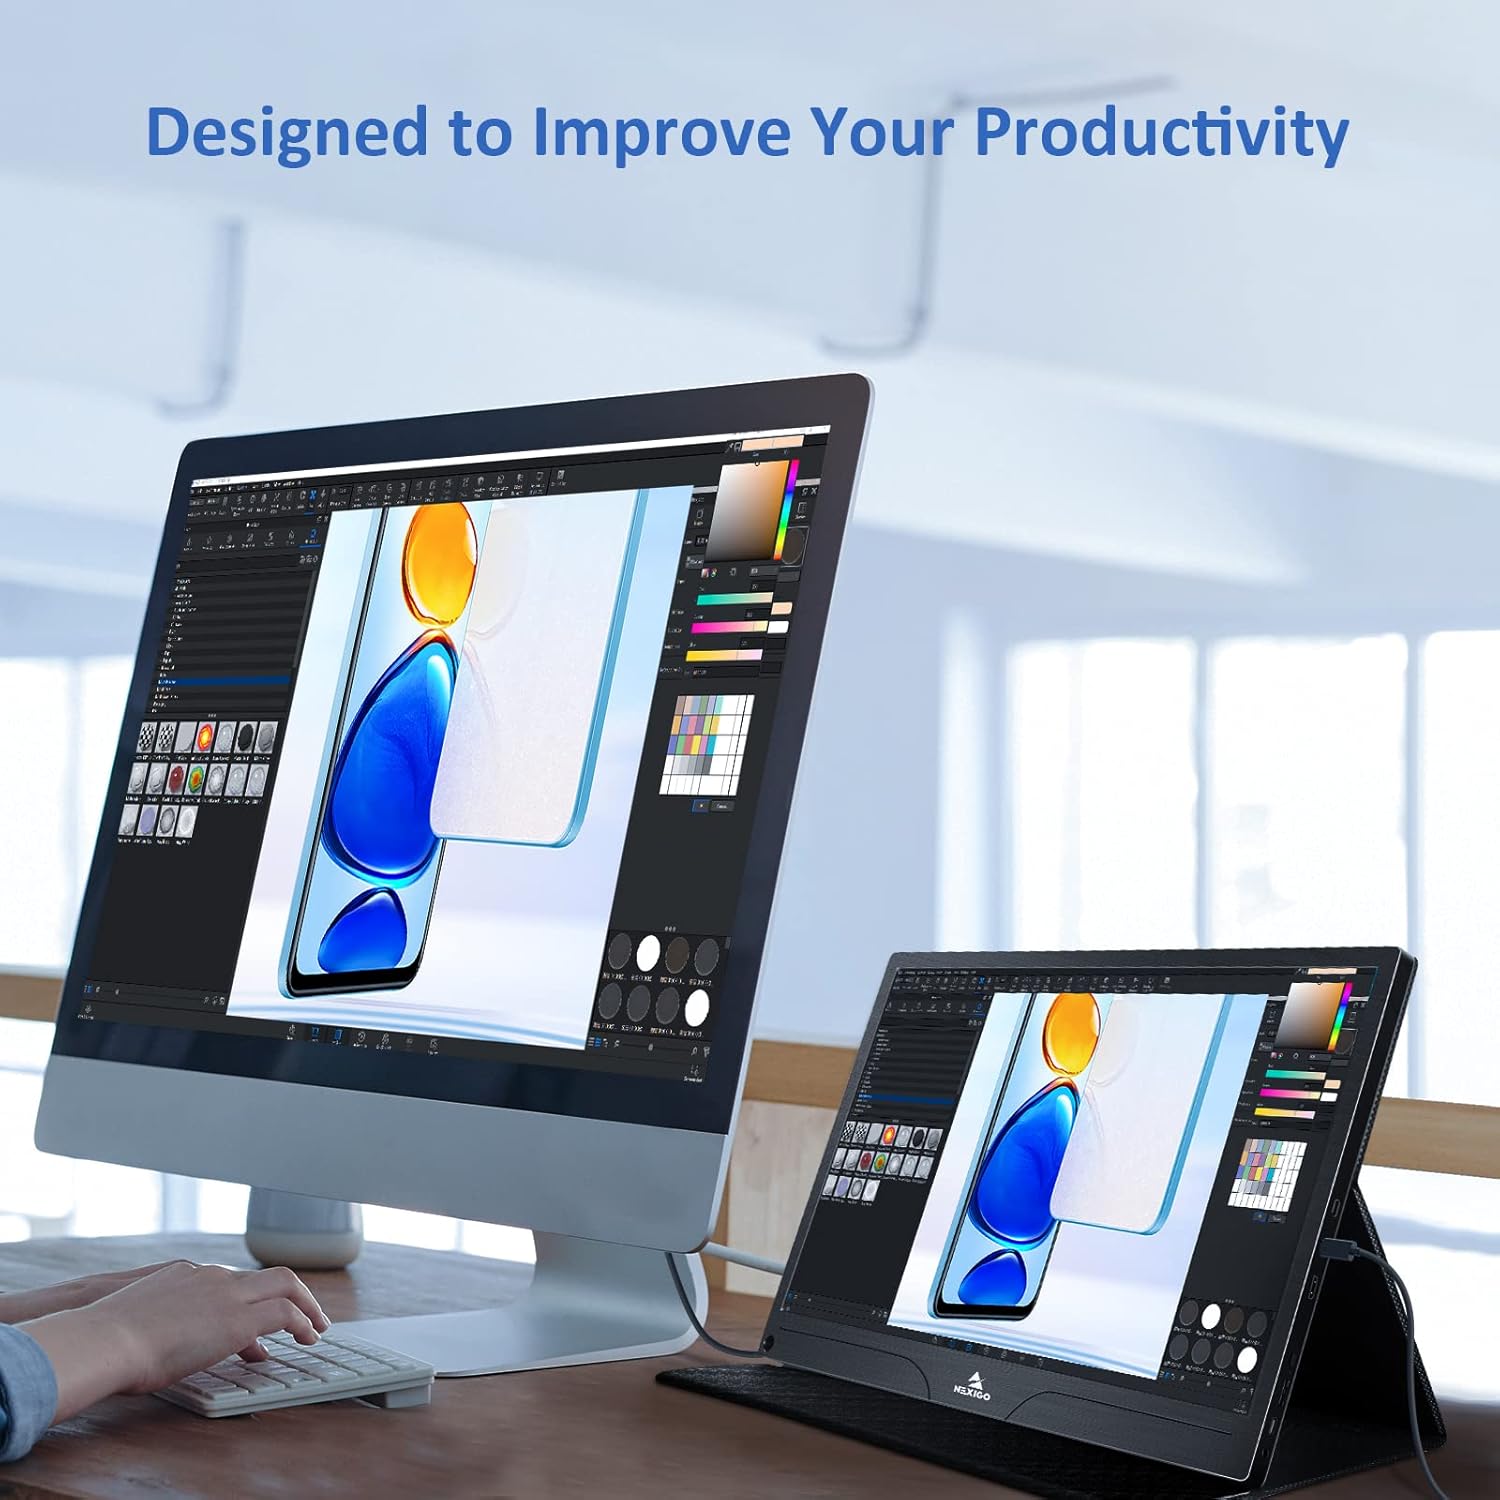
Image: The monitor mounted on a VESA-compatible desk arm.
5. Ракување со мониторот
5.1 Вклучување/исклучување
Притиснете и задржете го Копче за напојување for approximately 3 seconds to turn the monitor on or off.
5.2 Мени за приказ на екран (OSD).
The OSD menu allows you to adjust various display settings. Short press the Копче за напојување to open the OSD menu. Use the Мулти-функционален клуч to navigate and select options.
- Горе долу: Move the Multi-Function Key up or down to navigate through menu options.
- Внесете: Press the Multi-Function Key inward to select an option or confirm a setting.
- Излез: Press the Power Button to exit the current menu or the OSD.
5.3 Поставки на екранот
- Осветленост/Контраст: Прилагодете ја вкупната осветленост и контраст на екранот.
- Поставки за боја: Променете ја температурата на бојата, нијансата и сатурацијата.
- HDR режим: Enable or disable High Dynamic Range for enhanced visual quality with compatible content.
- FreeSync: Enable FreeSync for smoother gaming experiences by synchronizing the monitor's refresh rate with your GPU's frame rate.
- Сооднос: Adjust the display aspect ratio (e.g., 16:9, 4:3).
5.4 Аудио поставки
Adjust the volume of the built-in dual speakers or connected headphones through the OSD menu.
6. Одржување
- Чистење на екранот: Лесно користете мека крпа без влакненца dampсо вода или неабразивен чистач за екран. Не прскајте течност директно врз екранот.
- Чистење на Casing: Избришете го мониторот casing with a soft, dry cloth. Avoid using harsh chemicals or solvents.
- Складирање: When not in use, store the monitor in a cool, dry place, preferably in its original packaging or smart cover to protect it from dust and scratches.
- Избегнувајте екстремни услови: Не го изложувајте мониторот на екстремни температури, влажност или директна сончева светлина.
7 Смена на проблеми
Доколку наидете на проблеми со вашиот монитор, погледнете ја следната табела за вообичаени проблеми и решенија.
| Проблем | Можна причина | Решение |
|---|---|---|
| Нема екран / Порака „Нема сигнал“ | Неправилно поврзување на кабелот, недоволна моќност, неправилен влезен извор. | Ensure cables are securely connected. Verify external power is supplied if needed. Check the input source setting in the OSD menu. |
| Мониторот не се вклучува | No power supply, faulty cable. | Ensure the power adapter is connected and working. Try a different USB-C cable or power source. |
| Треперење на екранот | Faulty cable, unstable power, incompatible resolution/refresh rate. | Replace the cable. Ensure stable power. Adjust the display resolution or refresh rate on your connected device. |
| Нема аудио | Volume too low, incorrect audio output setting, faulty cable. | Increase volume via OSD or connected device. Ensure the monitor is selected as the audio output device on your source. Check cable connections. |
| OTG port not working | Monitor not powered via full-featured USB-C, device incompatibility. | Ensure the monitor is connected to a device via the full-featured USB-C port that supports OTG functionality. |
8. Спецификации
Detailed technical specifications for the NexiGo NG17QH 4K Portable Monitor.
| Карактеристика | Спецификација |
|---|---|
| Број на модел | NG17QH |
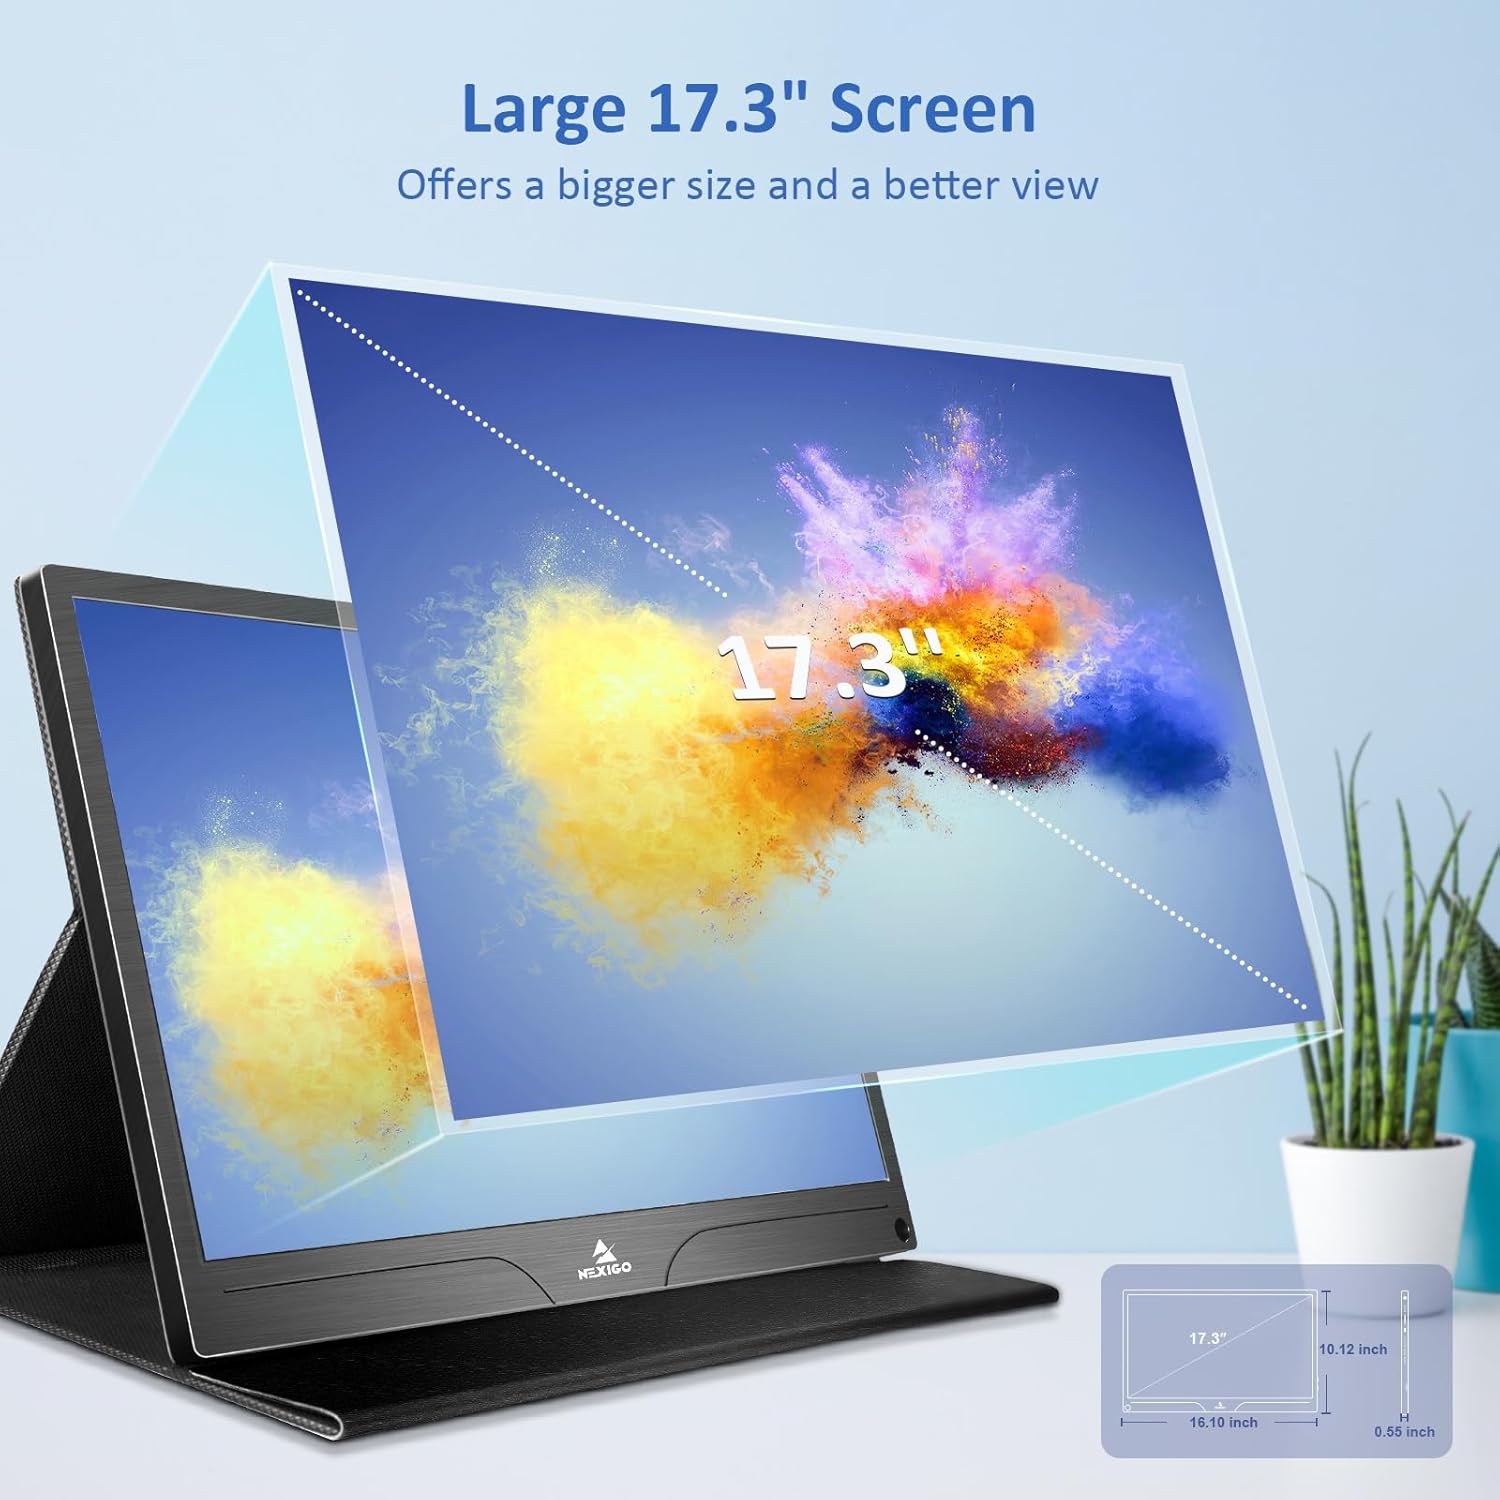
| Големина на екранот | 17.3 инчи |
| Резолуција | 3840 x 2160 (4K UHD) |
| Тип на панел | IPS |
| Осветленост | 400 cd/m² |
| Гама на бои | 100% Adobe RGB |
| Сооднос на аспект | 16:9 |
| Viewинголен агол | 178° |
| Карактеристики | FreeSync, HDR, Eye Care Screen |
| Звучници | Dual Built-in Speakers |
| Поврзување | Full-Featured USB-C (x1), Mini HDMI (x1), OTG USB-C (x1), 3.5mm Audio Jack (x1) |
| Компатибилност со VESA | 75 x 75 mm |
| Димензии на производот | 16.1 x 10.12 x 0.55 инчи |
| Тежина на ставката | 6.39 фунти |

Image: Visual comparison of 1080p, 2K, and 4K resolutions, demonstrating the clarity of the 4K display.
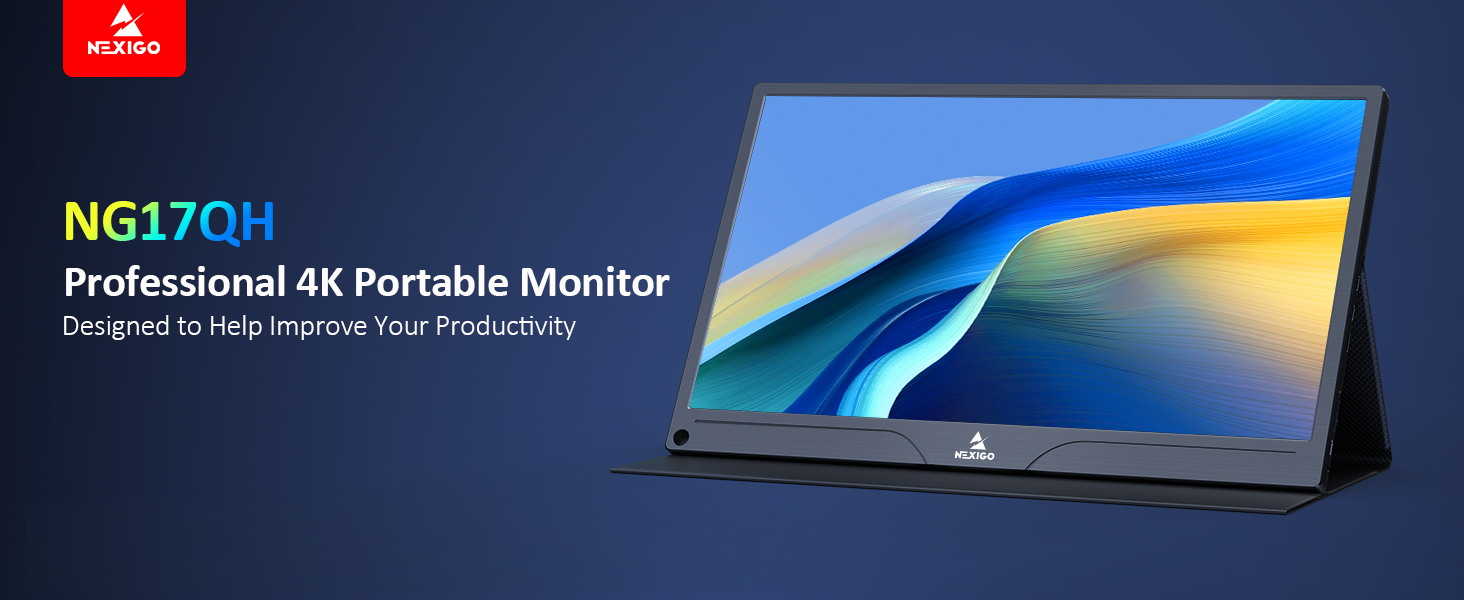
Image: A visual representation of 100% Adobe RGB color space coverage, indicating vibrant and detailed color reproduction.
9. Гаранција и поддршка
Your NexiGo NG17QH Portable Monitor comes with a manufacturer's warranty. For detailed warranty information, product registration, or technical support, please visit the official NexiGo webстраницата или директно контактирајте ја нивната служба за корисници. Чувајте ја сметката за купување како доказ за купување за гаранциски побарувања.
NexiGo Official Webсајт: www.nexigo.com


