1. Вовед
This manual provides detailed instructions for the installation, operation, and maintenance of your AZDOME M01 Pro 3K WiFi Dash Cam. Please read this manual thoroughly before use to ensure proper functionality and to prevent damage.
2. Содржина на пакетот
Проверете дали сите артикли наведени подолу се вклучени во вашиот пакет:
- M01 Pro Dash Cam (Front Unit)
- Задна камера
- Полнач за автомобил
- 3M Sticky Mount
- Вшмукување планина
- SD картичка од 64GB (претходно инсталирана)
- Алатка за поврзување на автомобил
- Кабелски клипови
- Електростатска налепница
- Упатство за употреба
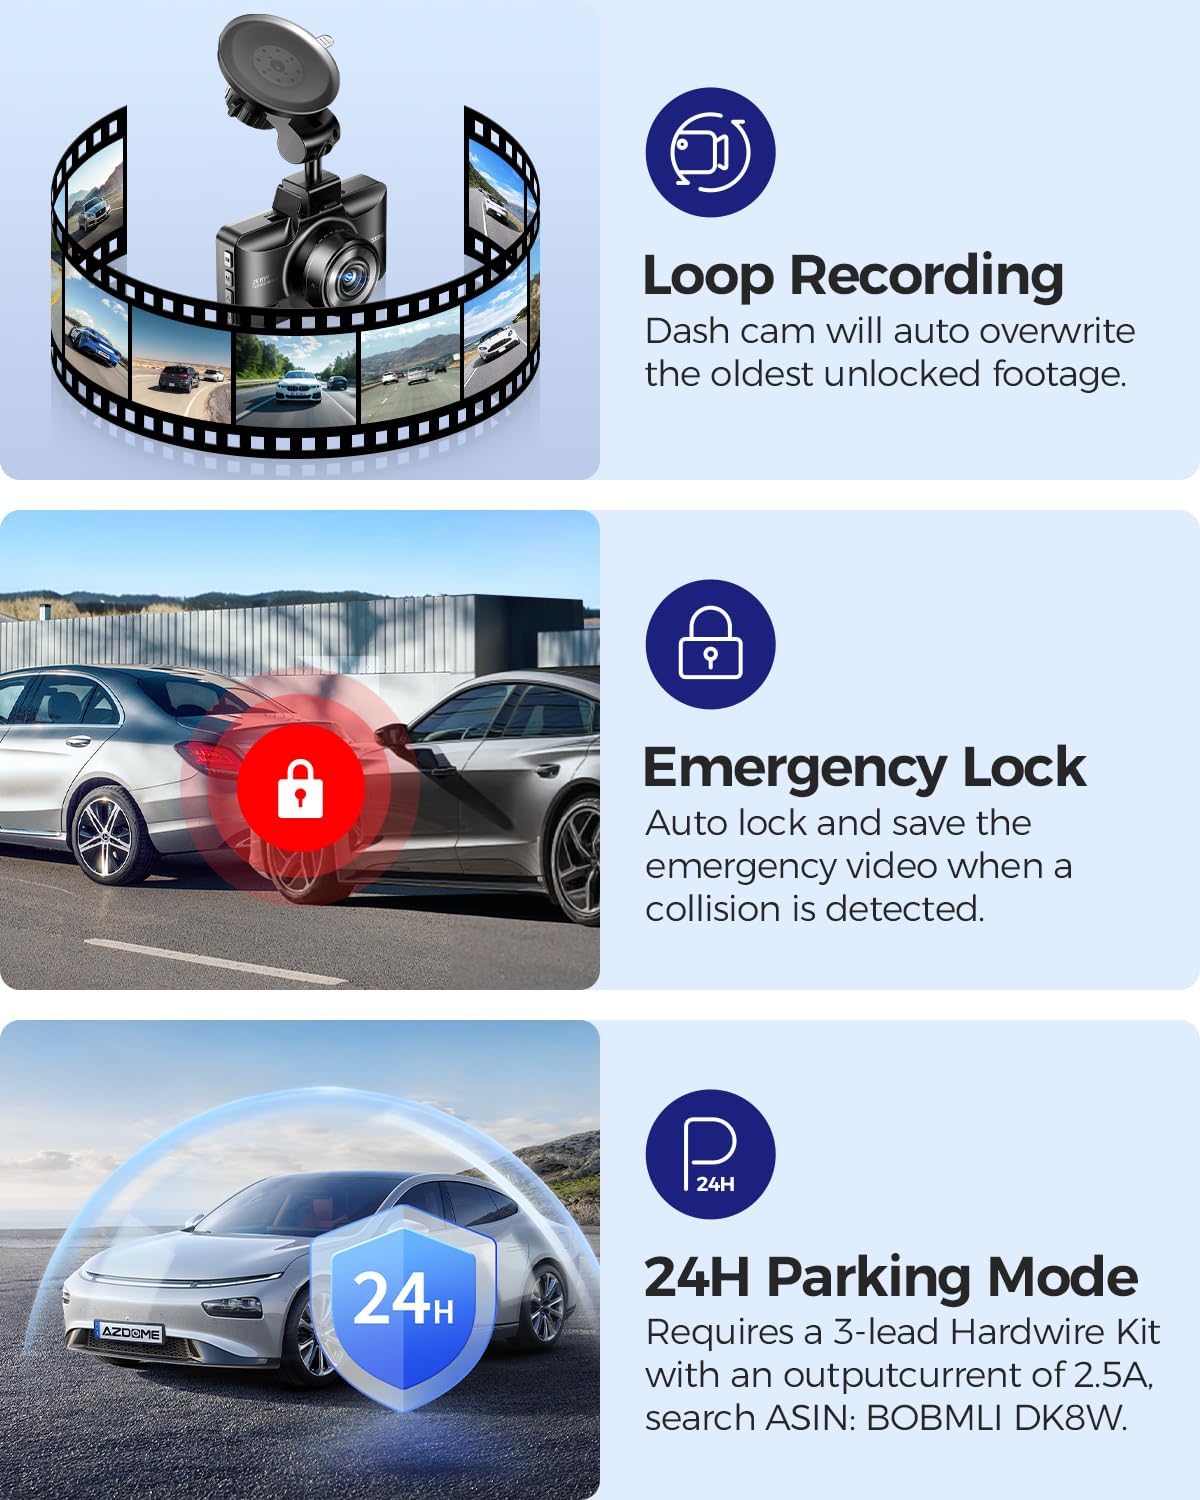
Image: All components included in the AZDOME M01 Pro dash cam package.
3. Производот завршиview
3.1 Front Dash Cam Unit
The main dash cam unit features a 3-inch IPS screen for live view and menu navigation. It includes control buttons on the sides for various functions and a front-facing lens for recording.

Image: The AZDOME M01 Pro front dash cam unit with its screen and lens visible.
3.2 Задна камера
The compact rear camera records in 1080P resolution and is designed for external mounting on the rear of the vehicle. It connects to the main unit via a cable.

Слика: Крупен план view of the compact rear camera unit.
4. Поставување и инсталација
4.1 Инсталација на предната камера на контролната табла
The front dash cam can be installed using either the suction cup mount or the 3M sticky mount. Both mounts allow for 360° rotation for optimal viewинг агли.
- Темелно исчистете го посакуваниот дел од шофершајбната.
- Attach the electrostatic sticker to the cleaned area.
- Attach the chosen mount (suction cup or 3M sticky) to the electrostatic sticker.
- Slide the main dash cam unit onto the mount until it clicks securely.
- Connect the car charger to the dash cam's power port and plug it into your vehicle's cigarette lighter socket.
- Use the provided car wiring tool and cable clips to neatly tuck away the power cable along the vehicle's trim for a clean installation.
Video: Demonstrates the installation process of the suction cup mount for the AZDOME M01 Pro dash cam.

Image: Illustrates the 360° rotation capability of the dash cam mount.
4.2 Инсталација на задна камера
The rear camera can be mounted externally using either the included 3M adhesive or screws. Connect the rear camera cable to the main dash cam unit and route it neatly along the vehicle's interior trim to the rear.
Видео: Кратка пред-прегледview demonstrating how to enable the reverse assist line function for the rear camera.
5. Упатства за работа
5.1 Основно работење
The dash cam automatically powers on and begins recording when your vehicle starts. It powers off when the vehicle is turned off. Use the physical buttons on the unit to navigate menus and adjust settings.
5.2 App Control (Wi-Fi)
The AZDOME M01 Pro features built-in Wi-Fi for convenient app control. Download the dedicated AZDOME app on your smartphone to manage settings, view живеј фаоtage, download, playback, and share videos.
- Download the AZDOME app from your device's app store.
- Turn on the dash cam and enable its Wi-Fi.
- Connect your smartphone to the dash cam's Wi-Fi network (SSID and password typically found in the dash cam settings).
- Open the AZDOME app to access controls and features.

Image: Screenshots illustrating the AZDOME app interface for dash cam control.
5.3 Снимање во јамка
The dash cam continuously records video in short segments. When the SD card is full, the oldest unprotected files автоматски се пребришуваат со нови снимки. Ова обезбедува континуирано снимање без рачна интервенција.

Image: Icon representing the Loop Recording feature.
5.4 G-сензор (брава во итен случај)
The built-in G-Sensor detects sudden impacts or collisions. When an event is detected, the current video segment is automatically locked and saved to prevent it from being overwritten by loop recording. This footage serves as crucial evidence in case of an accident.

Image: Icon representing the G-Sensor feature.
5.5 Parking Modes
The M01 Pro offers two parking modes to monitor your vehicle when parked:
- Режим на паркирање со откривање судир: The G-Sensor detects impacts and automatically records and locks video segments.
- Временски режим на паркирање: The dash cam records continuously at a low frame rate (e.g., 1fps) for extended periods (12/24/48 hours).
Note: A hardwire kit (sold separately) is required to enable 24-hour parking modes.

Image: Icon representing the Parking Mode feature.
5.6 ADAS (Напредни системи за помош на возачот)
Built-in ADAS features provide alerts for potential hazards, enhancing driving safety. These alerts may include lane departure warnings or forward collision warnings.

Image: Icon representing the ADAS (Advanced Driver-Assistance Systems) feature.
5.7 Fatigue Driving Alert
The dash cam can be configured to provide alerts reminding the driver to take a rest after continuous driving for a set duration (e.g., 1, 2, or 4 hours) to promote safe driving practices.

Image: Illustration of the fatigue driving alert system in action.
5.8 Помош при паркирање
Кога е вклучена брзината за рикверц, камерата на таблата автоматски прикажува заден view with parking guide lines, aiding in safe parking maneuvers.
6. Одржување
To ensure optimal performance and longevity of your dash cam:
- Regularly format the SD card (e.g., once a month) to prevent data corruption and ensure smooth recording.
- Keep the lenses clean using a soft, dry cloth.
- Избегнувајте изложување на уредот на екстремни температури или директна сончева светлина подолг период.
- Проверете дали сите кабли се безбедно поврзани.
7 Смена на проблеми
If you encounter any issues with your AZDOME M01 Pro dash cam, please refer to the following common solutions:
- Камерата на контролната табла не се вклучува: Check the car charger connection and ensure the vehicle's power outlet is functioning.
- Проблеми со снимање: Ensure an SD card is inserted and formatted correctly. Check for sufficient storage space.
- Проблеми со Wi-Fi конекција: Ensure the dash cam's Wi-Fi is enabled and your smartphone is within range. Restart both devices if necessary.
- Screen freezing/unresponsive: Use a thin object (like a paperclip) to press the reset button on the device.
For further assistance, please contact AZDOME customer support.
8. Спецификации
| Карактеристика | Детал |
|---|---|
| Димензии на производот | 1.18 x 5.48 x 1.3 инчи |
| Тежина на ставката | 14.8 унци |
| Име на моделот | M01 Pro |
| Резолуција за снимање видео | 2160p (3K UHD) |
| Технологија за поврзување | Wi-Fi |
| Посебни карактеристики | App Control, Compact Design, G-Sensor, Loop Recording, Night Vision |
| Тип на монтирање | Монтажа на контролната табла |
| Полето на View | 150 степени |
| Боја | Црното |
9. Гаранција и поддршка
For warranty information and customer support, please refer to the official AZDOME webстраницата или директно контактирајте ја нивната служба за корисници. Деталите обично може да се најдат во приложеното упатство за употреба или на пакувањето на производот.