1. Вовед
This manual provides detailed instructions for the safe and effective use of your ScopeAround SA200S Digital Otoscope. This device is designed for visual inspection of the ear canal and eardrum, featuring an integrated 1.85-inch IPS screen, a 720p HD camera, and adjustable LED lighting. It also supports photo and video capture for documentation.
Ве молиме внимателно прочитајте го ова упатство пред да го ракувате со уредот и зачувајте го за во иднина.
2. Информации за безбедност
- Do not insert the otoscope too deeply into the ear canal to avoid injury.
- Always use the provided specula to prevent direct contact with the ear canal.
- Clean the lens and accessories thoroughly before and after each use to prevent cross-contamination. Refer to the "Maintenance and Cleaning" section.
- Држете го уредот подалеку од дофат на деца. Потребен е надзор од возрасен доколку се користи кај деца.
- Do not use the device if you experience pain or discomfort. Consult a medical professional.
- Избегнувајте изложување на уредот на екстремни температури, директна сончева светлина или влага.
- Не обидувајте се сами да го расклопите или поправате уредот. Контактирајте ја поддршката за корисници за помош.
- The built-in battery pack is non-removable.

Figure 2.1: Safe and Dangerous Ear Canal Insertion
3. Содржина на пакетот
Проверете дали сите артикли се присутни во пакувањето:
- SA200S Digital Otoscope with Screen
- Ear Picks (x4)
- Specula (x5)
- Влошки за алкохол
- Q-совети
- 8 GB мемориска картичка
- USB-кабел (тип-C)
- Упатство за употреба

Слика 3.1: Содржина на пакетот
4. Производот завршиview
The ScopeAround SA200S Digital Otoscope is an all-in-one device designed for convenient ear examination. It features a high-resolution camera and an integrated display for direct viewинг.

Figure 4.1: ScopeAround SA200S Digital Otoscope
4.1 Компоненти на уредот

Figure 4.2: Labeled Components of the Otoscope
- Navigation Buttons UP: Used to navigate menus or adjust settings.
- Navigation Buttons Down: Used to navigate menus or adjust settings.
- Слот за мемориска картичка: For inserting the 8GB memory card (included).
- Photo / Video Button: Press to capture photos or start/stop video recording.
- Power Button / LED Light Adjustment: Long press to power on/off. Short press to cycle through LED brightness levels.
- 1.85" IPS LCD екран: Integrated display for real-time viewинг.
- Копче за поставки: Пристапете до поставките на уредот.
- Добро копче: Confirm selections in menus.
- Otoscope Camera: The camera probe for ear canal inspection.
- Type-C порта: За полнење и пренос на податоци.
5. Поставување
5.1 Полнење на уредот
Before first use, fully charge the otoscope. Connect the provided USB Type-C cable to the device's Type-C port and a compatible USB power adapter (not included). The charging indicator will show the charging status. A full charge provides approximately 3 hours of working time.
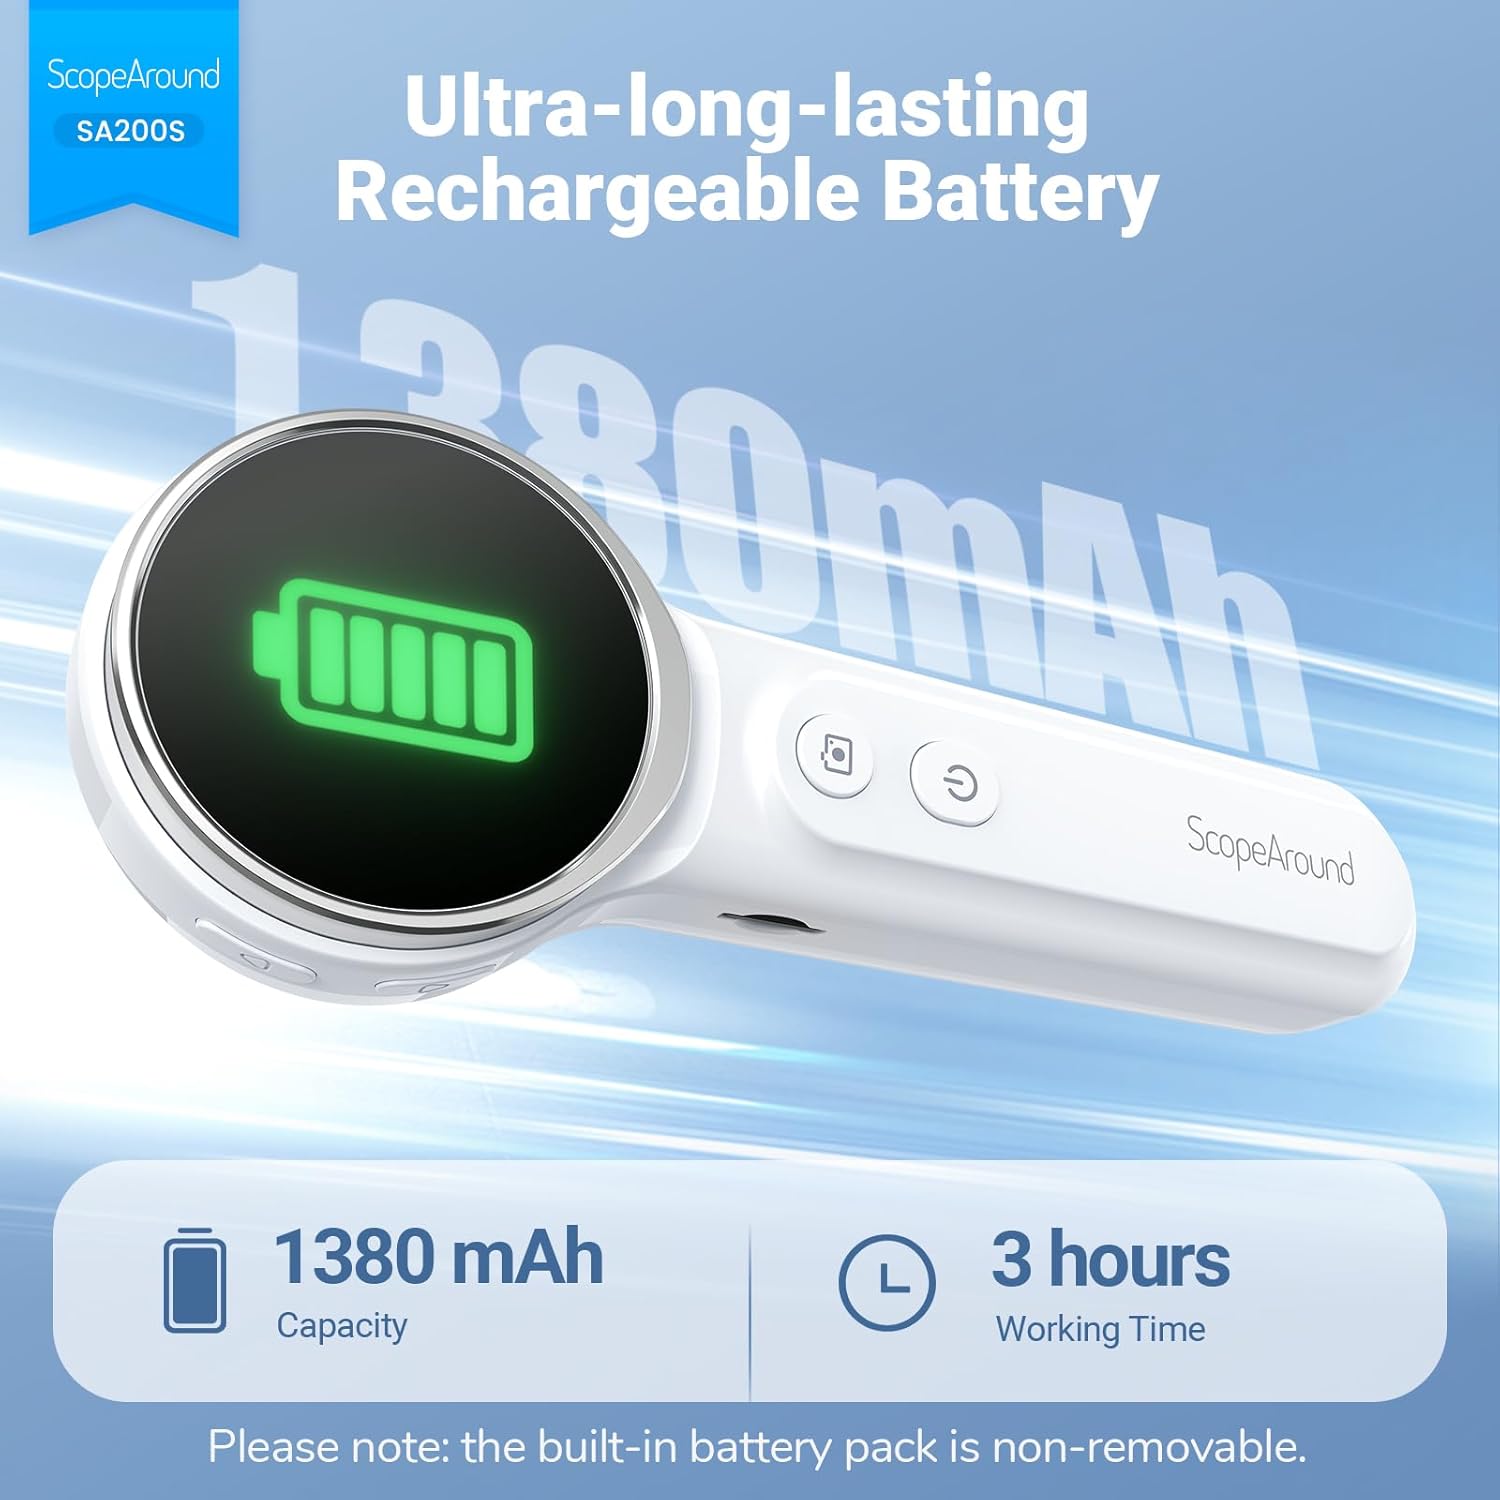
Слика 5.1: Полнење и траење на батеријата
5.2 Прицврстување додатоци
Select an appropriate speculum and ear pick. Gently attach the chosen speculum to the tip of the otoscope camera. If using an ear pick, ensure it is securely fitted over the camera tip, inside the speculum, before insertion into the ear.
5.3 Вклучување/исклучување
- За вклучување: Долго притиснете го Копче за напојување (5) until the screen illuminates.
- За исклучување: Долго притиснете го Копче за напојување (5) again until the screen turns off.
5.4 Поврзување со апликацијата (опционално)
For additional features and a larger viewing experience, you can connect the otoscope to your smartphone or tablet via Wi-Fi.
- Преземете ја апликацијата: Scan the QR code provided in the manual or on the device packaging, or search for "Smart Otoscope" in the Apple App Store or Google Play Store. You can also visit gto.so/smart-otoscope.
- Power On Otoscope: Long press the power button on the otoscope to turn it on.
- Поврзете Wi-Fi: On your smartphone or tablet, go to Wi-Fi settings and connect to the network named "Smart Otoscope_XXX". The default password is 55556666.
- Стартувајте ја апликацијата: Open the "Smart Otoscope" app. The live view from the otoscope camera should appear.

Figure 5.2: Wi-Fi Connection Steps
Note: Once connected to the app, you can operate the device and view the feed on your phone.
6. Упатства за работа
6.1 Basic Ear Examination
- Ensure a clean speculum is attached to the otoscope camera.
- Gently pull the outer ear up and back to straighten the ear canal.
- Carefully insert the speculum tip into the ear canal while observing the integrated 1.85-inch IPS screen. Do not force the device.
- Adjust the angle and depth slowly to get a clear view of the ear canal and eardrum.

Figure 6.1: Self-Examination with Integrated Screen
6.2 Adjusting LED Lights and Brightness
The otoscope features 6 adjustable LED lights with 3 brightness settings for optimal visibility.
- Кратко притиснете го Копче за напојување (5) to cycle through the 3 brightness levels.

Figure 6.2: Camera Specifications and Brightness Settings
6.3 Magnification Levels
The device supports 3 levels of magnification (1.0x, 1.3x, 1.5x) for detailed viewing. Use the Navigation Buttons UP/DOWN (1, 2) to adjust magnification.

Figure 6.3: Adjustable Magnification and Image Rotation
6.4 Снимање фотографии и видеа
The otoscope allows you to capture images and record videos directly to the included 8GB memory card.
- To take a photo: Press the Копче за фотографија / видео (4) еднаш.
- To record a video: Long press the Копче за фотографија / видео (4) to start recording. Long press again to stop recording.

Figure 6.4: Photo and Video Capture Interface (App View)
6.5 Пренесување Files
To transfer captured photos and videos to a computer:
- Connect the otoscope to your computer using the provided USB Type-C cable.
- The device should appear as a removable storage device. You can then access the files on the 8GB memory card.
- Alternatively, remove the 8GB memory card from the slot (3) and insert it into a compatible card reader connected to your computer.

Слика 6.5: File Transfer for Sharing Insights
7. Одржување и чистење
Proper maintenance ensures the longevity and hygiene of your otoscope.
- Чистење на објективот: Use the provided Q-tips and alcohol pads to gently clean the camera lens before and after each use. Ensure no residue remains.
- Додатоци за чистење: Wash the reusable ear picks and specula with soap and water, then sterilize them with alcohol pads. Allow them to dry completely before storage or reuse.
- Тело на уредот: Wipe the main body of the otoscope with a soft, dry cloth. Do not immerse the device in water.
- Складирање: Чувајте го уредот на ладно и суво место, подалеку од директна сончева светлина и екстремни температури.

Figure 7.1: Cleaning the Otoscope Lens
8 Смена на проблеми
| Проблем | Можна причина | Решение |
|---|---|---|
| Уредот не се вклучува. | Слаба батерија. | Наполнете го уредот целосно користејќи го дадениот USB-кабел. |
| Нема слика на екранот. | Device not powered on; Camera lens obstructed. | Ensure device is powered on. Check and clean the camera lens. |
| Сликата е заматена или нејасна. | Dirty lens; Incorrect focal distance; Magnification setting. | Clean the camera lens. Adjust the distance from the ear canal. Adjust magnification using navigation buttons. |
| Не може да се поврзе на Wi-Fi. | Incorrect Wi-Fi password; Device not in pairing mode; App issue. | Ensure the otoscope is powered on. Verify the Wi-Fi password (55556666). Restart the otoscope and your phone/tablet. Reinstall the app if necessary. |
| Не може да се зачуваат фотографии/видеа. | Memory card full or faulty; Memory card not inserted. | Check if the 8GB memory card is correctly inserted. Ensure there is sufficient space. Try formatting the card (if data is backed up) or using a different card. |
9. Спецификации
| Карактеристика | Детал |
|---|---|
| Име на моделот | SA200S |
| Големина на екранот | 1.85-инчен IPS LCD |
| Резолуција на камерата | 720p HD |
| Дијаметар на објективот | 3.9mm Ultra-thin Lens |
| Извор на светлина | 6 LED Lights (3 brightness settings) |
| Фокусно растојание | 0.39 - 1.18 инчи |
| Вистински агол на View | 78 степени |
| Зголемување | Up to 1.5x (1.0x, 1.3x, 1.5x) |
| Капацитет на батеријата | Литиум полимер од 1380 mAh |
| Работно време | Приближно 3 часа |
| Поврзување | Wi-Fi (for app connection) |
| Складирање | Мемориска картичка од 8GB (вклучена) |
| Порта за полнење | Тип-C |
| Компатибилни уреди | Android/iPhone smartphones and tablets (Not compatible with Macbook & Windows PC) |
| Тежина на ставката | 12 унци |
| Димензии | 7.52 x 4.61 x 2.68 инчи (пакет) |
| Материјал | Пластика |
| Боја | Бело |
10. Гаранција и поддршка
ScopeAround is committed to providing high-quality products and customer satisfaction. For any questions, technical support, or warranty inquiries, please contact our US-based after-sales support team.
Contact information can typically be found on the product packaging, the official ScopeAround webстраницата или преку вашата платформа за купување.


