1. Вовед
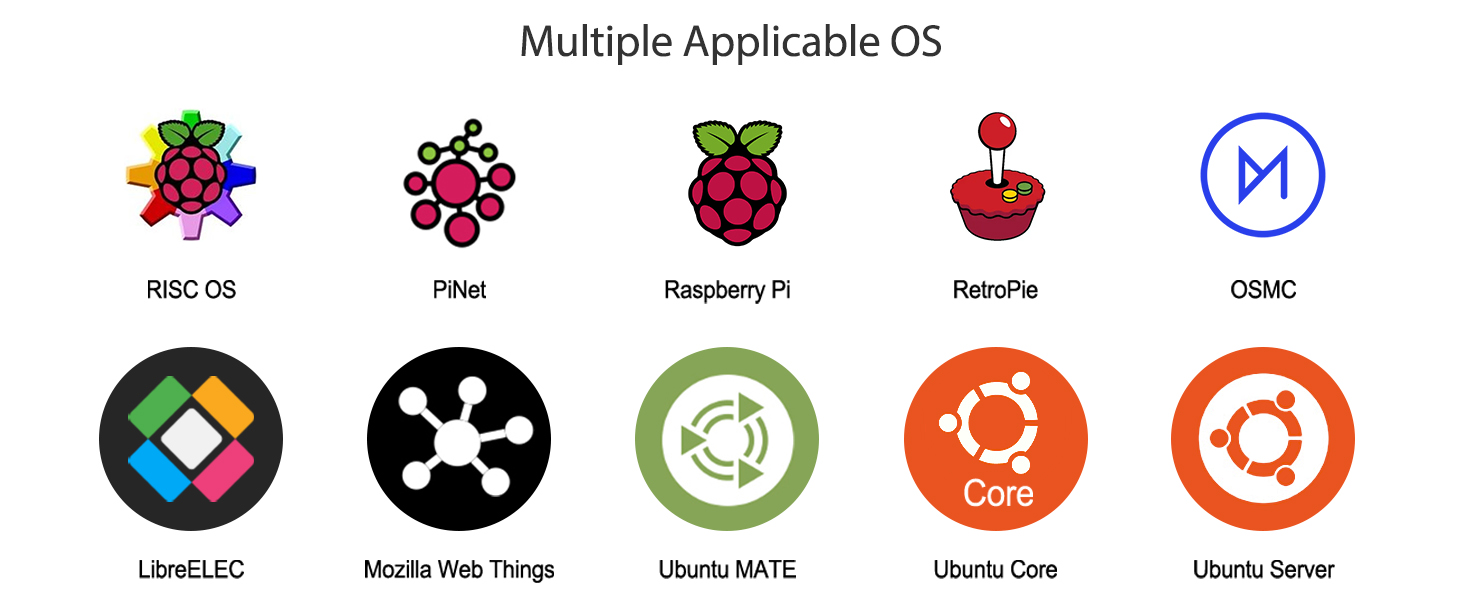
The ELECROW CrowPi2 is an all-in-one STEM learning platform designed around the Raspberry Pi 5. This kit combines a single-board computer with a portable laptop form factor, featuring an 11.6-inch display and a wide array of integrated sensors and modules. It is intended for users interested in learning programming, electronics, and artificial intelligence through hands-on projects and interactive lessons.
2. Содржина на пакетот
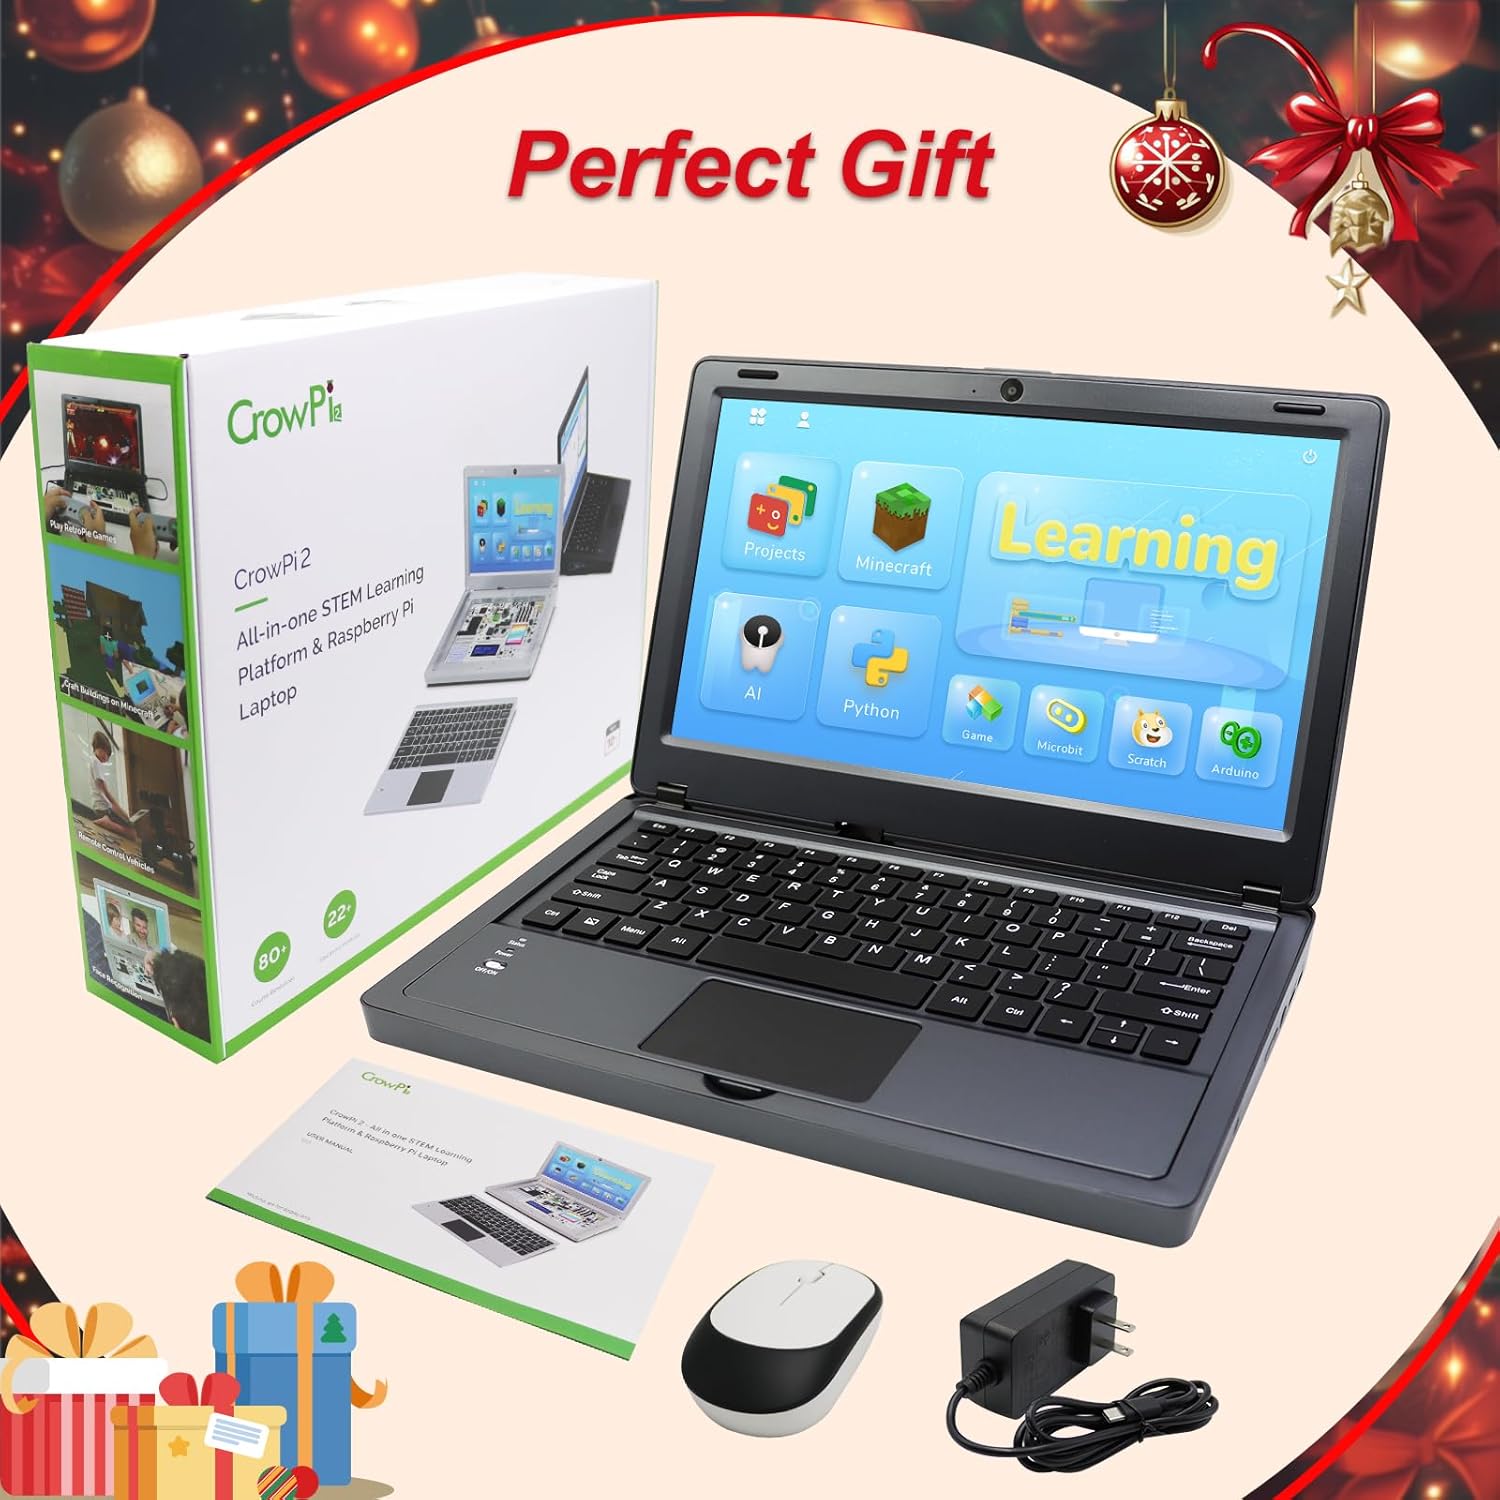
Verify that all the following items are included in your CrowPi2 kit:
- 1 x CrowPi2 Learning Laptop
- 1 x Raspberry Pi 5 8GB Single Board Computer
- 1 x 128GB TF card with Customized system (pre-installed)
- 1 x 32GB TF card with RetroPie system
- 1 x TF читач на картички
- 1 x 12V напојување
- 1 x IR ресивер
- 1 x IR далечински управувач
- 1 x Crowtail- Moisture Sensor
- 1 x вентилатор
- 1 x шрафцигер
- 2 x Game Controllers
- 1 x торба за складирање
- Упатство за употреба (овој документ)
- Python Programming Book
- Scratch Programming Book

Слика 2.1: Готовоview of the CrowPi2 Deluxe Kit contents.
3. Производот завршиview
3.1. Хардверски компоненти
The CrowPi2 integrates a Raspberry Pi 5 8GB single board computer within a compact laptop chassis. The design features a removable wireless keyboard, revealing an extensive development board with 22 types of sensors and modules for direct interaction.
Слика 3.1: Детално view of the CrowPi2 onboard modules and sensors.
Клучните интегрирани компоненти вклучуваат:
- 11.6-inch IPS Display (1366x768 resolution)
- 2.0MP Camera with built-in microphone
- Stereo Output Speaker
- Removable Wireless Keyboard and Mouse
- Various sensors: PIR, Sound, IR, Ultrasonic, DHT11 Temperature and Humidity, Light Intensity, Touch, Tilt
- Output modules: RGB Matrix, Segment Display, Buzzer, Vibration Motor, Stepper Motor, Servo Motor
- GPIO Interface, Breadboard, RFID Induction Module
3.2. Портови и поврзување
The CrowPi2 offers multiple ports for external connectivity and power:
Слика 3.2: Страна view of the CrowPi2 with various ports.
- Raspberry Pi USB 2.0 ports
- Raspberry Pi USB 3.0 ports
- Raspberry Pi Network port
- 5V Type C Port (for power supply)
- Mini HD-OUT port
- Приклучок за слушалки од 3.5 мм
- Прекинувач за напојување
- Прилагодување на осветленоста на екранот
- Storage Groove (for power bank)
4. Почетно поставување
4.1. Inserting the Raspberry Pi 5
The Raspberry Pi 5 is pre-installed in the CrowPi2. If you need to access or replace it, carefully open the compartment on the underside of the laptop.
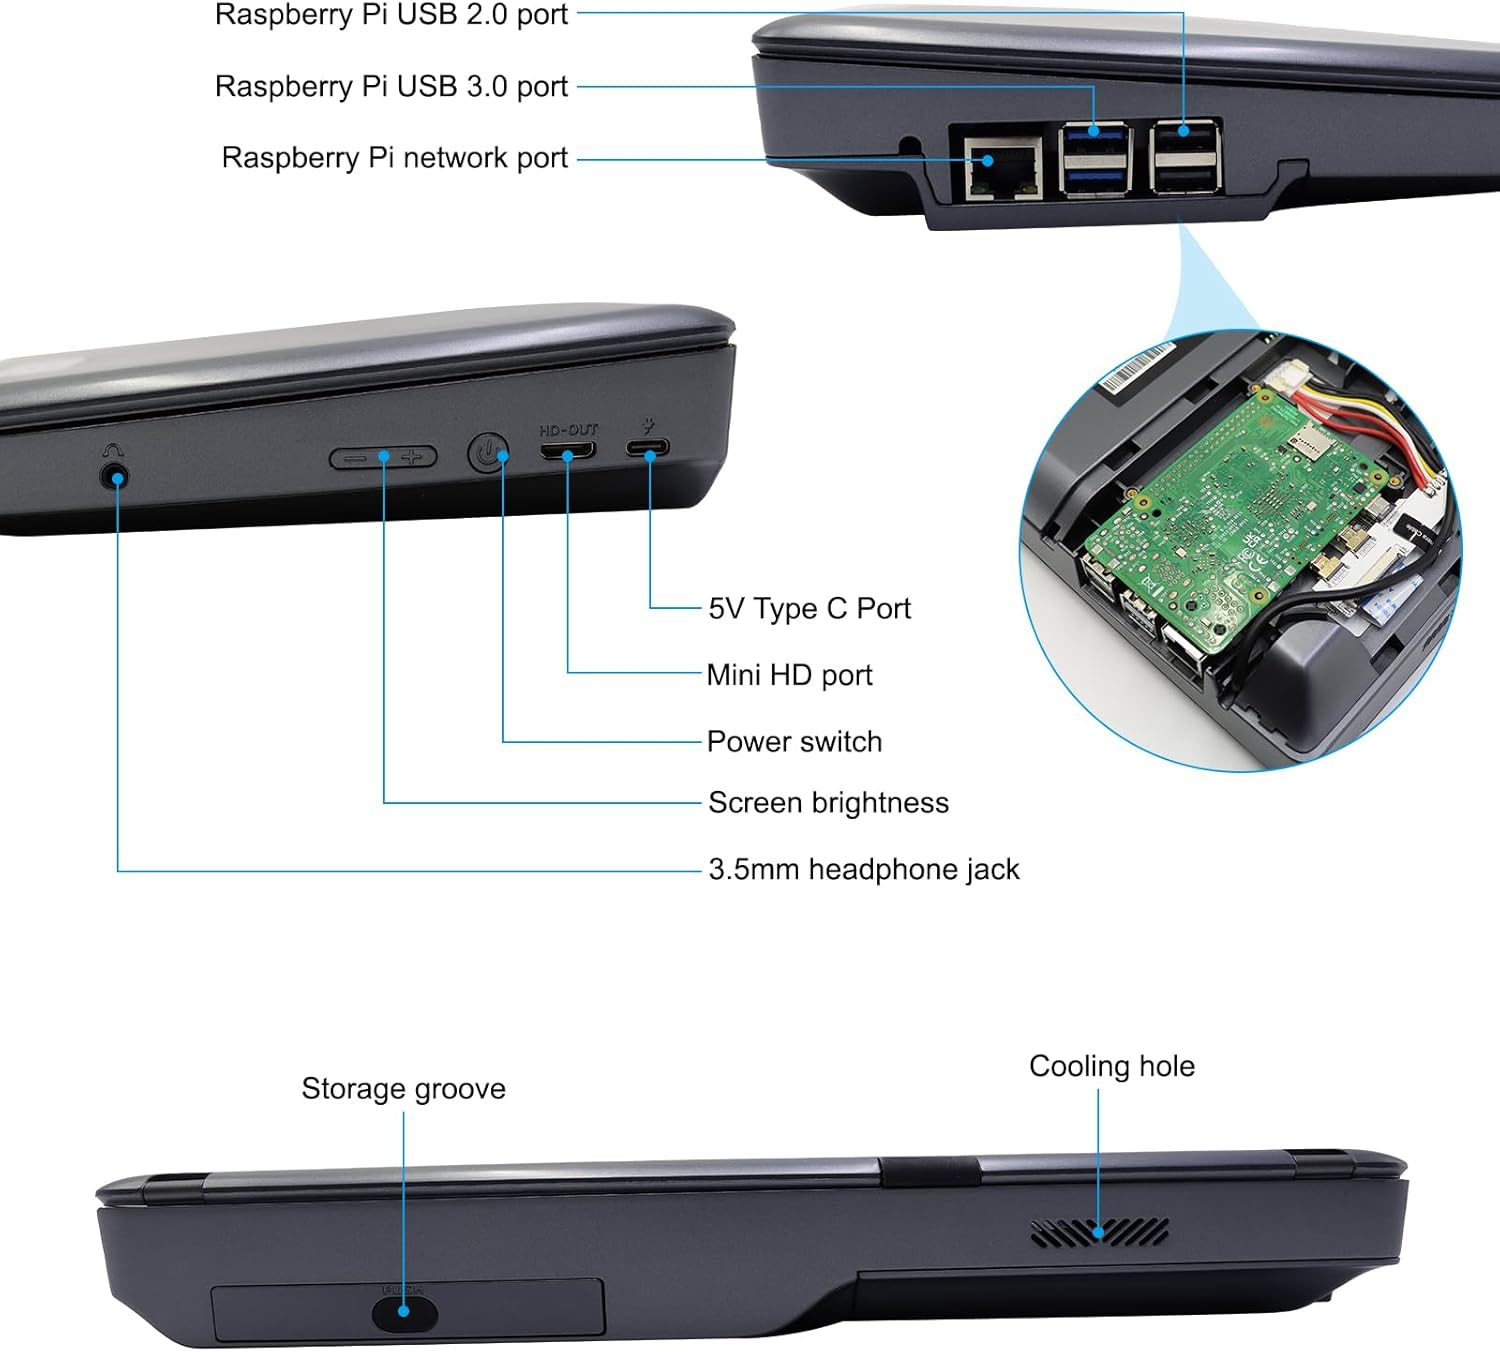
Figure 4.1: Raspberry Pi 5 installed in its dedicated compartment.
4.2. Re-imaging the SD Card
In cases where the operating system on the SD card becomes corrupted or requires a fresh installation, you can re-image the SD card. This process requires a 128GB Micro SD card, an SD card adapter/reader, and specific software.
- Prepare Micro SD Card: Obtain a 128GB Micro SD card. Insert it into a USB adapter or card reader.
- Преземете софтвер: Download and install the SD Card Formatter and Win32DiskImager on your computer. Additionally, download and install 7-Zip for file екстракција.
- Форматирајте SD-картичка: Use the SD Card Formatter to perform a quick format on your Micro SD card.
- Download CrowPi2 Image File: Visit the official ELECROW Wiki for CrowPi2 and locate the image link for the Raspberry Pi 5 (e.g., 'image(Ras Pi5)(bookworm)'). Download the appropriate 64-bit image file (e.g., 'Crowpi2_PI5_Release64bits_20240723.7z').
- Unzip Image File: Use 7-Zip to extract the downloaded image file во локална папка на вашиот компјутер.
- Запишување слика на SD картичка: Launch Win32DiskImager. Select the extracted image file and choose your Micro SD card drive as the target device. Click 'Write' to begin the imaging process. This may take approximately 30 minutes.
- Eject SD Card: Безбедно исфрлете ја Micro SD-картичката од вашиот компјутер.
- Insert SD Card into Raspberry Pi 5: Carefully insert the re-imaged Micro SD card into the Raspberry Pi 5's SD card slot within the CrowPi2. Close the compartment cover.
- Вклучување: Connect the original power adapter to the CrowPi2 and turn it on. The system should boot up with the newly installed image.
Video 4.1: Detailed steps on how to re-image the OS SD card for your CrowPi2 Learning Laptop.
5. Operating Your CrowPi2 Learning Laptop
The CrowPi2 offers a rich learning environment with various applications and tools. The main interface provides access to Projects, Minecraft, AI, Python, Games, Microbit, Scratch, and Arduino.

Figure 5.1: CrowPi2 main learning interface.
5.1. Learning Tips and Journey
Begin your learning journey by exploring the 'Learning Tips' booklet provided. It guides you through a structured process, starting with sample projects, then moving to programming lessons in Python and Scratch, and finally exploring advanced topics like AI and game development.
5.2. Projects
The 'Projects' section contains 20 pre-designed projects that allow you to interact directly with the onboard sensors and modules. These projects are excellent for familiarizing yourself with the hardware and its capabilities. Each project includes detailed instructions and often visual guides.
5.3. Learning Programming (Python & Scratch)
The CrowPi2 provides self-paced learning modules for both Python and Scratch:
- Пајтон: Features 32 lessons covering basic Python grammar and programming for onboard sensors. Lessons include code examples and explanations of hardware interaction.
- Чешање: Offers 16 lessons focused on visual programming. This block-based language is suitable for beginners and younger learners, allowing them to create interactive stories, games, and animations by dragging and dropping code blocks.
5.4. Игри
The kit includes a variety of games, both Python-based and classic retro games via the RetroPie system. The dedicated 32GB TF card with RetroPie allows you to enjoy a wide range of classic titles using the included game controllers.

Figure 5.2: CrowPi2 with game controllers for an enhanced gaming experience.
5.5. AI and Minecraft Integration
Explore artificial intelligence with modules for speech recognition and computer vision. The CrowPi2 also supports Minecraft, allowing users to program and interact with the game environment, building custom creations through code.
Видео 5.1: Оверview of the ELECROW CrowPi2 Learning Laptop, highlighting its various features including programming, projects, and gaming.
6. Спецификации
| Карактеристика | Спецификација |
|---|---|
| Големина на екранот | 11.6 инчи |
| Максимална резолуција на екранот | 1366x768 Lines Per Inch |
| Процесор | 3.4 GHz 1_2GHz_Cortex_A8 (Broadcom) |
| RAM меморија | 8 GB LPDDR4 |
| Оперативен систем | DOS (Customized system on TF card) |
| Тежина на ставката | 6.87 фунти |
| Димензии на пакетот | 16.26 x 13.27 x 5.12 инчи |
| Боја | Црното |
| Тип на меморија на компјутер | DDR4 SDRAM |
| Батерии | 1 x 9V батерија (вклучена) |
7. Одржување и грижа
- Keep the CrowPi2 in a clean, dry environment away from direct sunlight and extreme temperatures.
- Avoid spilling liquids on the device, especially on the exposed development board.
- Clean the screen and exterior with a soft, lint-free cloth. Do not use harsh chemicals.
- Ensure proper ventilation by not blocking the cooling fan or vents.
- Regularly back up important projects and data from your SD card.
8 Смена на проблеми
If you encounter issues with your CrowPi2, consider the following:
- Системот не се стартува: Ensure the power adapter is securely connected and providing adequate power. Verify that the SD card is correctly inserted into the Raspberry Pi 5. If the issue persists, try re-imaging the SD card as described in Section 4.2.
- Тастатурата/глушецот не реагираат: Check the battery levels of the wireless keyboard and mouse. Ensure the wireless receiver is properly connected to a USB port on the Raspberry Pi.
- Неисправност на сензорот: Review the project instructions to ensure all connections are correct. Some sensors may require specific software configurations or calibration.
- Софтверски грешки: For programming-related issues, double-check your code for syntax errors or logical flaws. Refer to the provided programming books and online resources for guidance.
9. Гаранција и поддршка
ELECROW products are covered by a manufacturer's warranty. For detailed warranty information, technical support, or service inquiries, please refer to the official ELECROW webлокација или контактирајте ја нивната служба за корисници. Зачувајте го доказот за купување за гаранциски барања.


