1. Вовед и повеќеview
The ASUS NUC 15 Pro Slim Mini PC is a compact and powerful computing solution designed for various applications, from business productivity to everyday personal use. This model (RNUC15CRKI3063CU) comes fully configured with an Intel Series 1 Core 3 100U processor, 16GB DDR5 RAM, a 512GB PCIe G4x4 NVMe SSD, and Windows 11 Pro. It offers extensive connectivity options including Thunderbolt™ 4, Wi-Fi 7, and Bluetooth 5.4, all within a tool-less chassis for easy upgrades.
This manual provides essential information for setting up, operating, maintaining, and troubleshooting your ASUS NUC 15 Pro Slim Mini PC.
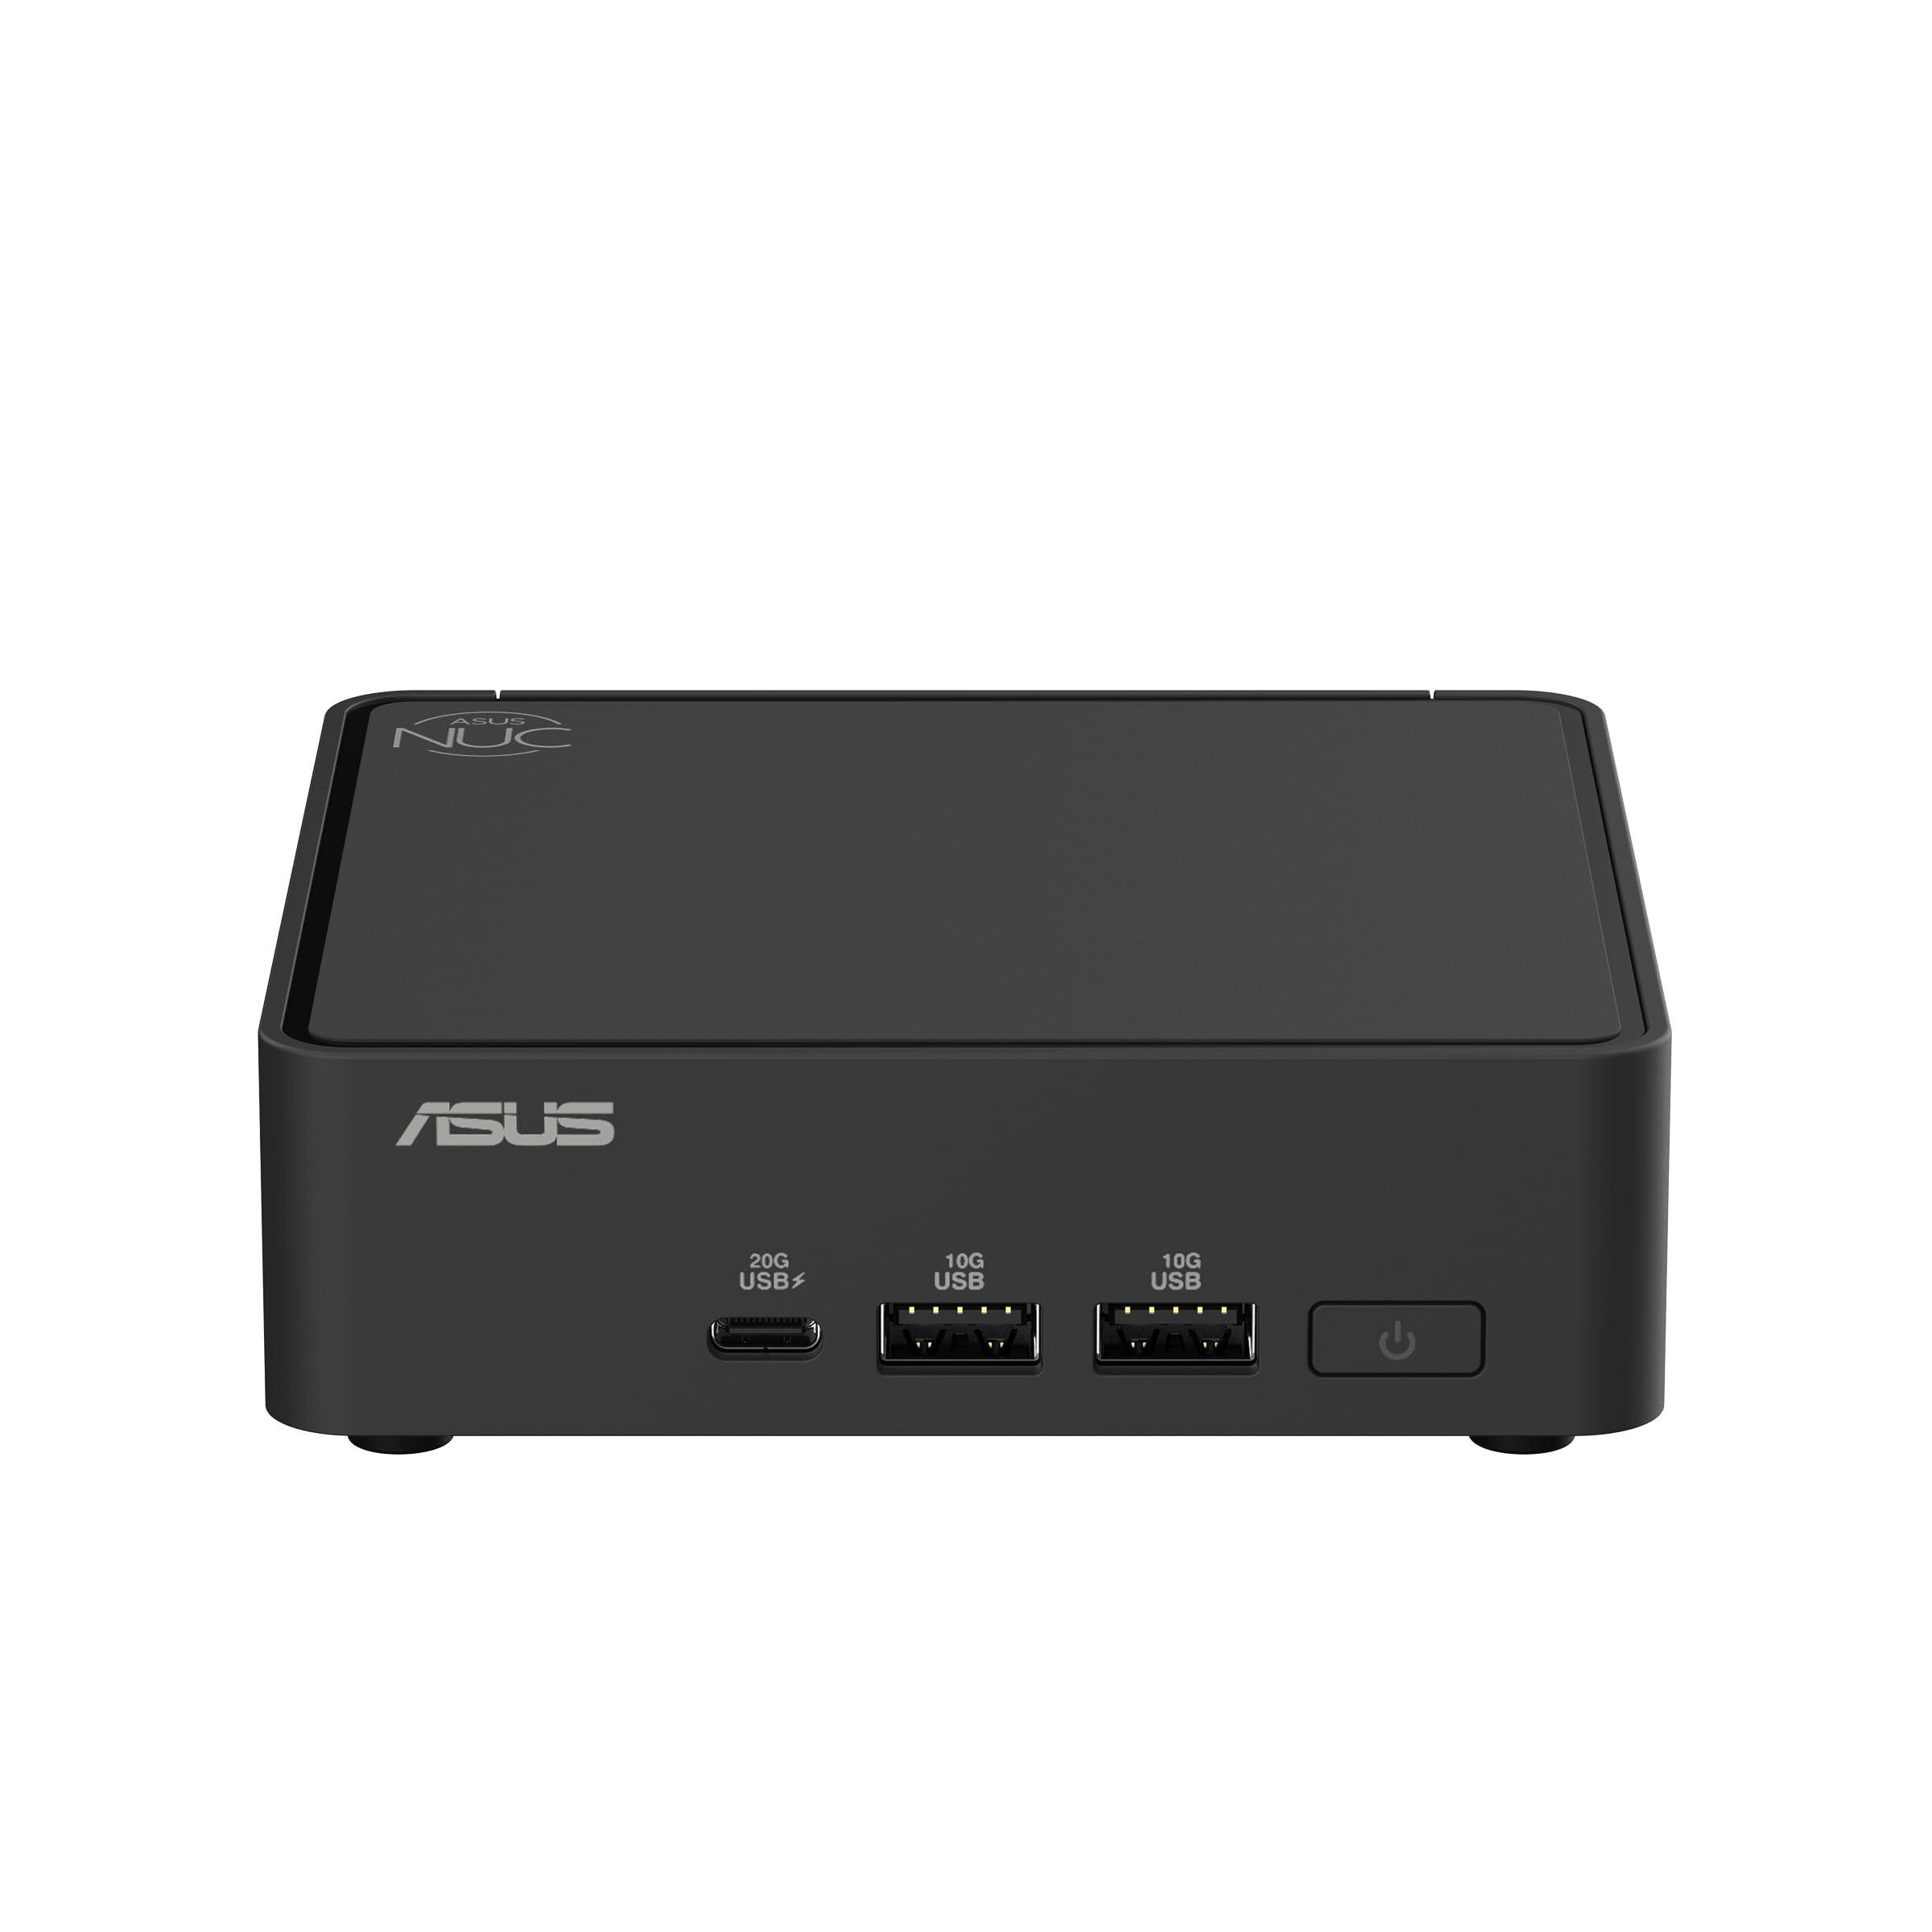
Figure 1: ASUS NUC 15 Pro Slim Mini PC, a compact and powerful computing device.
2. Што има во кутијата
Carefully unpack your ASUS NUC 15 Pro Slim Mini PC and ensure all items are present:
- ASUS NUC 15 Pro Slim Mini PC (Model: RNUC15CRKI3063CU)
- Комплет за монтирање VESA
- Адаптер за напојување со наизменична струја
- Кабел за напојување
3. Упатства за поставување
3.1 Поврзување на периферни уреди
Before powering on your Mini PC, connect all necessary peripherals:
- Поврзување на дисплеј: Use an HDMI 2.1 or Thunderbolt 4 cable to connect your monitor(s) to the corresponding ports on the Mini PC. The device supports up to four 4K displays.
- Поврзете ја тастатурата и глувчето: Plug your USB keyboard and mouse into the available USB 3.0 or USB 2.0 ports.
- Поврзување на мрежа (опционално): For a wired internet connection, connect an Ethernet cable to the 2.5Gb Ethernet port. For wireless, ensure your Wi-Fi network is available during initial setup.
- Поврзете напојување: Plug the AC Power Adapter into the DC-in port on the Mini PC, then connect the power cord to an electrical outlet.

Figure 2: Front ports including USB 3.2 Gen 2x2 Type-C, 2x USB 3.2 Gen2 Type-A, and Power button.

Figure 3: Rear ports including Security mechanism for power cable, HDMI 2.1, 2.5Gb Ethernet, USB 3.2 Gen2 Type-A, USB 2.0 Type-A, and Thunderbolt 4 ports.
3.2 Инсталација на VESA држач (опционално)
The included VESA mount allows you to attach the Mini PC to the back of a compatible monitor or to a wall, saving desk space. Follow the instructions provided with the VESA mount kit for proper installation.

Figure 4: Flexible configuration with VESA mounting for space-saving setup.
4. Упатства за работа
4.1 Вклучување/исклучување
- За вклучување: Притиснете го копчето за вклучување што се наоѓа на предната страна од мини компјутерот.
- За исклучување: From Windows 11 Pro, click the Start button, then Power > Shut down. Alternatively, you can press and hold the power button for 4 seconds to force a shutdown (use only when necessary).
4.2 Почетно поставување на Windows 11 Pro
При првото стартување, следете ги упатствата на екранот за да го завршите поставувањето на Windows 11 Pro, вклучувајќи го регионот, распоредот на тастатурата, мрежната врска и креирањето корисничка сметка.
4.3 Мрежна поврзаност
- Жична врска: If an Ethernet cable is connected, the system will automatically detect and use the wired network.
- Безжична врска: During Windows setup or via the Windows Settings menu, select your Wi-Fi network and enter the password. The Mini PC supports Intel Wi-Fi 7 for fast wireless speeds.
4.4 Using Thunderbolt™ 4 Ports
The Thunderbolt™ 4 ports offer versatile connectivity for high-speed data transfer, video output, and power delivery. You can connect external displays, storage devices, or docking stations.
5. Одржување
5.1 Чистење
Regularly clean the exterior of the Mini PC with a soft, dry cloth. Avoid using liquid cleaners or solvents. Ensure ventilation openings are free from dust and obstructions to maintain optimal cooling.
5.2 Ажурирања на софтверот
Keep your Windows 11 Pro operating system and device drivers updated to ensure optimal performance and security. Windows Update can be accessed via Settings > Windows Update.
5.3 Hardware Upgrades (Tool-less Access)
The ASUS NUC 15 Pro Slim features a tool-less chassis design, allowing for easy access to internal components for upgrades such as RAM or storage. Refer to the detailed upgrade guide on the ASUS support webсајт за конкретни упатства.

Figure 5: Tool-less integration allows for easy and quick hardware upgrades.
6 Смена на проблеми
This section addresses common issues you might encounter with your Mini PC.
| Проблем | Можно решение |
|---|---|
| Нема моќ | Ensure the power adapter and cord are securely connected to both the Mini PC and a working electrical outlet. Test the outlet with another device. |
| Нема дисплеј | Verify that the monitor is powered on and the display cable (HDMI or Thunderbolt) is securely connected to both the Mini PC and the monitor. Try a different display cable or monitor if possible. |
| Нема интернет конекција | For wired connections, check the Ethernet cable and router status. For Wi-Fi, ensure Wi-Fi is enabled in Windows settings, you are connected to the correct network, and the password is correct. Restart your router/modem. |
| System Slowdown / Overheating | Ensure the Mini PC's ventilation openings are clear. Close unnecessary applications. Check for background processes consuming high resources via Task Manager. Ensure drivers and Windows are up to date. |
7. Спецификации
Detailed technical specifications for the ASUS NUC 15 Pro Slim Mini PC (RNUC15CRKI3063CU):
| Карактеристика | Детал |
|---|---|
| Процесор | Intel Series 1 Core 3 100U (1.2 GHz) |
| RAM меморија | 16 GB DDR5 (5600 MHz) |
| Складирање | 512 GB PCIe G4x4 NVMe SSD |
| Графички копроцесор | Интегрирана графика на Intel |
| Оперативен систем | Windows 11 Pro |
| Максимална резолуција на екранот | 3840 x 2160 пиксели (4K) |
| Видео излез | HDMI 2.1, Thunderbolt™ 4 (supports up to four 4K displays) |
| Безжично поврзување | Intel Wi-Fi 7 (802.11.be), Bluetooth 5.4 |
| USB порти | 1x USB 3.2 Gen 2x2 Type-C, 2x USB 3.2 Gen2 Type-A, 1x USB 2.0 Type-A (front); 1x USB 3.2 Gen2 Type-A, 1x USB 2.0 Type-A (rear) |
| Етернет | 2.5 Gb етернет |
| Димензии (ДxШxВ) | 4.61 x 4.41 x 1.45 инчи |
| Тежина на ставката | 12.6 унци |
| Chassis Access | Tool-less 2.0 |
| Монтирање | Вклучен е VESA држач |
| Сигурност | 24/7 reliability, MIL-STD-810H certification |
8. Гаранција и поддршка
За информации за гаранцијата, техничка поддршка и дополнителни ресурси, посетете ја официјалната страница за поддршка на ASUS webстраница. Таму можете да најдете драјвери, често поставувани прашања и контакт информации за корисничка поддршка.
Поддршка на ASUS Webсајт: www.asus.com/support/


