Вовед
This manual provides detailed instructions for the ATTACK SHARK G3 Tri-Mode Wireless Gaming Mouse. Please read this manual thoroughly before use to ensure proper operation and to maximize your experience with the product.
The ATTACK SHARK G3 is a high-performance gaming mouse designed for versatility and precision. It offers three connectivity modes: 2.4GHz wireless, Bluetooth 5.2, and wired USB-C, allowing seamless switching between various devices and setups. Featuring a lightweight design, a high-precision PAW3311 sensor, and programmable buttons, the G3 is engineered for both gaming and productivity.
Содржина на пакетот
- ATTACK SHARK G3 Wireless Gaming Mouse
- USB-C Кабел за полнење/податоци
- USB приемник од 2.4 GHz
- Упатство за употреба
Производот завршиview
Familiarize yourself with the components of your ATTACK SHARK G3 mouse.

Слика: Од горе надолу view of the ATTACK SHARK G3 Wireless Gaming Mouse in Berry Red, showing the left and right click buttons, scroll wheel, and two side buttons on the left.
- Лево копче за кликнување: Стандардна примарна функција на глувчето.
- Десен клик на копче: Стандардна секундарна функција на глувчето.
- Тркало за лизгање: За скролување и функција за среден клик.
- Side Buttons (x2): Default to Forward/Backward, programmable via software.
- DPI Button (underside): Циклично ги менува претходно поставените нивоа на DPI.
- Mode Switch (underside): Toggles between 2.4GHz, Bluetooth, and Wired modes.
- USB-C порта: За жично поврзување и полнење.
- 2.4 GHz USB приемник за складирање: Се наоѓа на долната страна на глувчето.

Слика: Изложба на колажиasing key features of the G3 mouse, including its 59g ultra-light design, 500mAh battery, PixArt PAW3311 sensor, 25000 DPI capability, Huano Blue Shell Pink Dot Switches, and Tri-mode connectivity.
Поставување
1. Врска во жичен режим
- Поврзете го USB-C крајот од испорачаниот кабел со глувчето.
- Поврзете го USB-A крајот од кабелот со слободен USB порт на вашиот компјутер.
- Ensure the mode switch on the underside of the mouse is set to the "Wired" position.
- The mouse will be recognized by your computer and is ready for use.
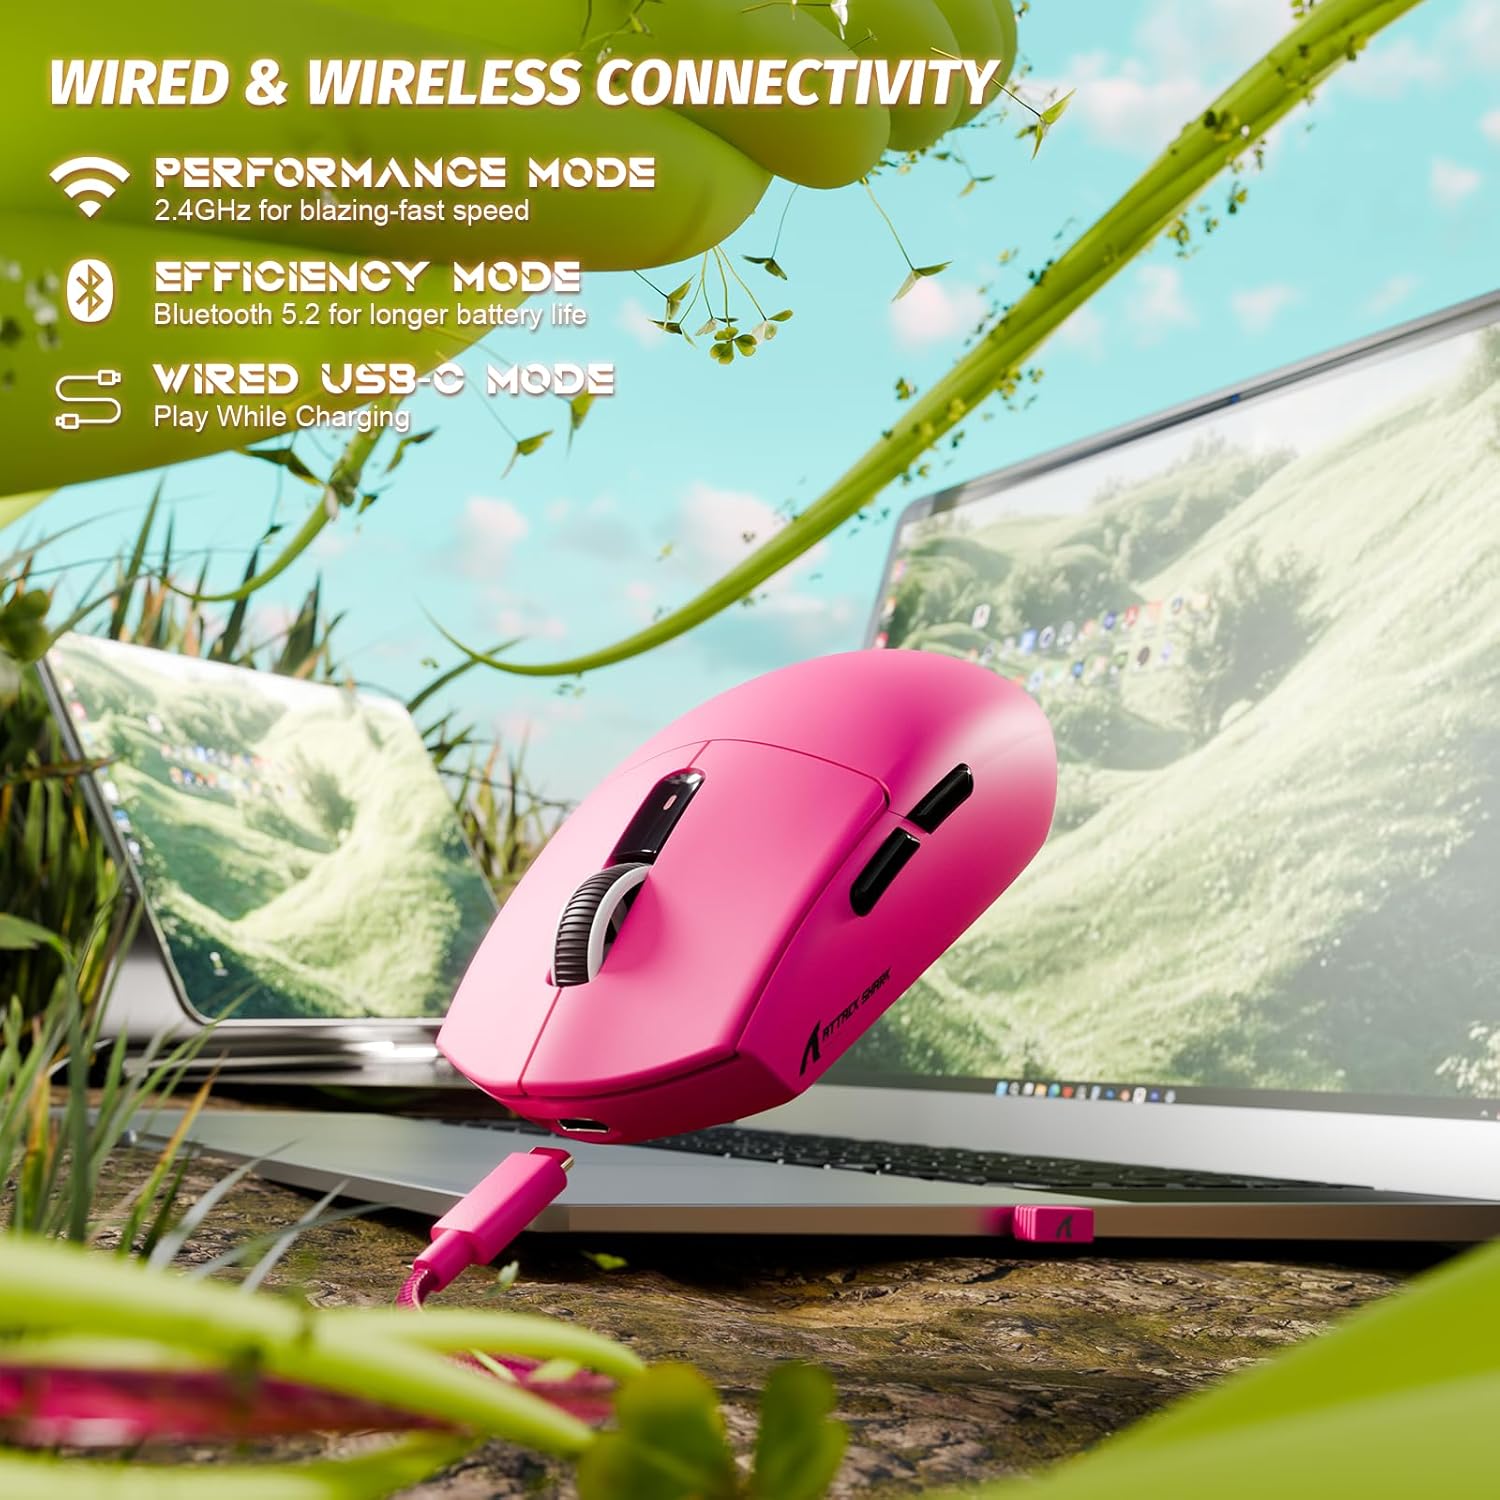
Image: The ATTACK SHARK G3 mouse connected to a laptop via its USB-C cable, illustrating the wired connectivity option.
2. 2.4GHz Wireless Mode Connection
- Locate the 2.4GHz USB receiver stored on the underside of the mouse.
- Приклучете го USB-приемникот во достапна USB порта на вашиот компјутер.
- Set the mode switch on the underside of the mouse to the "2.4G" position.
- The mouse should automatically connect to the receiver. If not, press and hold the DPI button and a side button simultaneously for 3 seconds to initiate pairing.
3. Bluetooth 5.2 Mode Connection
- Set the mode switch on the underside of the mouse to the "BT" (Bluetooth) position.
- The mouse will enter pairing mode, indicated by a blinking LED light.
- На вашиот компјутер или уред, одете до поставките за Bluetooth.
- Пребарај за new devices and select "ATTACK SHARK G3" from the list.
- Следете ги сите предупредувања на екранот за да го завршите процесот на спарување.
Упатства за работа
Прилагодување на DPI
The ATTACK SHARK G3 features a PAW3311 sensor with adjustable DPI settings. You can cycle through preset DPI levels by pressing the DPI button located on the underside of the mouse. For fine adjustments and custom DPI profiles, use the dedicated driver software.

Слика: Крупен план view of the PixArt PAW3311 sensor inside the mouse, highlighting its capabilities such as 1000Hz polling rate, 25000 DPI max, and 40G acceleration.
Programmable Buttons and Software
The G3 mouse includes 5 programmable buttons. To customize button functions, create macros, and adjust settings like polling rate and Lift-Off Distance (LOD), download and install the official ATTACK SHARK driver software from the manufacturer's website. The software allows for personalized configurations to suit your specific needs.

Image: A screenshot of the ATTACK SHARK G3 customization software interface, showing options for mouse settings, DPI settings, parameter settings, macro editing, and personal center.
Полнење на глувчето
The mouse is equipped with a built-in 500mAh rechargeable lithium-ion battery. When the battery is low, the LED indicator will signal. Connect the mouse to your computer using the provided USB-C cable to charge. The mouse can be used normally while charging in wired mode.

Image: The ATTACK SHARK G3 mouse in a natural setting, emphasizing its 500mAh battery capacity for extended use.
Одржување
- Чистење: Користете мека, сува крпа за чистење на површината на глувчето. За тврдокорна нечистотија, малкуamp може да се користи крпа, осигурувајќи се дека влагата нема да навлезе во внатрешните компоненти.
- Нега на сензорот: Одржувајте го оптичкиот сензор на долната страна од глувчето чист и без прашина или остатоци за да обезбедите прецизно следење.
- Долготрајност на батеријата: За да го продолжите животниот век на батеријата, избегнувајте често целосно празнење на глувчето. Наполнете го кога ќе се појави индикаторот за слаба батерија.
- Складирање: Кога не го користите подолго време, чувајте го глувчето на ладно и суво место.

Image: An inverted view of the ATTACK SHARK G3 mouse, showcasing its double-layer mouse feet for smooth gliding and stability.
Решавање проблеми
- Глувчето не реагира:
- Осигурајте се дека глувчето е наполнето.
- Check the mode switch (2.4G, BT, Wired) is set correctly.
- За 2.4 GHz, проверете дали USB приемникот е безбедно приклучен. Обидете се со друг USB порт.
- За Bluetooth, проверете дали Bluetooth е овозможен на вашиот уред и дали глувчето е спарено.
- Try connecting in wired mode to confirm functionality.
- Неточно следење:
- Исчистете го оптичкиот сензор на долната страна од глувчето.
- Уверете се дека го користите глувчето на соодветна површина (на пр., подлога за глушец).
- Прилагодете ги поставките за DPI преку копчето DPI или софтверот.
- Проблеми со поврзувањето:
- Поместете го глувчето поблиску до приемникот/уредот за да ги намалите пречките.
- Avoid using the 2.4GHz receiver near other wireless devices that may cause interference.
- Re-pair the mouse in 2.4GHz or Bluetooth mode if connection is lost.
- Софтверот не го детектира глувчето:
- Ensure the mouse is connected in wired or 2.4GHz mode (Bluetooth may not be supported by all software).
- Рестартирајте го софтверот и/или вашиот компјутер.
- Reinstall the driver software.
Спецификации
| Карактеристика | Детал |
|---|---|
| Модел | G3 |
| Поврзување | 2.4 GHz безжичен, Bluetooth 5.2, USB-C кабелски |
| Сензор | Оптички сензор PixArt PAW3311 |
| Опсег на DPI | 800 - 25,000 DPI (adjustable) |
| Брзина на следење | 400 FPS |
| Забрзување | 40G |
| Стапка на анкети | 1000Hz (Wired/2.4GHz) |
| Копчиња | 5 Програмабилни копчиња |
| Прекинувачи | Huano Blue Shell Pink Dot Switches (80 million clicks) |
| Батерија | 500mAh Rechargeable Lithium-ion |
| Тежина на глувчето | Приближно 59 г (2.08 оз) |
| Компатибилност | PC, Mac (Windows/macOS) |
Гаранција и поддршка
ATTACK SHARK products are designed and manufactured to the highest quality standards. For warranty information and technical support, please refer to the official ATTACK SHARK webлокација или директно контактирајте ја нивната служба за корисници. Зачувајте го доказот за купување за гаранциски барања.
For further assistance, visit the official ATTACK SHARK store: Продавница ATTACK SHARK


