1. Вовед
This manual provides essential information for the safe and effective operation of your ZENTALITY Mini Projector A10 PLUS. Please read this manual thoroughly before using the product and retain it for future reference.
Производот завршиview
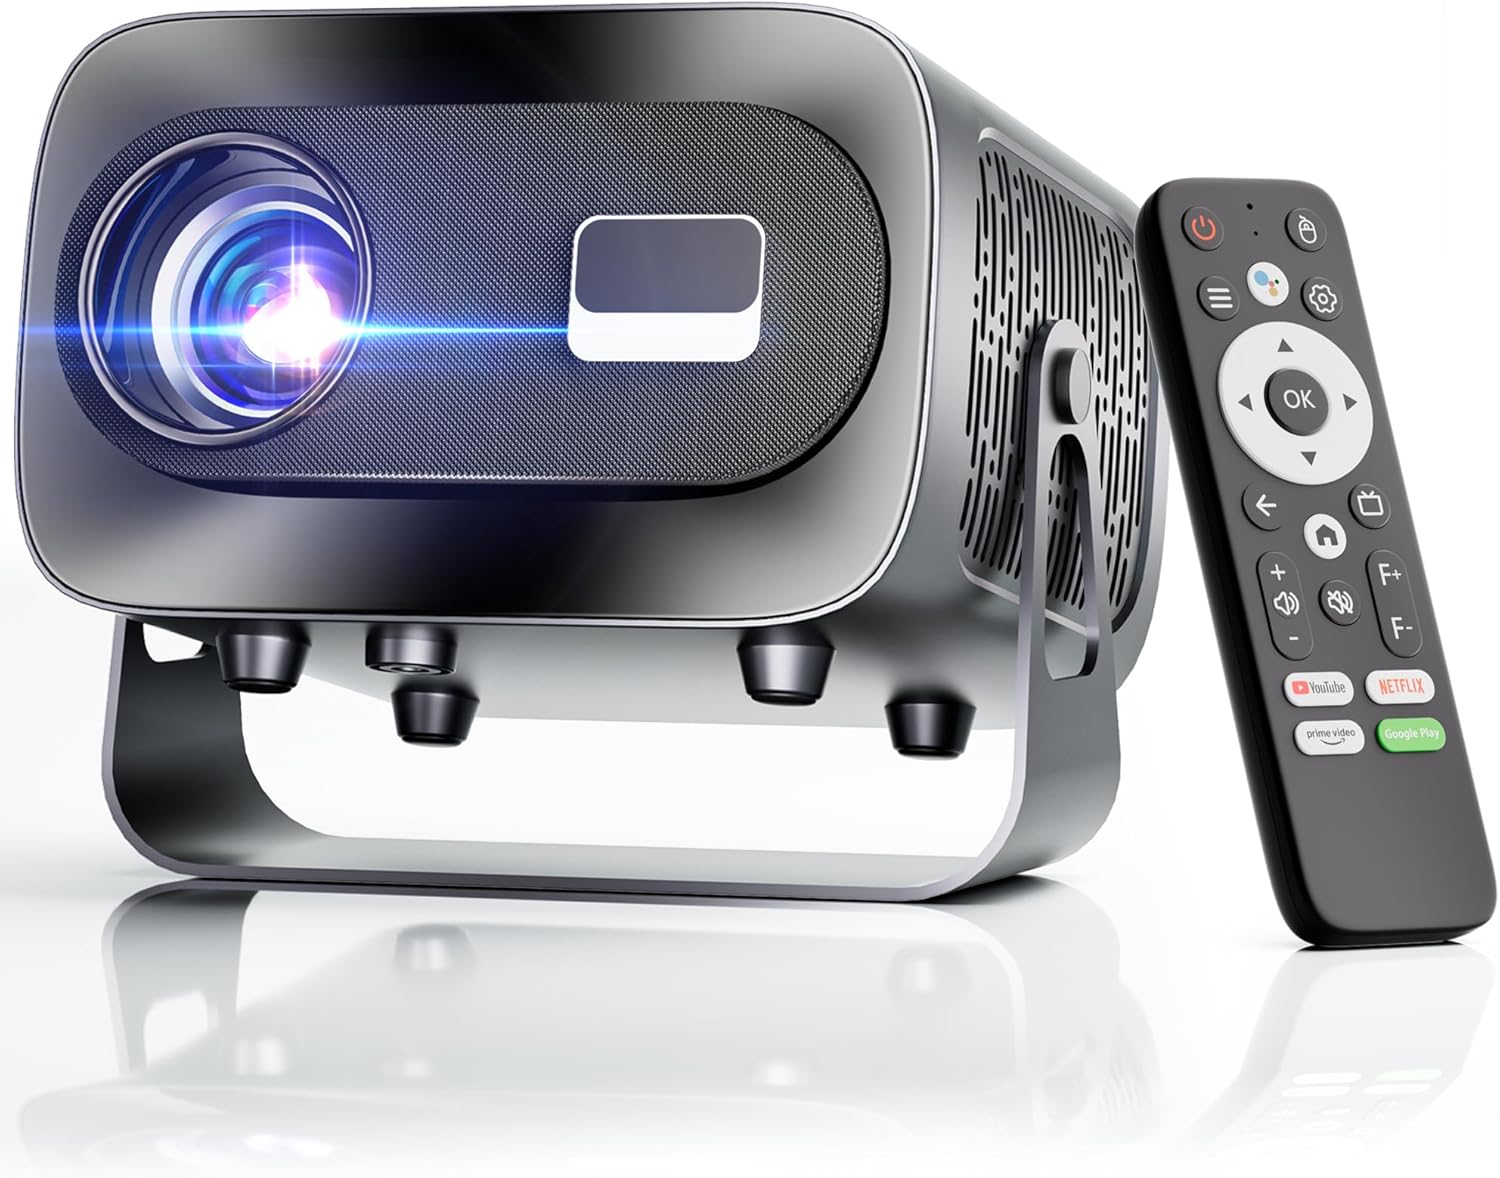
The ZENTALITY Mini Projector A10 PLUS is a smart projector featuring Android 13, designed for versatile home and outdoor entertainment. It supports 4K and 1080P HD content, offers electric focus, auto vertical keystone correction, and includes dual-band WiFi 6 and Bluetooth 5.1 connectivity. Its compact design and multiple input options make it suitable for various applications.
Што има во кутијата
- ZENTALITY Mini Projector A10 PLUS
- HDMI кабел
- Адаптер за напојување
- Далечински управувач
- Упатство за употреба (овој документ)
2. Информации за безбедност
Please observe the following safety precautions to prevent damage to the projector and ensure user safety:
- Не ги блокирајте отворите за вентилација. Обезбедете соодветен проток на воздух околу проекторот за да спречите прегревање.
- Avoid direct exposure to the projector lens light. The bright light can cause eye strain or damage.
- Use only the provided power adapter. Using an incompatible adapter may cause fire, electric shock, or damage.
- Држете го проекторот подалеку од вода или други течности. Не работете во дрвена состојба.amp средини.
- Не обидувајте се сами да го расклопите или поправите проекторот. За сите сервиси обратете се на квалификуван персонал.
- Поставете го проекторот на стабилна, рамна површина за да спречите паѓање.
- Да се чува подалеку од дофат на деца.
3. Компоненти и порти на производот
Familiarize yourself with the projector's physical features and connectivity options.

Достапни пристаништа:
- USB (x2): For connecting USB drives, external storage, or other USB-compatible devices.
- HDMI: For connecting devices such as laptops, gaming consoles, or TV sticks.
- Аудио излез (3.5 мм приклучок): За поврзување на надворешни звучници или слушалки.
- Влез на енергија: За поврзување на адаптерот за напојување.
4. Почетно поставување
4.1 Поврзување за напојување
- Поврзете го адаптерот за напојување со влезниот приклучок за напојување на проекторот.
- Приклучете го адаптерот за напојување во ѕиден штекер.
- Притиснете го копчето за вклучување на проекторот или на далечинскиот управувач за да го вклучите.
4.2 Парење со далечински управувач
Important: The remote control must be paired via Bluetooth before it can operate smoothly within 1-3 meters.
- Проверете дали проекторот е вклучен.
- Navigate to the projector's Bluetooth settings (usually found in the 'Settings' menu).
- Select 'Pair new device' or similar option.
- On the remote control, press and hold the designated pairing button (refer to the remote's specific instructions if available, often a combination of 'OK' and 'Volume Down' or a dedicated Bluetooth button).
- Once the remote appears in the projector's Bluetooth device list, select it to complete pairing.

4.3 Поставување и прилагодување на екранот
The projector offers automatic and electric adjustments for optimal image clarity and alignment.
- Електричен фокус: The projector features electric focus for instant clarity. Use the 'F+' and 'F-' buttons on the remote control to fine-tune the image sharpness.
- Автоматска вертикална корекција на клучот: The projector automatically corrects vertical image distortion up to ±15°. This ensures a rectangular image even if the projector is not perfectly perpendicular to the screen.
- Функција за зумирање: Adjust the image size from 50% to 100% without moving the projector. This is useful for fitting the projection to your screen size.


5. Упатства за работа
5.1 Android 13 Interface and App Access
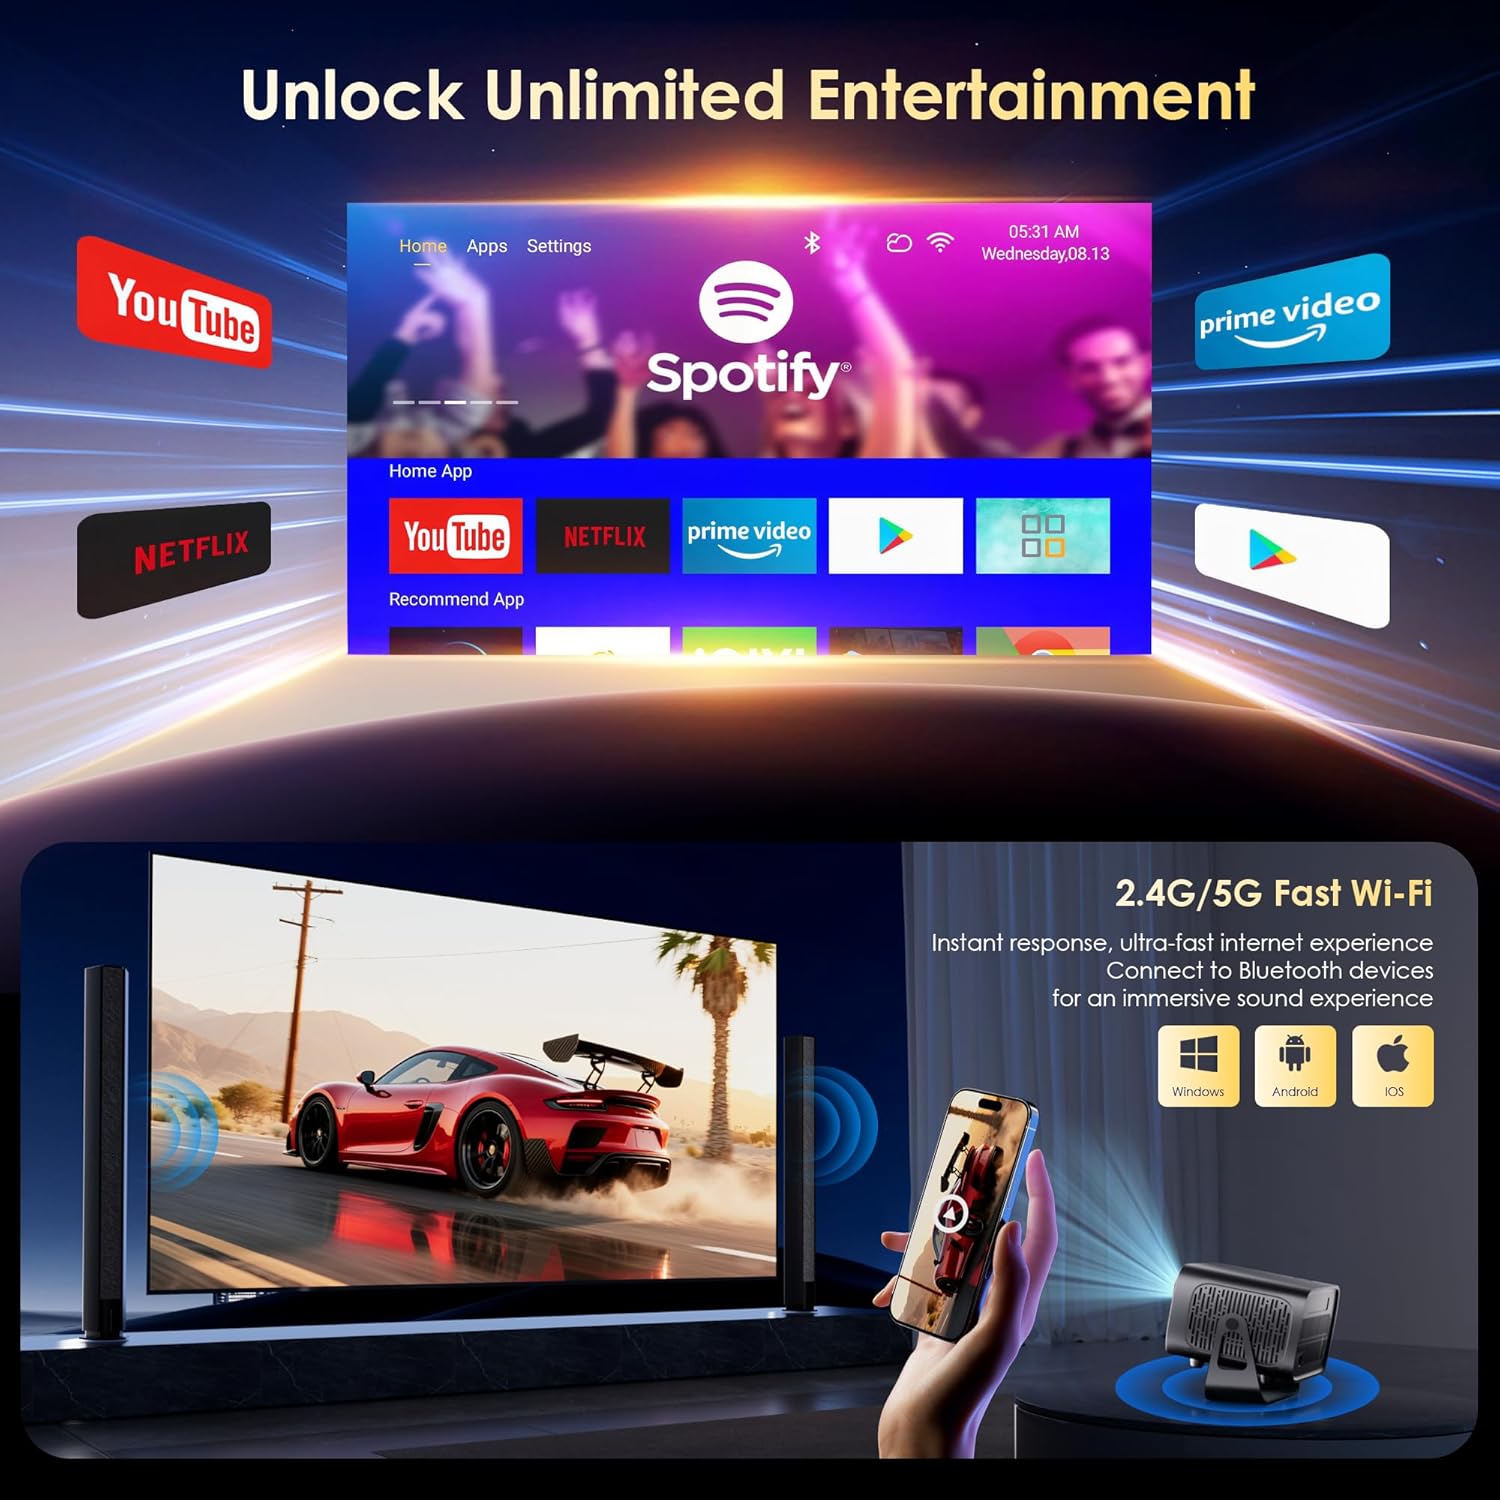
The projector runs on Android 13, providing access to a wide range of streaming applications.
- Upon startup, the home screen will display pre-installed applications like Netflix, Prime Video, and YouTube.
- Navigate using the remote control's directional pad and 'OK' button.
- Access the built-in app store (e.g., Google Play Store) to download additional applications.
- Use the voice assistant feature on the remote control for quick app launching or content search.

5.2 WiFi поврзување
The projector supports dual-band 5G/2.4G WiFi 6 for stable internet access and screen mirroring.
- Go to 'Settings' on the home screen.
- Изберете „Мрежа и интернет“.
- Вклучете Wi-Fi и изберете ја саканата мрежа од листата.
- Внесете ја лозинката ако е побарано и поврзете се.
Note: WiFi is required for the first setup or online apps. If you prefer not to connect to WiFi, you can use the projector offline by connecting external devices via the included HDMI cable or the USB port.

5.3 Bluetooth поврзување
The projector features Bluetooth 5.1 for audio streaming.
- Go to 'Settings' on the home screen.
- Select 'Connected Devices' or 'Bluetooth'.
- Вклучете Bluetooth и пребарувајте достапни уреди.
- Select your Bluetooth speaker, headphones, or soundbar from the list to pair.
Note: Bluetooth supports audio output only, not video transmission.
5.4 Поврзување на надворешни уреди
The projector supports various external devices via its HDMI and USB ports.
- HDMI: Connect your laptop, gaming console, or TV stick using an HDMI cable. The projector will automatically detect the input or you may need to select the HDMI source from the input menu.
- USB: Вметнете USB-уред за репродукција на медиуми files directly. The projector's media player will typically launch automatically or can be accessed from the home screen.
5.5 Режими на проекција
The projector can be used in various orientations:
- Проекција на работна површина: Поставете го проекторот на рамна површина пред екранот.
- Проекција на таванот: Mount the projector upside down on the ceiling. Adjust the projection settings in the menu to flip the image.
- Монтирање на статив: Use the 1/4'' screw hole at the bottom to mount the projector on a tripod for flexible positioning.

6. Одржување
6.1 Чистење
- Објектив: Користете мека крпа без влакненца, специјално дизајнирана за оптички леќи. Не користете абразивни средства за чистење или крпи.
- Надворешност: Избришете ја надворешноста на проекторот со мека, сува крпа. За тврдокорна нечистотија, малкуamp може да се користи крпа, а потоа да се избрише суво.
- Отвори за вентилација: Periodically check and gently clean the ventilation openings to ensure they are free from dust and debris. Use a soft brush or compressed air.
6.2 Систем за ладење
The projector features an advanced dual-fan cooling system designed for low noise and efficient heat dissipation. To ensure its longevity and stable performance:
- Always ensure the projector has adequate space around its ventilation openings.
- Avoid placing the projector on soft surfaces (e.g., blankets, carpets) that might block airflow.
- Operating the projector in extremely hot or humid environments may affect its performance and lifespan.
7 Смена на проблеми
Доколку наидете на проблеми со вашиот проектор, погледнете ги следните вообичаени проблеми и решенија:
| Проблем | Можна причина | Решение |
|---|---|---|
| No power/Projector won't turn on | Кабелот за напојување не е поврзан; Приклучокот е неисправен | Проверете го поврзувањето на кабелот за напојување; обидете се со друг штекер |
| No image/Blank screen | Incorrect input source; Device not connected properly | Select correct input source (HDMI, USB); Reconnect external device |
| Image blurry/Out of focus | Фокусот не е прилагоден | Use the 'F+' and 'F-' buttons on the remote for electric focus adjustment |
| Image distorted/Trapezoid shape | Keystone not corrected | The projector has auto vertical keystone correction. Ensure it's on or manually adjust if needed. |
| Далечинскиот управувач не работи | Not paired via Bluetooth; Low battery | Pair the remote control via Bluetooth (Section 4.2); Replace remote batteries |
| Нема звук | Јачината на звукот е прениска; Неточен аудио излез; Bluetooth не е поврзан | Increase volume; Check audio output settings; Ensure Bluetooth speaker is paired |
| Проблеми со WiFi конекцијата | Неточна лозинка; Проблеми со рутерот; Надвор од опсег | Verify WiFi password; Restart router; Move projector closer to router |
8. Спецификации
Detailed technical specifications for the ZENTALITY Mini Projector A10 PLUS:
- Бренд: ЗЕНТАЛНОСТ
- Број на модел: А10 ПЛУС
- Тежина на ставката: 3.1 фунти
- Димензии на производот: 7.4 x 6.22 x 4.8 инчи
- Оперативен систем: Андроид 13
- Резолуција на екранот: 1920 x 1080 (Native 1080P Full HD)
- 4K поддршка: Да
- Осветленост: 350 ANSI лумени
- Сооднос на контраст: 10,000:1
- Технологија за поврзување: 3.5mm Jack, Bluetooth 5.1, HDMI, USB (x2), Wi-Fi 6 (2.4G/5G)
- Посебни карактеристики: Built-In Media Player, Built-In Speaker, Electric Focus, Portable, Wi-Fi Ready, Auto Vertical Keystone Correction
- Препорачана употреба: Бизнис, Образование, Игри, Домашно кино
- Lamp Животниот век: До 100,000 часа

9. Гаранција и поддршка
ZENTALITY is committed to providing quality products and customer satisfaction.
- Гаранција за квалитет: 360-дневна гаранција за квалитет.
- Се враќа: 180-дневно бесплатно враќање.
- Техничка поддршка: Доживотна техничка поддршка.
- Услуга за клиенти: 24/7 Fast Customer Service.
For support inquiries, please refer to the contact information provided on the ZENTALITY official webстраницата или вашата платформа за купување.


